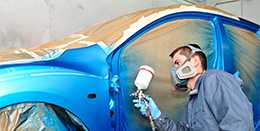


 Applying glitter with a flakebuster
As so often in the art of custom painting, the artists showed inventiveness and ingenuity. Here is a new process to which it was necessary to find a name and for that, the Americans are often the pioneers and here was born the "flakebuster".
This technique, which is one of the other methods of application of a car, motorbike and bicycle painting isn't new. It is in fact a transcription of the process used by decoration manufacturers using glitter, with a sandblasting gun.
In the field of Custom painting, it is today possible to use this technique with an airbrush or with a spray gun.
Tutorial for Using the Flakebuster
Here are the steps summarized below. Find the detailed instructions a little further down.
Step 1 ► Applying a slow polish
Step 2 ► Application before 2 minutes of Metalflakes with the Flakebuster
Step 3 ► Varnishing
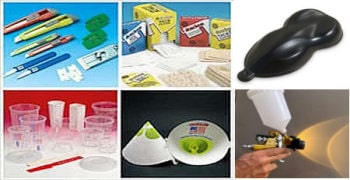
Necessary products and tools
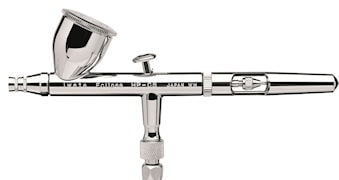
♦ Mini flakebuster (to fit on an airbrush)
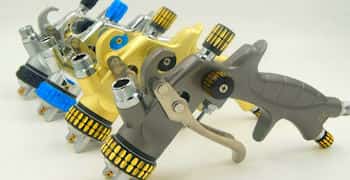
♦ Flakebuster (for medium and large rooms)
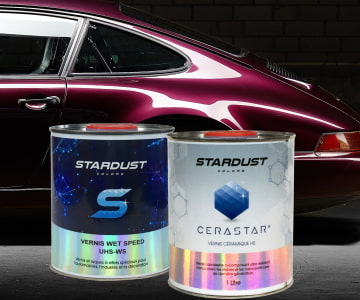
♦ Varnish with slow hardener UHS BS830
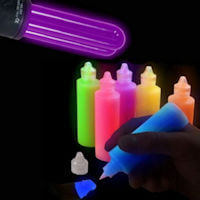
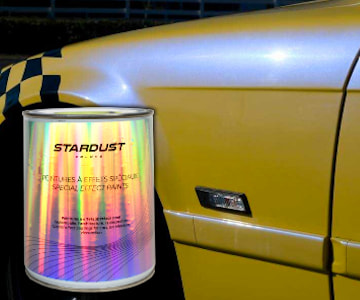
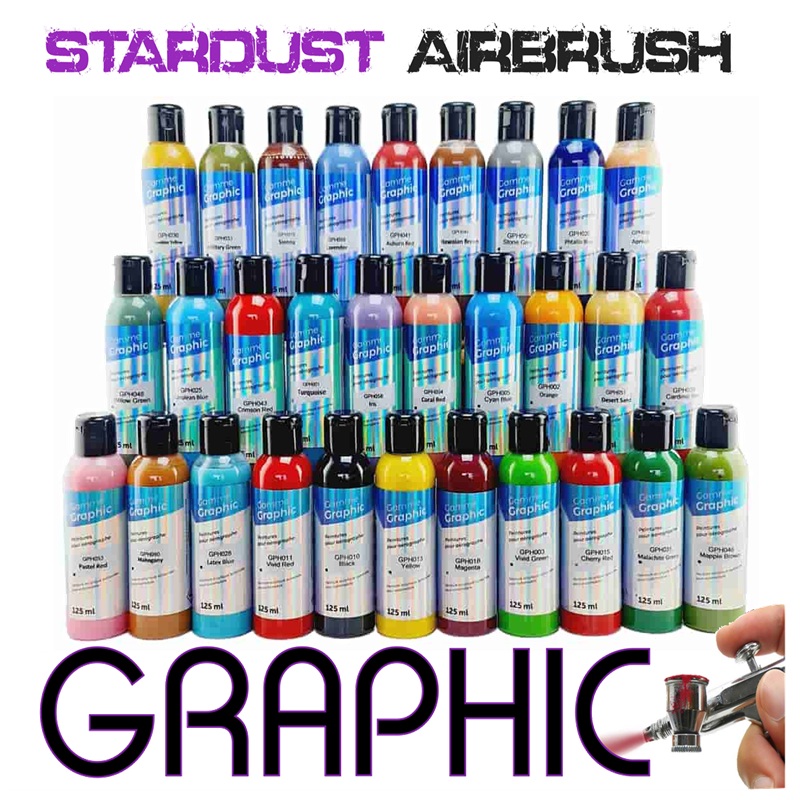
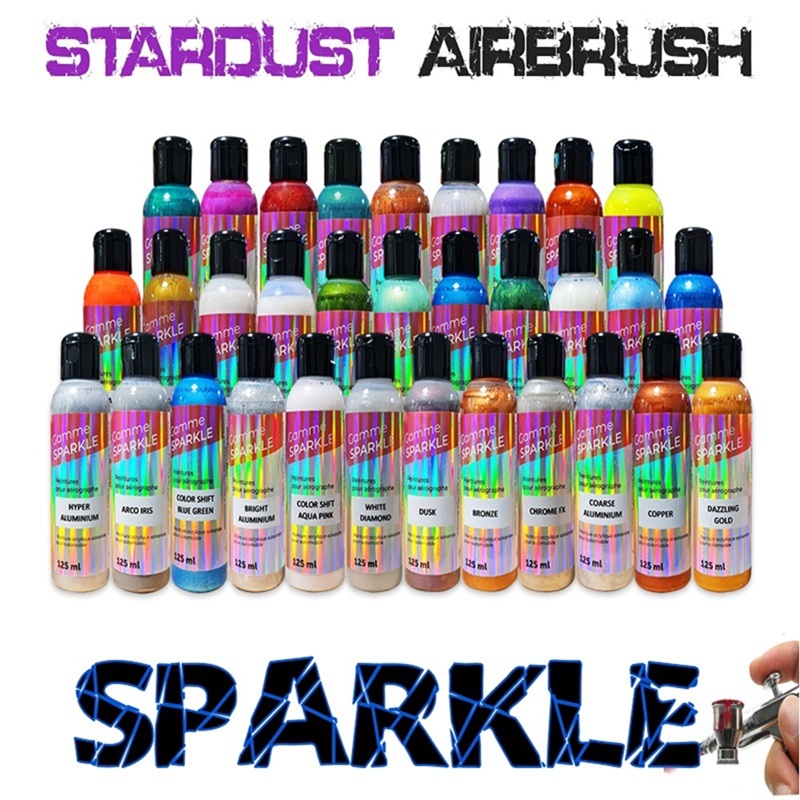
♦ Metalflakes Glitter
♦ ST6000 high-thickness glossy varnish
Tutorial with detailed instructions for using a Flakebuster
Step 1 ► Applying a slow polish
The bottom :
The piece to be painted is prepared, cleaned and sanded.
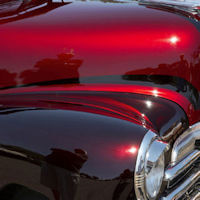
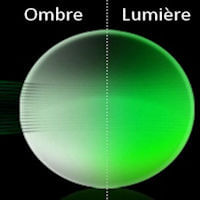
It is important to choose the background color correctly: for most glitters, it is recommended to apply either a black background or a background in the color of the glitter. There is an exception when you apply white or transparent glitter and you want to obtain a white finish, in this case you must logically use a white background.
The nailpolish
Most varnishes dry very quickly on the surface and this generally does not give the flakes sprayed dry enough time to stick properly to the surface of the varnish.
With the exception of working in cold temperatures, for example in winter in an unheated room, it will be necessary to use the varnish with a very slow hardener, usually intended for application in hot temperatures. This type of varnish, like UHS BS830 with its slow 431 hardener, will allow a “window” of time of approximately 5 minutes to be able to spray the glitter with the Flakebuster.
The app
Apply ½ coat, that is to say a medium coat, without looking for great shine. After 5 minutes, apply a thick, glossy coat.
♣ If you want to paint a large surface, you must use 2 applicators, the first of which applies the varnish and the second goes directly behind, to spray the glitter.
Step 2 ► Application before 2 minutes of Metalflakes with the Flakebuster
Installation and preparation of the flakebuster and glitter should be done in advance, so that you can immediately implement the technique right after varnishing.
Glitter
The flakebuster container must be at least ¾ full.
You must have prepared a sufficient quantity of glitter to cover the entire room: in general, you need 100 g per square meter.
Classic flakes measure 200 microns, which is far from the maximum size that can be sprayed with the different types of Flakebuster:
→ Mini Flakebuster for airbrush: up to 3 mm
→ Flakebuster pistol: up to 6 mm
Pressure adjustment
It is important to do a few tests so that you are ready and have determined the correct air pressure.
→ For the mini flakebuster used with an airbrush, we use a high pressure greater than 3 bars
→ For the gun type flakebuster, a reasonable air flow of around 1.5 bar to 2.5 bar should be used. It's better to have a "soft" projection rather than spraying the glitter like projectiles!
The preparation
it is advisable to cover the ground with a tarpaulin, in order to collect the glitter. The dry glitter spraying technique with a flakebuster projects glitter in such a way that approximately 50% of the amount will not stick to the surface of the part. We can therefore recover them for reuse.
Using the mini Flakebuster
The mini flakebuster allows you to paint pieces with a maximum side size of 30 cm.
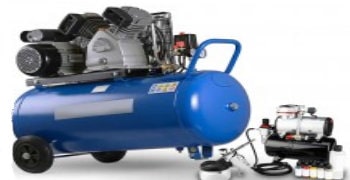
To be used effectively, you must have a compressor with an air tank that can deliver sufficient and stable air flow.
In addition, the airbrush must be of the "double action" type and equipped with a large nozzle (0.5mm) and a suction cup, in order to be able to spray the varnish with a sufficient flow rate and to allow the deposition of a thick layer in one go on the surface.
This little piece of equipment is very practical because it is independent and can be placed or removed manually on the end of any airbrush, whenever you want:
1 – Spray the varnish with the airbrush
2 – Place the Flakebuster on the airbrush nozzle
3 – Spray the air with the airbrush with maximum flow. Do not spray the varnish at the same time*
(a “Double Action” airbrush allows the air to escape separately from the paint.)
4 – Spray the glitter until it completely covers the surface
5 – Remove loose glitter with a brush
6 – It is always possible to apply a touch of varnish, then add a few glitters, as a touch-up on an area showing a lack of coverage.
Using the pistol type Flakebuster
Unlike the mini-flakebuster, this is an independent tool.
Switching the varnish gun and the flakebuster gun is very simple by connecting the gun to the compressed air hose and takes 5 seconds. Naturally, the applicator alone cannot clean his varnish gun before applying the glitter. You don't have to waste time if you want to take advantage of the ephemeral sticky state of the varnish.
The flakebuster is used simply, like a sandblasting gun, but with gentle pressure, allowing the flakes to be deposited 15-30 cm from the surface, in one or more layers.
At the end of the application, pass a soft brush over the surface to remove any glitter that has not adhered to the surface or is excess.
What types of glitter?
Only plastic flakes, i.e. Polyester Metalflakes, can be sprayed dry. The dry spray technique should never be used with light particles, such as pearls or aluminum flakes. This is dangerous.
Step 3 ► Varnishing
The glitter surface is a very irregular surface. To level and to create a perfectly smooth and shiny varnish, you must apply at least 150 microns dry (which is equivalent to 6 coats of varnish). These different layers of varnish must be applied over several days, respecting 2 to 3 layers per varnishing session. It is not prudent to apply more coats at once and it is important to respect the interval between coats (10 min) if you do not want to have micro bubbling phenomena caused by trapped solvents. To speed up the work, it is possible to use a quick varnish such as WET SPEED varnish which dries in one hour, or a thick varnish which requires fewer coats.
1st day: apply 3 coats of thick varnish such as ST6000 SUHS, allow to dry completely, then sand with a sanding block and P500 abrasive paper.
2nd day: apply 2 coats of thick varnish.
If necessary and if the surface is not perfectly level, repeat the operation on a 3rd day.
At the origin of the Flakebuster
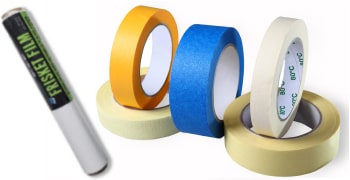
Even before the sandblasting gun, there was this manual and very simplistic technique, using a metal tube that is immersed in a liquid called fixative, to spray by blowing at the entrance of the tube. Inside the tube, the liquid is sucked up and projected in the form of a cloud or a mist of product in the direction of the dry pastel painting, in order to fix the colours.
Body painters have therefore tinkered with their gun and their airbrushes inspired by sandblasting guns, whose operation is extremely simple : the passage of the air is done with an accelerated flow, in a conduit or there is an opening which leads to a tank below, containing light powder. With the depression of the air, the powder is then sucked up by suction and it is projected on the surface.
This process is simple, ingenious and within the reach of absolutely everyone. It has a main advantage, it is that of being able to apply sequins and in particular large size sequins.
How to paint with flakebuster ?
It is true that you can perfectly spray 200 micron size flakes with a simple gun by mixing them in varnish or another binder. However, the technique is much less simple when it comes to projecting onto the surface flakes of larger sizes, for example 400 microns, or even 600 microns.
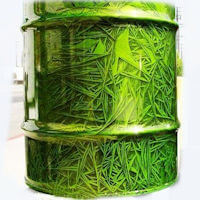
In truth, with a flakebuster, there is there is not much limit to the size of flakes that can be projected using the tool : if you take a mini flakebuster that fits on airbrushes, the size of the nozzle is 3 mm and if you take a flakebuster gun, the size of the nozzle is 1 cm, which allows you to spray a little anything and everything, and in particular flakes in the form of filaments, stars, hearts, or discs, which often approach 3 mm in diameter. Let's take a closer look at the current technique used in body painting to project glitter and simply how to paint with a flakebuster:
First of all, it is only when using an airbrush that we will be able to use what is called a mini flakebuster : it is a very small mobile device that fits very quickly on the end of the airbrush. It can be removed just as quickly by alternating the spraying of products with the airbrush or the spraying of glitter with the airbrush, without product and just with the air delivered by the airbrush.
If you haven't fully understood this, it is important to understand the technique of these two distinct functions that the airbrush can have, air spraying and liquid spraying: when painting with airbrush, you can store a small amount of clearcoat in the cup. When this clearcoat is sprayed with the airbrush on the surface, the thickness of the varnish is quite low and there is a period of time, or rather, a very short period during which the varnish will remain sticky ; therefore, you must have another airbrush equipped with the mini flakebuster on hand, to be able to spray the glitter immediately, one after the other on the sticky surface, so that they adhere well.
If you wait beyond 30 seconds on a very thin layer of varnish and well, the varnish is already too dry to be able to adhere to the glitter, so when you immediately place the flakebuster at the end of the airbrush, in less than 2 seconds, we converted the airbrush into a flakebuster. Of course, you must not spray the varnish and the glitter at the same time, because that would make the flakebuster all sticky and no more glitter could escape.
Flakebuster guns
Although an airbrush is a very small tool, it is possible, by adjusting a very significant pressure, to spray a wide beam of glitter about 5 to 8 cm wide, which allows, if one has enough compressed air to paint a full tank. But that is the maximum size you can do with a mini flakebuster.
For all medium to large jobs, there are so-called flakebuster guns which are basically sandblasting guns usually used to spray abrasives or sands. With these tools, care must be taken to set a very moderate air pressure because otherwise the flakes will turn into a real projectile.
The disadvantage of this technique is not really one because the flakebuster projects flakes which will, for half, stick to the support and for the other half, disperse in the room or the workshop. So, if we manage to confirm the spraying area, we can perfectly recover the dry flakes which can perfectly be reused later.
The traditional glitter spray mode
We invite all those who have been seduced by the various videos showing the use of the flakebuster, to consider seriously and as a priority the traditional technique of spraying flakes: provided that we are talking about flakes of 200 microns maximum, this technique is in fact the simplest and most reliable. It is simply a matter of mixing the glitter in the clearcoat, stirring and painting them with a spray gun equipped with a nozzle of at least 1.4mm. It is effective and gives less random results than "dry" spraying on a sticky clearcoat.
About this sticky clearcoat, it is important to use a fairly thick clearcoat, which is mixed with both a slow thinner and with a slow hardener. If you plan to paint large surfaces with glitter, it is illusory to think that you can do it alone after applying the varnish, then applying the glitter, because the varnish will be dry to the touch. after a few minutes and the glitter won't be able to stick to it. It is therefore imperative to be two applicators who will follow one behind the other, to apply the varnish and the glitter one after the other.