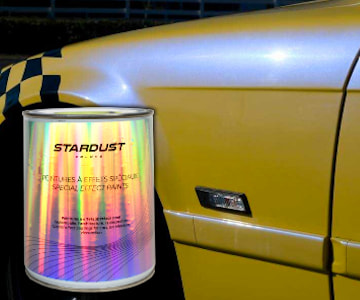


 Apply hydrographic film
This article is a general presentation of the so-called hydrographic transfer process, as part of the discovery of original techniques among the other methods of applying car, motorcycle and bicycle paint, but it does not constitute the official guide product implementation. We invite you, if you want to know the process in detail, to download the instruction PDF on the product page and also to consult the instructions for use on the product presentation pages. Demonstration videos do not constitute official instructions.
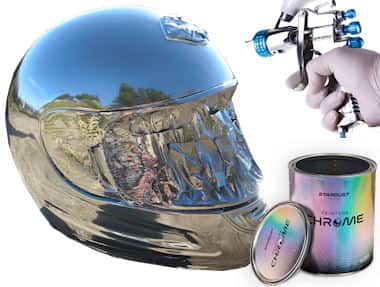
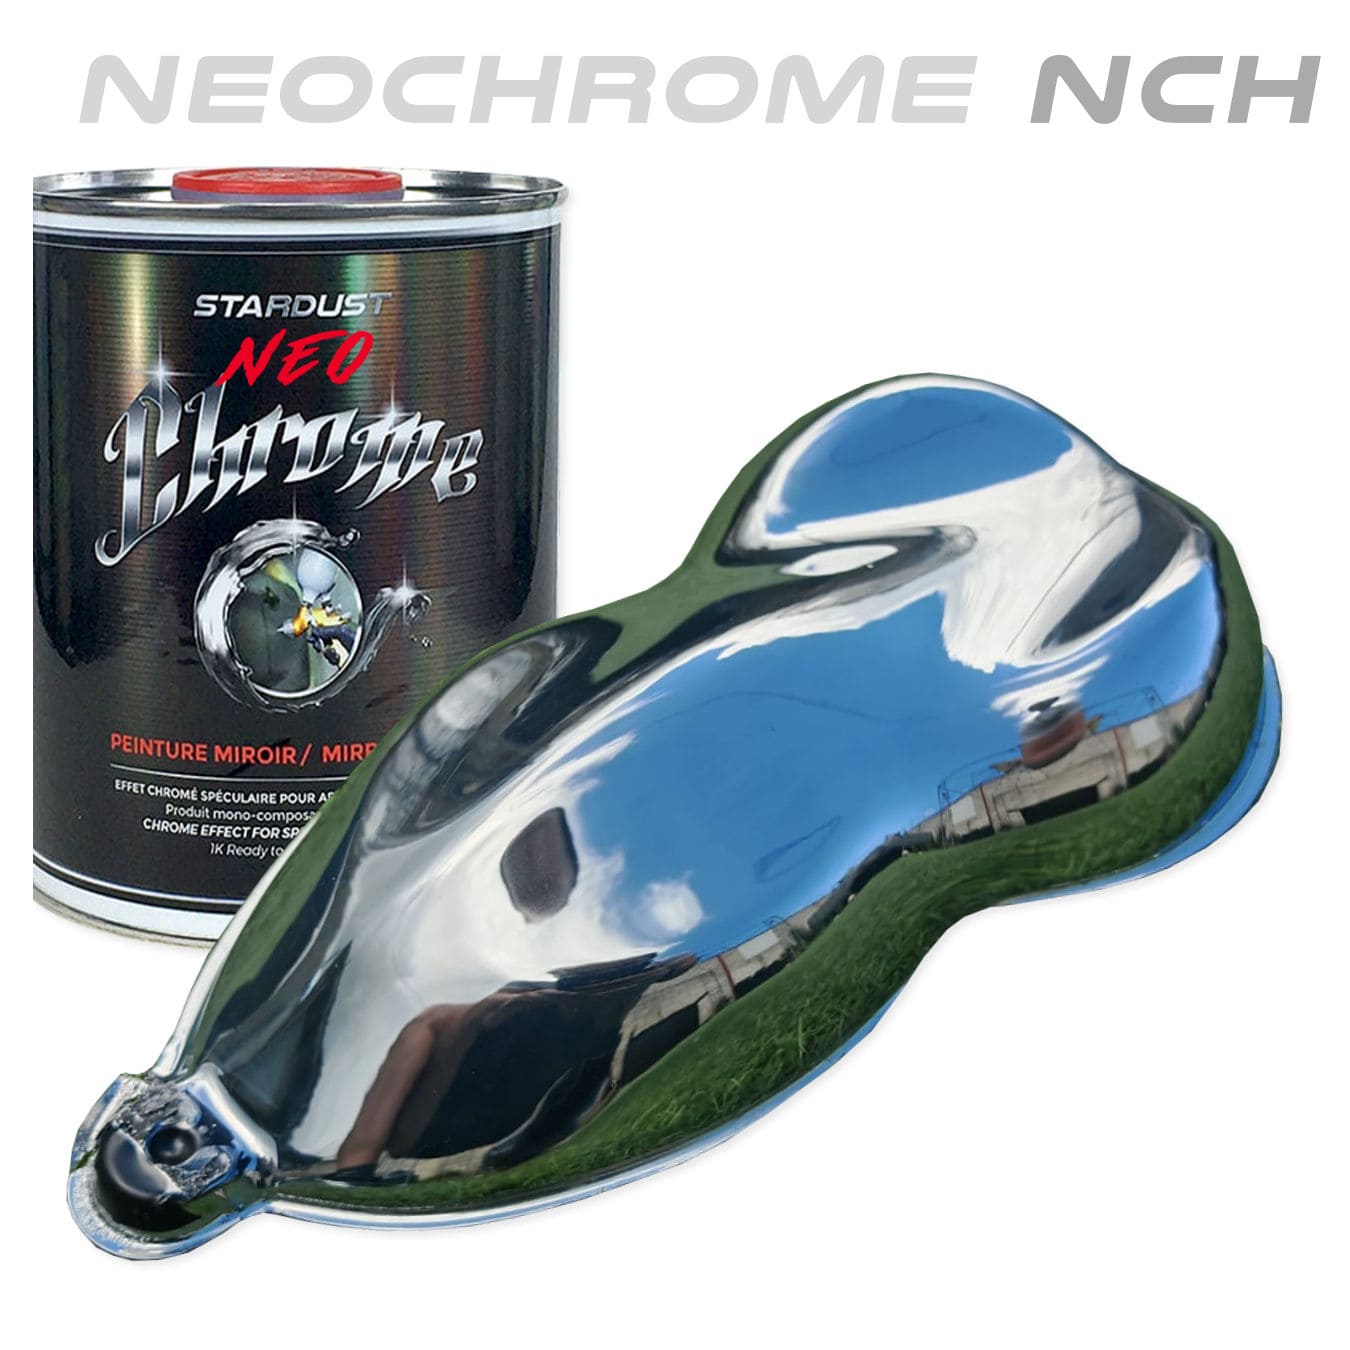
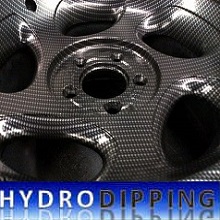
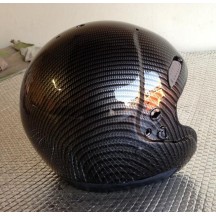
The term hydro-dipping is the English term generally used to designate the technique of hydrographic transfer. This consists of depositing a soluble decorated film on the surface of a part by dipping.
Applying hydrographic film is not a complex and difficult technique. On the contrary, this practice is within everyone's reach and can be mastered with a short training or a little practice.
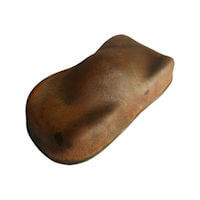
Before presenting the different stages of the technique, it is important to understand the interest and the advantages of this clever process. It is above all the possibility of printing a surface with complicated reliefs and with a variable size, that is to say both 20 cm and 2 meters, with great speed.
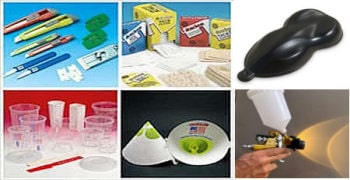
How to apply hydro-dipping ?
Here is a summary of the steps to print a part by dipping. The decorated film is placed on the surface of a tray containing water and it is left to rest for a minute or two.
There is a certain direction in which the film must be positioned, because the film is composed of both a protective varnish and a layer of ink. It is the layer of the different colors of ink that constitutes the decoration, while the clearcoat is a temporary varnish which is intended to melt and disappear. This is only used as a support for the ink decor.
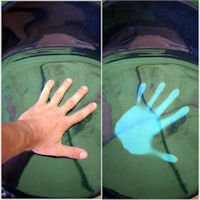
The second step consists in spraying a solvent which will melt the film which is still positioned on the surface of the water. The dosage is precise because it is a question of melting the support layer and not all the decoration, with too large a quantity of this product which is called activator.
On the contrary, if you apply too little of this solvent, the film will not soften and will not be able to adopt the shape of the part that we are going to dip and that we want to print.
So in the 3rd step, via soaking, which is done at a 45° angle and slowly. The hydro-dipping film will then coat the piece and the decor will adopt all the shapes of the relief.
In the 4th step, the piece is held under water for a few moments before taking it out in order to get rid of useless pieces of film, then we take it out to proceed with a gentle rinsing. The 5th step is in the drying of the decoration, with the evaporation of water and solvents.
The last step of the hydro-dipping consists in the varnishing which will make it possible to protect the decoration and to constitute a resistant and shiny topcoat.
 Activation : all the secrets of the crucial stage
Anyone who has practiced the technique of hydrographic transfer has already encountered difficulties or failures during this stage.
The defects that it is possible to encounter are either a film that does not form, or a film that has melted too much.
For this, there are a few small adjustments that can be made at different levels: first of all, the temperature of the water and the exposure time in the water before taking action. It is necessary to favor water at around 20°C and the film must be deposited one minute before applying the activator.
Then, it is a question of passing the activator and it is the right quantity which will make it possible to produce the right effect on the film. The quantity depends on the number of coats, the distance of the gun from the support and above all the speed of passage of the gun.
Therefore, we recommend applying a single coat, which is done in one round trip, 20 cm from the film, with normal speed.
If you still encounter a problem, for example a film which does not make, then simply check that you have put the film on the correct side...
hydro-dipping training
The hydrographic transfer technique is self-learned by studying the instructions and making your own tests and conclusions. With a few failures and a little perseverance, one can easily master the different aspects of the technique.
Training does not exist in this area, which is a niche, in which there are very few specialists and are essentially dedicated to their work.
If you know someone who is an expert in this area who is available and agrees to give training, then it can be a very enriching experience, the content of which can be spread over one or two days.
Sharing tips and applicator experience will be a huge time saver in learning this simple technique.
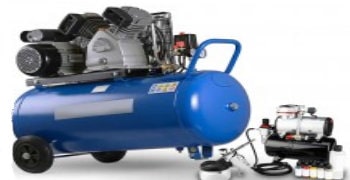
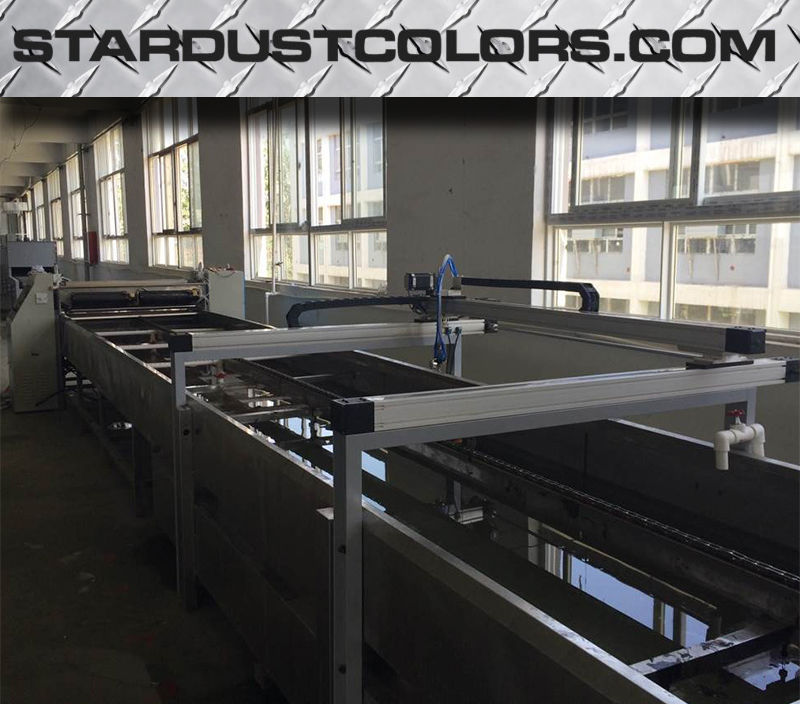
Soaking tanks
Unfortunately, this equipment is very difficult to find in Europe. It can be found in Asia, but the shipment must be by sea and the equipment will not meet European standards.
The advantage of a professional bin over a homemade bin is that it includes a pump and filter system, like a swimming pool, with a compartment where the rubbish is brought to be filtered there. This has the advantage of avoiding having to change the water every day.
The water temperature adjustment device is also an important option that allows you to work in stable conditions and to be able to reproduce the technique without variation in results.
For soaking large pieces, a large volume of water is needed, both in width and in length, when they melt. When we talk about 2 m³, that means 2 ml of water or 2 tonnes, and you need a tank that is designed in such a way that it can support such a weight without breaking or deforming.