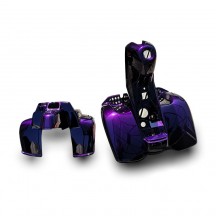
Would you like to customise your Raptor with the colours and decors you have chosen? In the same way that we manufacture and specialise in other types of motorcycle paints, we would like to introduce you here to the techniques and possibilities of “special” quad paints. When it comes to customising your quad with a custom paint job, there are a series of products and methods that need to be used specifically. As experts in quad painting, we will explain everything below.
Whether you paint a “Raptor” or any other type of quad, up to the “Rhino”, it is always plastic fairings and any plastic: polyethylene and polypropylene. If you apply a quad paint without any special technique, there is a 100% chance that the paint will peel off perfectly like a plastic film after a few days.
By following our protocol to the letter, we guarantee that you will have the best chance of obtaining a totally non-peeling paint, even if you try to use a knife!
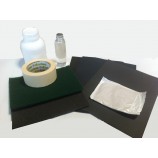
Here are the products, proposed below in this category, that you will need to get:
-
a blowtorch sold in supermarkets for about ten euros, with its gas refill
-
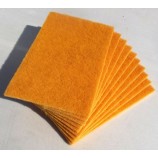
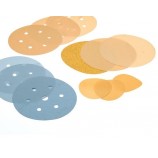
green abrasive sponges (400 grit)
-
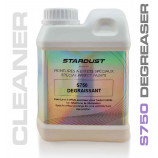
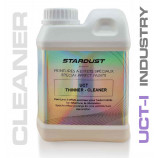
body thinner
-
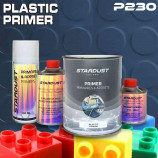
adhesion promoter for plastic
-
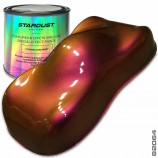
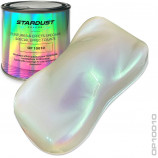
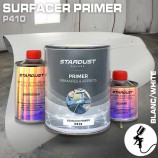
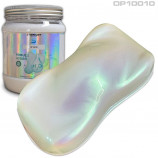
and of course the paint... with a spray gun or an aerosol
How to make a quad paint with 100% adhesion ?
Step 1: Using the blowtorch, pass the flame over the entire surface of the plastic fairing, without overdoing it and without distorting the part. You should simply observe the plastic shining, as if it were sweating.
Step 2: Put on gloves and a mask, then soak your abrasive sponge in thinner (never use abrasive sheets), and rub the surface of the plastic. PE and PP are very tough, so you can go as hard as you want. After the operation, the plastic of the quad will look whitened.
Step 3: It is time to apply the plastic primer before finally painting the quad. The primer is transparent and is applied in one or two thin coats. Then immediately follow with a veil of paint, to blend the two products. That’s it, the adhesion is done, and you just have to apply the quad paint you want!
On a quad, you can let your imagination run wild, especially with airbrush drawings made by a specialised artist!
The flexibility of the fairings
The fairings of a quad are extremely flexible compared to those of a motorcycle. In the case of a quad, it is very important to be careful if you do not want the paint to crack after a few months.
In general, it is never the 1K basecoats that crack because they are thin and flexible. On the other hand, it is the 2K paints and clearcoats that are thicker and harder.
It is therefore important to incorporate 1 to 3% of softener in the final clearcoat and a little in the paint if you want to be confident.
Making graphics and stickers
Once the paint is applied, it is gently sanded with P500 and the surface is ready to be decorated. You can stick adhesive lines, do masking with body adhesives, draw on it, then cut with a cutter without fearing any detachment when removing the adhesive masks!
As for stickers, which can easily be ordered from any print shop, they are always applied on the sanded paint, before varnishing.


