


€43.78
(VAT incl.)
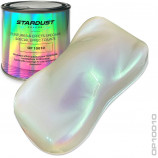
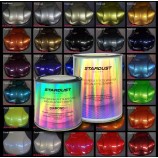
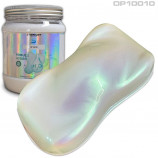
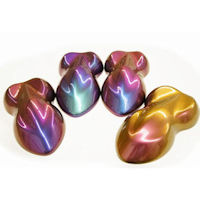
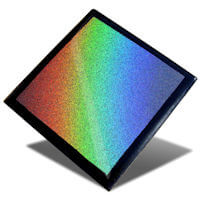
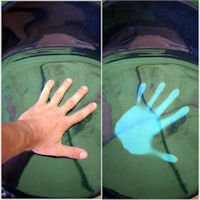
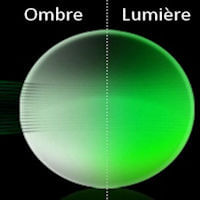
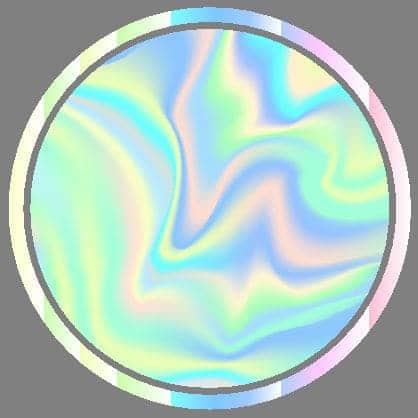
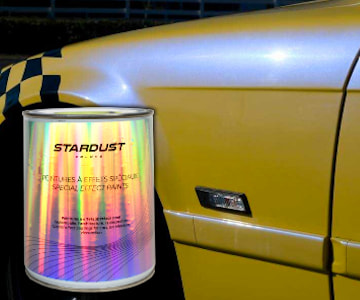
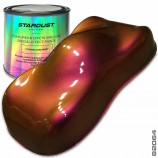
Choose your colorshift effects in our colorshift chameleon effects colours.
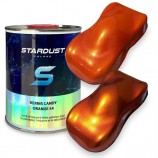
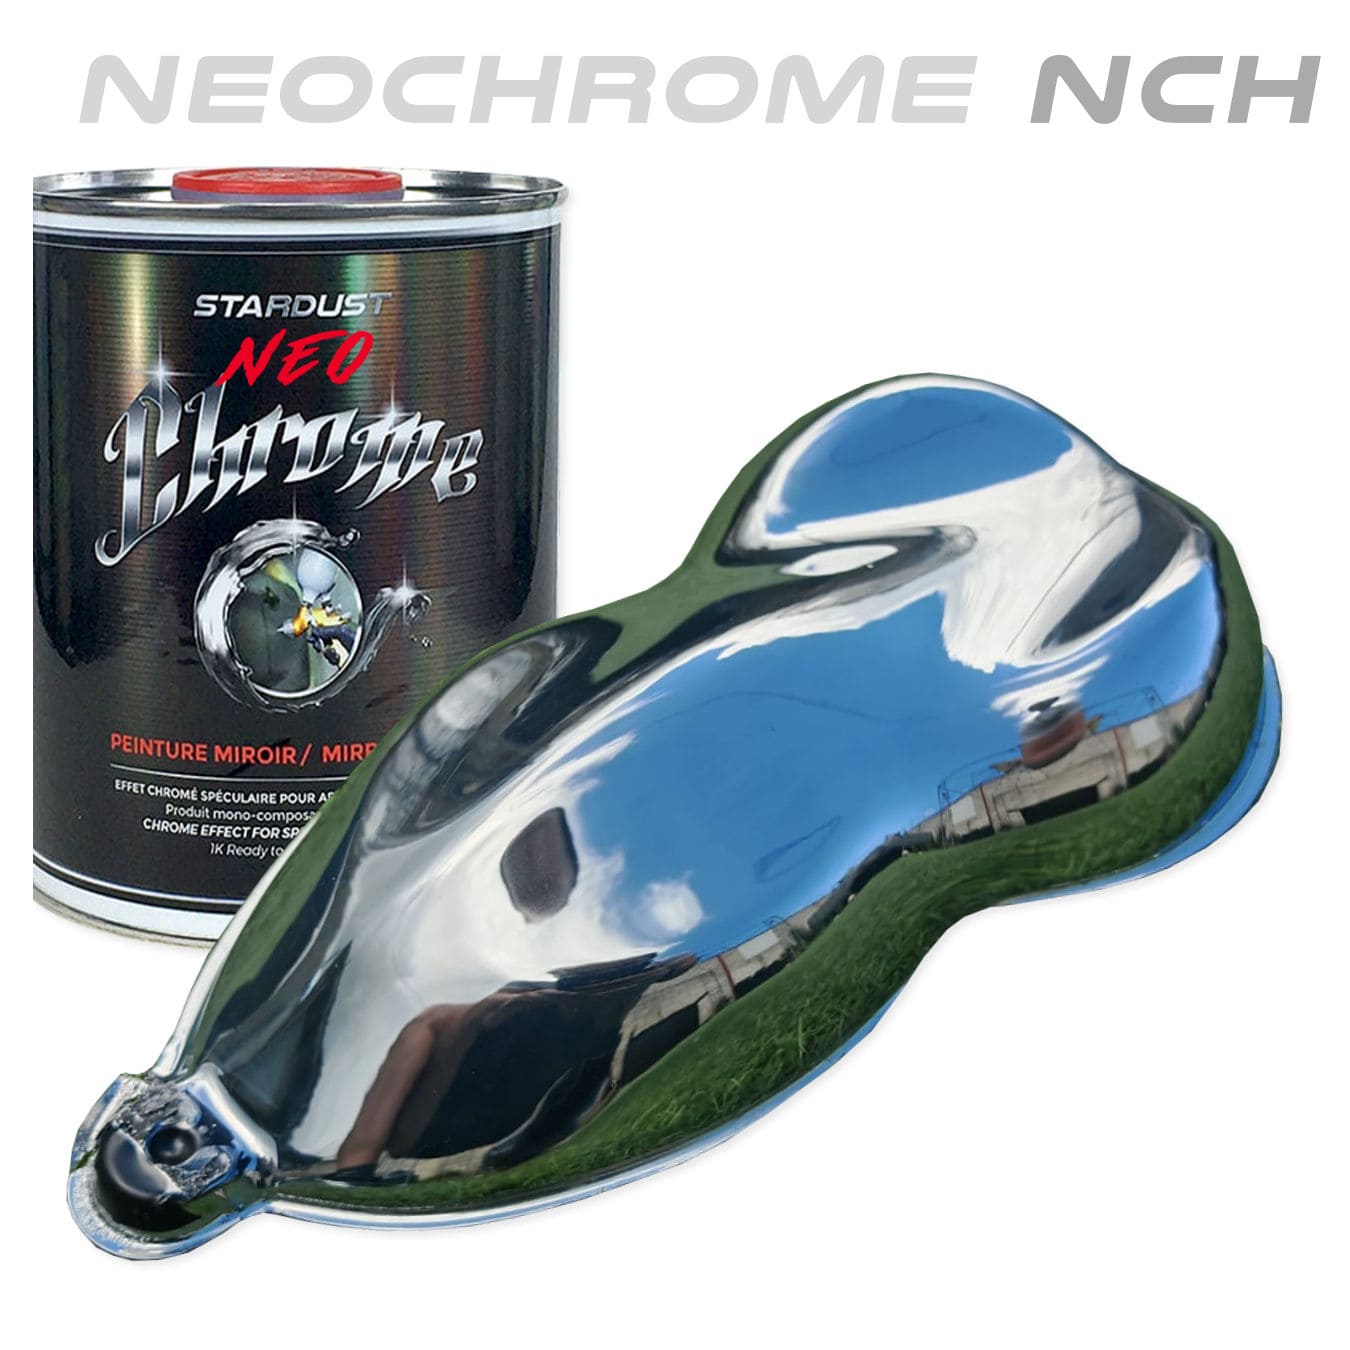
All products are delivered with instructions of use.
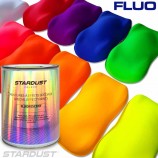
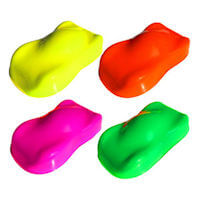
All the colours are in stock
Delivery by Chonopost in 48h