How to repair a scratch on your car or motorcycle ?
Here is a summary tutorial to guide you in repairing small tears on the metal or plastic bodies of cars and motorcycles.
We describe here the actions to be carried out for each step, from the repair of the dents to the finishing clearcoat.
 1. Shocks and bumps
This type of defect is mainly found on the metal bodies of cars or even motorcycles (tanks). We only deal with slight defects here, that is to say from 0.5 mm and up to 1 cm in depth.
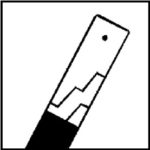
A/ Sand the area with an abrasive grain between P240 and P320. It does not involve stripping and removing existing paint. You simply have to create the right bonding conditions for the primer and the mastic.
Even if the sealants can hang on the metals directly, we always recommend applying a thin layer of primer to promote adhesion to metals and anti-corrosion in a pot or in a spray beforehand.
B/ Apply the putty, previously mixed with its hardener. The mixed putty must be applied quickly because it hardens very quickly. It is important to smooth the surface well and to avoid large overthicknesses, which will give more sanding work.
C/ Sand with a P320 abrasive grain and a sanding block. Wet sanding is recommended. It is imperative to sand with a flat wedge, in order to obtain a flat and regular surface. After sanding, wash the surface with water to remove sanding residue.
 2/ How to repair a scratch on your car
Here is the phase following the application of the mastic.
When treating only scratches with a depth of less than 0.5 mm, it is not mandatory to use a filler beforehand.
Apply a filling primer (primer) in a pot or spray, with as much thickness as necessary to cover the defects. Allow complete drying of the primer (2 hours at 20°C). Sanding with a sanding block is an abrasive grain of P500.
For all applications of matt or direct glossy base paints, abrasive grains greater than P500 should never be used, in order to guarantee good adhesion. Again wet sanding allows you to sand longer with the same paper and avoid overheating.
3/ Substrate preparation
In order to receive the paint, the surface must be perfectly smooth and free of micro holes or micro scratches. In the rules of the art of painting, it is important to have a perfectly healthy surface. A sound support means a sanded support, free of moisture, grime, dust, grease or silicone.
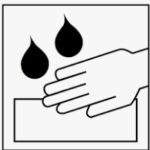
Some invisible contaminants can cause blemishes to appear after paint is applied. For this reason it is advisable to use a degreaser.
The degreaser is applied with a clean cloth and must be quickly removed with another clean cloth, before it evaporates.
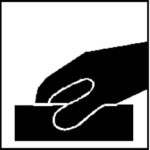
The last step just before painting, is the passage of a sticky pad, specially designed to catch dust. This sticky cloth must be passed with the weight of the hand, delicately and without forcing.
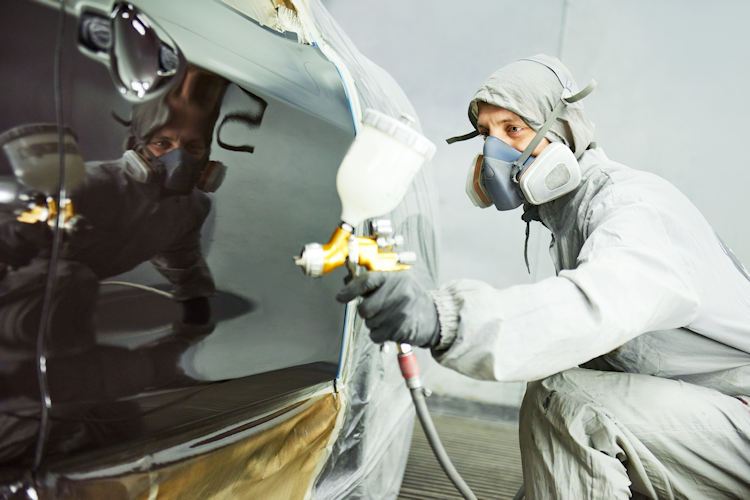
 4/ The painting
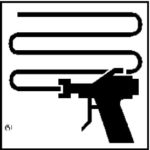
The painting is done with an aerosol or with a gun, with passages from left to right, and from right to left, at a fixed distance from the support (10-15cm), and always with an angle of 90° facing the support.
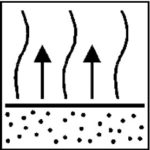
It is important to work in a clean environment, with sufficient air extraction, low ambient humidity, and with a moderate temperature, between 15 and 25°C.
There are 2 paint systems : two-coat paint (Matt base to varnish) and polyurethane finish paint (direct gloss).
 A/ Bi-Coat 1C paint
Bicoat means 2 steps : paint + clearcoat.
This type of paint represents +95% of automotive and motorcycle paints today.
This paint can be a solvent-based Hydro formula. It is applied in 2 to 3 coats spaced 5 minutes apart (20°C). For metallic or pearl type paints, it is customary to spray ½ coat in the end. This type of paint is single-component, and dries very quickly thanks to evaporation in the air, in 30 minutes.
It is important to varnish them before they are superficially dry, to benefit from the so-called “wet on wet” grip.
 B/ 2C Direct Gloss Lacquer
This type of paint is two-component. It is mixed with a hardener and must be used for a limited time (pot Life). It dries and hardens by polymerization.
It forms a shiny and resistant finishing layer, and does not need to be varnished.
Two-component glossy paints should be applied in 2 glossy coats, each separated by a time interval of 10 minutes.
 5/ Varnishing
This last finishing phase concerns only two-coat systems.
Clearcoat is a shiny and transparent lacquer which gives an aesthetic appearance to the paint, and above all which makes it possible to confer resistance to abrasion, bad weather and hydrocarbons: it protects the paint as well as the sheet metal bodywork.
The varnish is always a 2-component product (Clearcoat and hardener).
It is always applied in 2 glossy coats spaced 10 minutes apart.
The varnish is surely the most delicate step to succeed. The secret of a beautiful, shiny and flawless clearcoat is the deposition of the right dose on the surface. Applying layers that are too thin results in an “orange peel” defect or lack of shine. On the contrary, when too thick layers are applied, drips can occur. When the defects are too important, it is necessary to carry out a sanding after 24 hours with water and paper 500 or 800, then to apply a new coat of clearcoat.
The drying of the core clearcoat is between a few hours and 24 hours, before commissioning.
6/ Plastic bodies and fairings
It may be necessary to add 1 to 2% of flexibilizing in the finishing clearcoat on flexible plastic parts. Adding this additive to the varnish of the bumpers makes it more resistant to the impact of stones.
Adding this additive to matt base paints under the clearcoat is optional, as the latter are naturally flexible.
The preparation of bare plastic substrates is special, because adhesion to plastics is often very difficult to obtain. There are special techniques and specific primers to prepare plastics. In general, all plastic-based motorcycle or car bodies are already painted and do not need any special preparation.
7/ Further information
 Mixtures
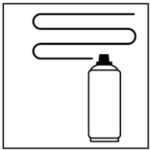
It is very important to shake aerosol paints vigorously before use, and to stir paints in pots thoroughly, with a ruler, before using them.
The mixtures with the thinner, are free and approximate. Thinning allows the paint to be refined and can be made according to the painter’s preferences, the size of the nozzle, but also according to the ambient temperature. There are different speeds of diluent which correspond to the speeds of evaporation adapted according to the seasons.
The diluent mixture is done by volume. Mixing with hardeners should be more precise. It is important to scrupulously respect the indications of the technical data sheet.
In general, hardeners can be mixed both by volume and by weight.
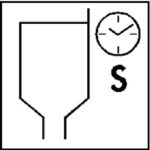 Pot life
it is about the life and possible use of the mixed paint.
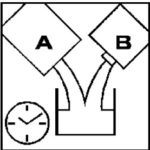
For single-component type paints, the addition of the thinner does not induce a mandatory period of use. On the contrary, the diluted paint can be kept for several months or several years.
For bi-component type paints, it is important to respect the working time, which varies between 15 minutes and 2 hours depending on the product. It is therefore important to add the hardener to the paint 5 minutes before application, and to mix only the quantity of products you need.
 Drying
Drying and hardening depends on the products, the thickness, and the ambient temperature. For single-component type paints, it is important to monitor the drying time, because they must be covered with a varnish before surface drying, which is 30 minutes at 20°C. For two-component type paints, or varnishes, drying is often slower, and it can vary between 1 hour and 24 hours.
The interval time between each layer is an important point to respect. This waiting time between each layer allows the solvent to evaporate, and also to avoid runs.
“Dust-free” drying is when the paint is dry on the surface.
“Through” drying is the paint’s ready-to-use time, with 90% complete drying and curing
All paints can be sanded after complete drying, to be covered.
![]()