


 Painting a chameleon effect: complete tutorial
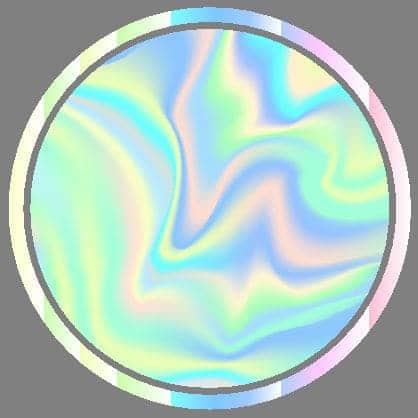
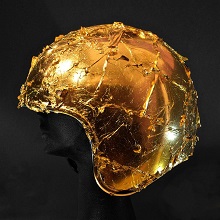
Chameleon paint is a well-known special paint that has existed for about thirty years. It creates a visual effect of color change depending on the viewing angles. The color shift can vary between 2, 3, 4, or even up to 6 different colors depending on the observation angle. The chameleon effect is spectacular, yet painting with Chameleon paint is relatively easy and does not present major difficulties, even for novice painters. This tutorial outlines the four steps to successfully apply Chameleon paint.
How to successfully paint a Chameleon in 4 steps?Step 1 ► Prepare the surface Step 2 ► Apply a black base coat* Step 3 ► Apply the Chameleon paint Step 4 ► Apply Clearcoat |
Scope of application:
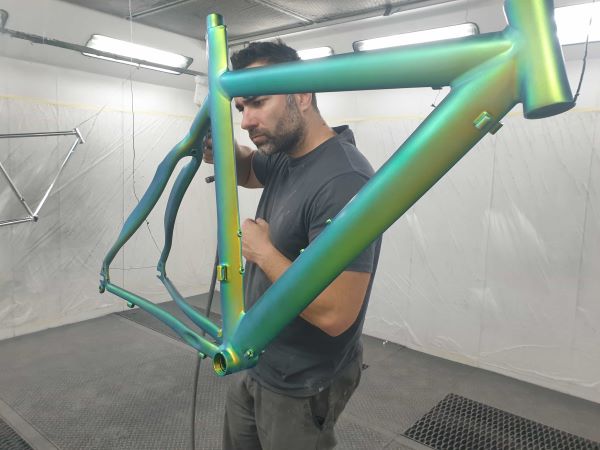
These general steps for applying Chameleon paint are applicable to any type of surface, whether it is an object, a statue, a bicycle, or a vehicle.
Over time, Chameleon paints have evolved thanks to technological innovations in pigments, allowing the creation of more colors, more intense shades, and also more cost-effective options.
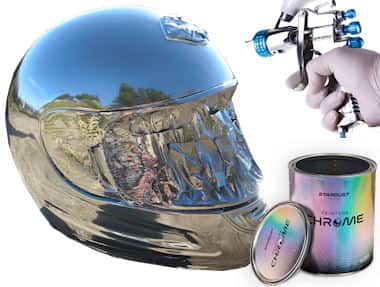
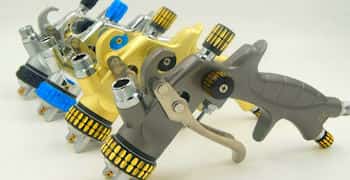
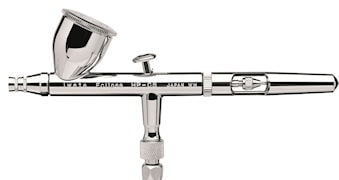
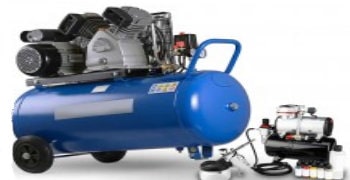
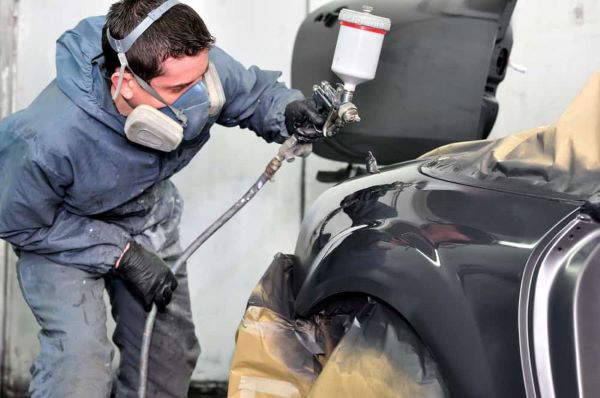
Today, it is possible to paint any object or vehicle with Chameleon paint. The application can be done using a spray gun, an airbrush, or an aerosol can.
Chameleon paints are remarkably versatile, as they display their effects under any type of lighting. They are also highly resistant to high temperatures and are not sensitive to UV rays or sunlight.
 Step 1 ► Preparing the Surface
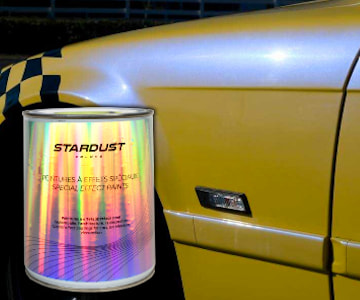
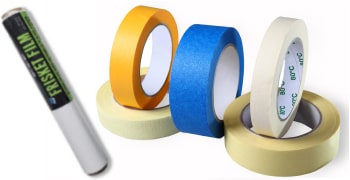
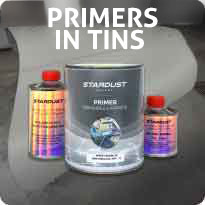
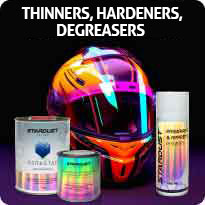
Preparing the surface is not an optional step; it lays the foundation for a sound and durable paint job. Chameleon paint can be applied to any surface, support, or material, but the key is proper preparation. Chameleon paint should not be applied directly to a raw surface; it must always be applied over a black base coat. If painting a raw material such as metal, plastic, glass, or others, a primer or adhesion promoter is necessary. Stardust offers black primers available in cans or aerosols sprays.
The base must be sanded with P500 grit sandpaper, primed (if needed), degreased, dust-free, and dry before painting.
Step 2 ► Applying a Black Base Coat*
Chameleon paint must typically be applied over a black base coat to reveal its colors. Exceptionally, a Chameleon effect can be applied over another color to create a variation of the chameleon effect.
The black base coat can be a paint or a primer.
When painting a car body, fairings, or a bicycle frame and the surface is in good condition, the simplest approach is to skip the primer and apply a black base coat for spray guns or an aerosol black paint
Applying Chameleon Paint Over the Black Base Coat
Inter-coat adhesion is crucial. There are two ways to apply Chameleon paint over the black base:
→ Apply the Chameleon paint immediately after the surface drying of the black base coat (solvent-based basecoat). This touch-dry stage usually occurs after about 30 minutes at 20°C (68°F).
Or
→ Allow the black base to dry completely, then sand with P500 grit sandpaper before applying the Chameleon paint.
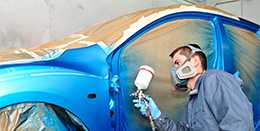
Step 3 ► Applying the Chameleon Paint
→ Application Summary : The paint should be applied in thin coats until the optimal color coverage over the black base is achieved.
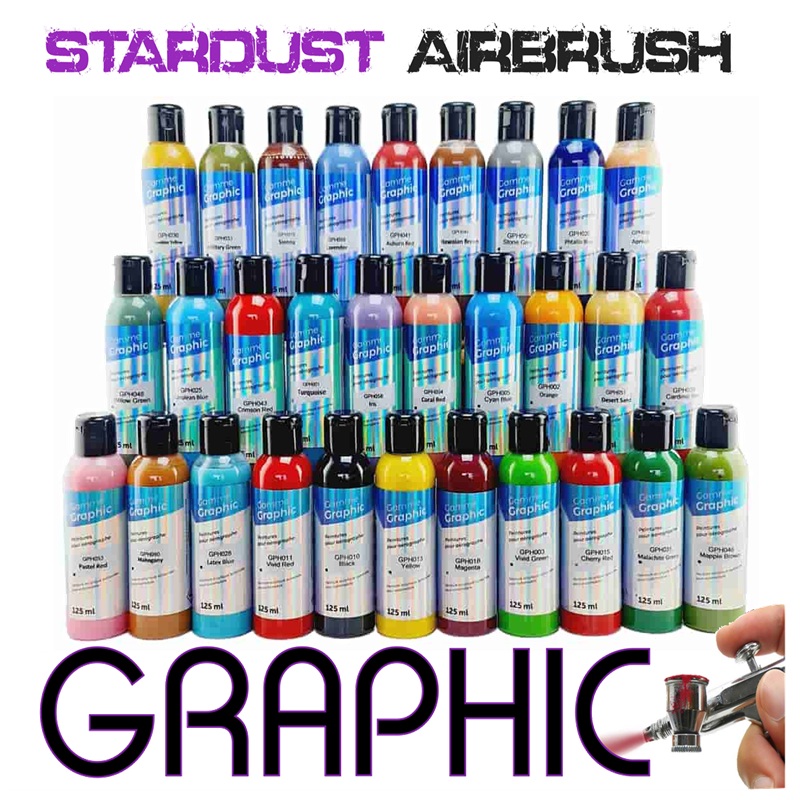
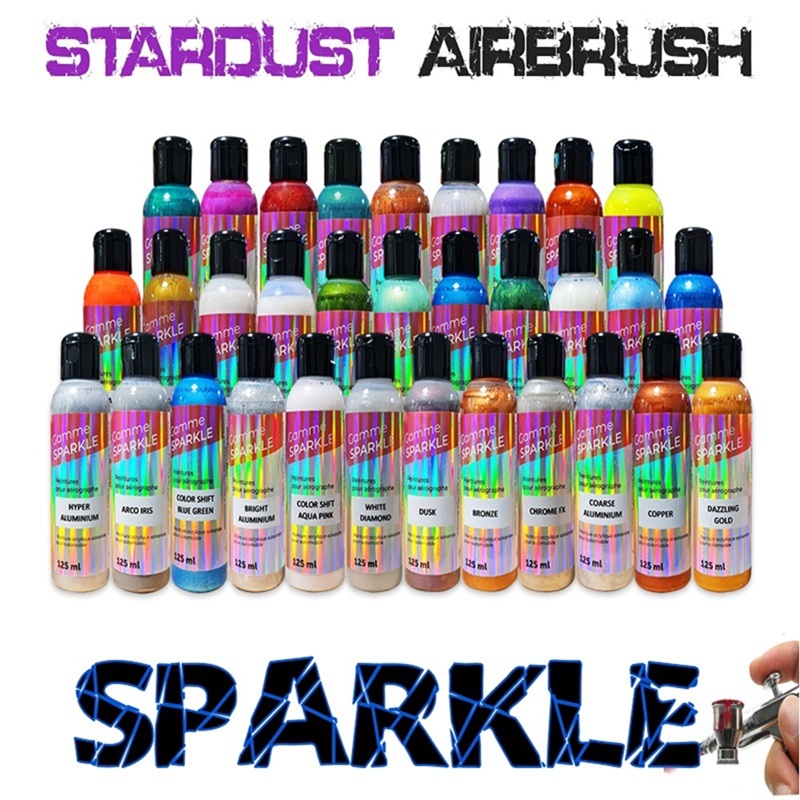
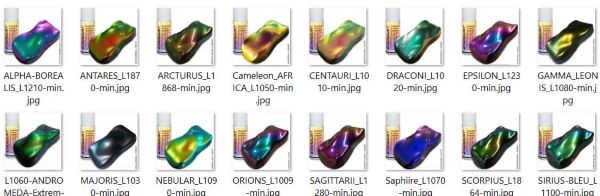
Different Types of Chameleon Paint
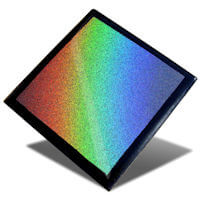
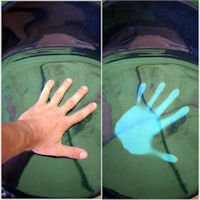
Chameleon color-shifting paint can appear colorless or colored in liquid form, but its wet appearance does not match the final dry look. The final color results from light reflection and viewing angles.
Different formulations exist :
- Waterborne automotive paint
- Airbrush water-based paint
- Spray can paint
- Solvent-based automotive paint
♦ The main difference between water-based and solvent-based formulas is their composition and drying speed. Water-based paints require more drying time between coats, whereas solvent-based paints are easier to apply due to their thinness and fast drying.
♣ Chameleon paints contain micro-particles resembling flat flakes that change color. These particles range from 10 to 100 microns in size. When the flakes align in the same direction, the color-changing effect is optimal. Therefore, it is essential to apply very thin layers to ensure the pigments lay flat and parallel to the surface. Applying thick layers can cause a disorderly pigment arrangement, reducing the color shift effect.
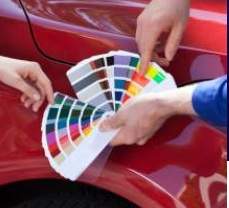
Mixing
Chameleon paint must be mixed according to the technical data sheet instructions. Stirring or shaking the paint before use is crucial. Some versions come ready to use, while others require dilution to facilitate spray gun or airbrush application and ensure thin-layer application.
Coverage and Yield
- 1L of pure Chameleon paint covers approximately 6-7m²
- 1L of diluted, ready-to-use Chameleon paint covers about 4m²
- 1 aerosol spray can covers 0.4m² max
Application Tips
Do not rely solely on a predefined paint quantity per square meter (e.g., applying 100g/m²) or a fixed number of coats (e.g., applying 3 coats).
► Chameleon paint should be applied in thin layers until the black base is fully covered. This typically requires about 4 coats, but this depends on the layer thickness.
⚠ Do not apply more paint than necessary—over-application can cause defects such as a whitening effect known as the "fish-eye effect."
⚠ Avoid excessively thin coats or spraying from too far away, as this can cause overspray defects where the paint dries before reaching the surface. This is more likely to occur in high ambient temperatures.
Drying and Overcoating
A water-based Chameleon paint dries in 5-10 minutes per coat and can be clear-coated within 24-48 hours without sanding.
A solvent-based Chameleon paint dries in 1-2 minutes per coat and can be clear-coated within 30 minutes at 20°C (68°F). Higher temperatures accelerate drying.
⚠ If clear-coating is delayed, lightly sand the Chameleon layer using a gray abrasive sponge to ensure adhesion.
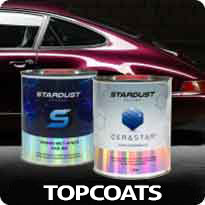
 Step 4 ► Applying the clearcoat
Once dry, Chameleon paint has a matte appearance. A clearcoat is necessary to protect the paint and reveal its full visual potential.
A high gloss clearcoat is typically recommended for Chameleon paint, as it enhances the sparkle effect of the pigments.
Any type of clearcoat can be applied, depending on the intended use of the object or vehicle.
A matte clearcoat can be applied without affecting the color-shifting properties, but it will eliminate the reflective effect of the Chameleon pearls.
Clearcoat application
Clearcoat should be applied as per the technical data sheet instructions. Generally, two glossy coats should be applied with 10-minute intervals between each coat.
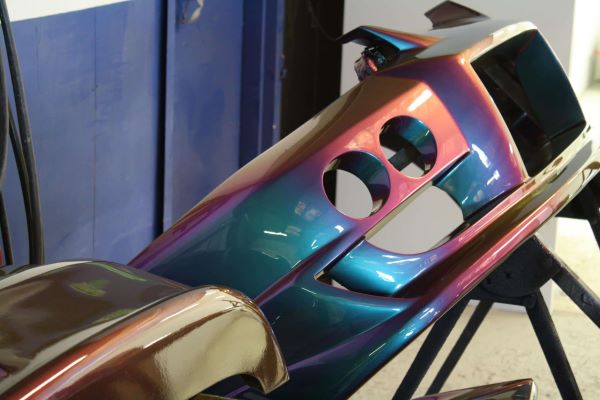
Final appearance of Chameleon paint
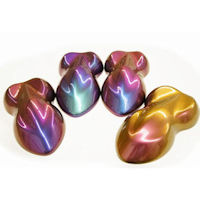
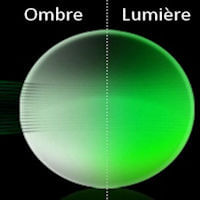
The full color-changing effect becomes visible only after applying a high-gloss clearcoat. Chameleon paints can reveal up to six different shades depending on the viewing angle:
- Two primary colors appear at direct angles between 30° and 150°.
- Secondary colors become visible at extreme angles between 0-30° or 150-180°.
With proper application, the spectacular Chameleon effect will be fully showcased, offering a stunning color transition under varying angles and lighting conditions.