


 Boat painting techniques: maintenance, anti-fooling and customization
It is possible to paint a boat with personalized decorations or special effect paints. To help you paint your boat with a custom paint, here is a 6-step tutorial with all the specifics of the techniques applied to painting on the different parts of the boat, from maintenance to application on the submerged parts, primers and putties, anti-fouling (steps 1 to 3) and layers of decorative paint on the exposed part (steps 4 to 6).
Submerged part
Step 1 ► Clean, scrape, sand the hull
Step 2 ► Prepare the hull surface: apply primer and putty
Step 3 ► paint the anti-fouling
Emerged part
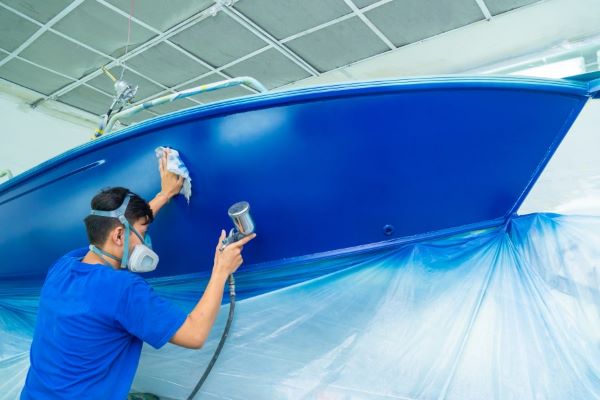
Step 4 ► Prepare the surface and paint the primer
Step 5 ► Apply paints and decorations
Step 6 ► Apply finishing varnish
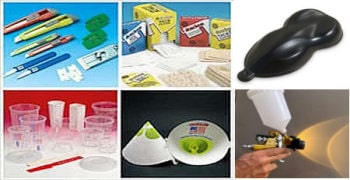
♣ The equipment and products needed to paint a boat
In order to protect yourself from dirt, but also from solvent-based paints, which are dangerous products, we strongly recommend that you wear a paint suit, nitrile gloves, goggles and a paint respirator mask.
Consumables and equipment
♦ Sandpaper P220, P320, P500 (Number of grains per square centimeter)
♦ Green abrasive sponge
♦ Putty spatula
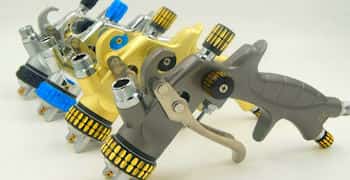
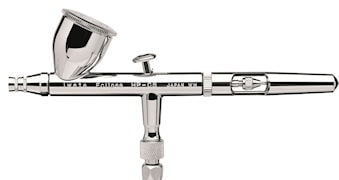
♦ Paint gun and paint roller
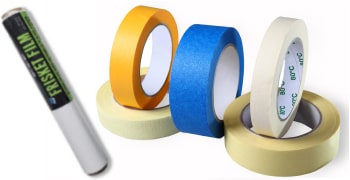
♦ Masking adhesives
♦ Sticky stamp
Products
♦ Anti-corrosion primer
♦ Putty
♦ Degreaser
♦ Cleaning thinner
♦ Ceramic varnish
How to paint on a boat? The 3 steps for the submerged phase
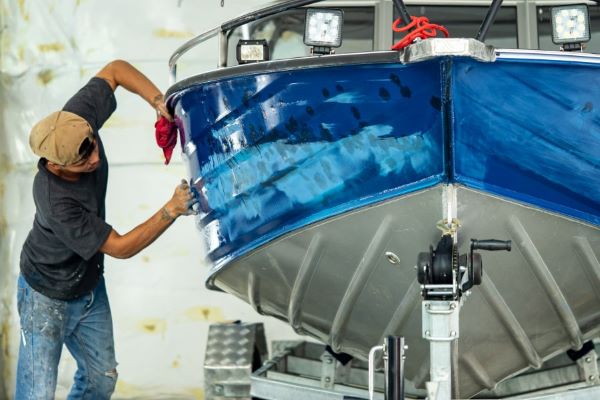 Step 1 ► Clean, scrape, sand the hull
Once the boat is out of the water and installed on the ramp, the first step in a boat painting job is cleaning. This preparation is an essential step to which maximum care must be taken, in order to optimize the good performance of the paints that are applied to the hull of the boat.
► Firstly, you will need to sand the hull over the entire surface to be repainted. The aim of this step is to allow and guarantee perfect adhesion with the different coatings that will be applied. Use a sander or sand by hand with a sanding block.
♣ It is possible to use both an abrasive sponge or an abrasive sheet. The sanding grain depends on the product applied: refer to the technical sheet for the primer (generally P320), putty (generally P220) or anti-fouling paints (generally P320).
♠ Use water constantly when sanding: this has several advantages, allowing easier sanding, avoiding clogging the abrasive sheet and directly evacuating sanding residue. So, after drying, the surface of the hull, which we want to paint, will be almost already clean.
► Scrape, sand, remove: it is important to inspect the entire surface, from the bow to the stern, to identify areas where the paint is coming off (blisters), areas where the paint is broken or to detect all dirt, as well as marine elements which may have stuck to the hull paint. Check the condition (play, corrosion, etc.) of the various elements below the hull of the boat, in particular the rudder, the rudder ring, the engine cooling circuits, the propeller, the shaft. propeller, anode...
► Rinse with clean water, or even soapy water or a little detergent. Then let it dry.
Step 2 ► Prepare the hull surface: apply primer and putty
Surface preparation mainly consists of:
→ the application of an anti-corrosion product to preserve the metal area
→ Leveling, with filling of holes, cracks
On the cast iron keel, use a high performance primer to be able to both adhere to this particular metal surface, but also preventively and curatively block oxidation (rust).
For excellent effectiveness on all types of metals, we recommend the Aluminum/Zinc 714 primer which of course also works on all steels and cast iron. It is particularly indicated on the aluminum hull.
After scraping and sanding, openings, cracks or even holes may appear, which should be filled and filled with a putty.
The putty is an epoxy or polyester product, which hardens quickly when you mix its filler part with its catalyst part. It must be applied with spatulas and smoothed quickly. After hardening, it can be sanded with P220 then P320.
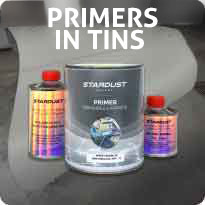
After applying these high performance anti-corrosion primers and sealants, it is recommended to apply a primer. It is an additional layer of protection, one of the functions of which is to create a more regular, smoother and perfect surface. The primer is easy to sand (with P320) and dries quickly.
For this, we recommend the use of high-thickness filling primer P410.
♣ For very high-performance protection of metal surfaces, we offer an F294 epoxy primer which provides adhesion to all metals and long-lasting protection, for all types of boats, in the most extreme conditions.
The surface is now prepared, with detailed examination, corrosion treatment and hull surfacing. All that remains is to do a good cleaning with a degreaser.
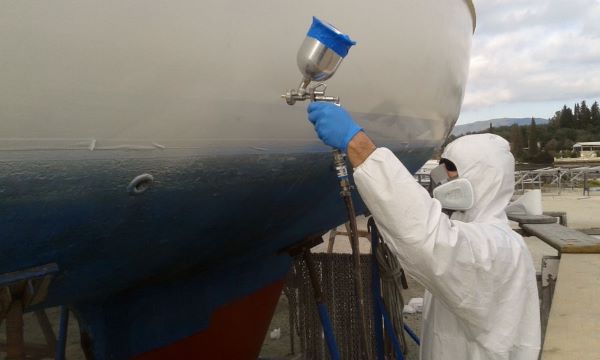 Step 3 ► paint the anti-fouling
► Demarcate the waterline
Before painting the boat with anti-fouling, apply adhesive masking to demarcate the areas to be painted and the areas to be reserved.
Our thin PVC lines are suitable for stretching a large distance in order to draw a straight line. Masking is done with classic paper adhesives, which we offer in different widths (48 mm or 96 mm).
In our adhesives category, we offer all of these products, as well as scalpels.
► Painting the boat with anti-fouling
Generally, application is done with a roller. Before starting the application, carefully study the different points in the technical sheet.
Respect the thickness, the covering times between each layer and the final drying.
It is advisable to cross the layers, with the final layer in the horizontal direction, that is to say in the direction of flow, to improve sliding in the water.
Removal of adhesives must be done quickly and before the anti-fouling coating has completely dried.
How to paint the exposed part of a boat?
It is possible to paint a boat using automotive type paints.
This is the best quality paint, not only in terms of appearance and visual effects, but also in terms of resistance, not only to water, humidity, salt spray and also of course to UV, since an automobile paint is intended to be permanently exposed outdoors and to last a good twenty years at least.
The pigments used in automobile paint, apart from a few special exceptions, are pigments that have almost no sensitivity to sunlight, so they do not whiten or lose their colors.
In the automotive paint system, paints are always coated with a varnish. The varnishes are acrylic polyurethanes, which ensure maximum UV resistance without any yellowing over time.
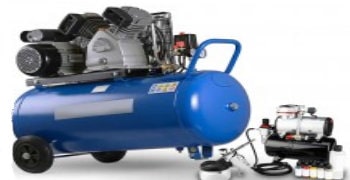
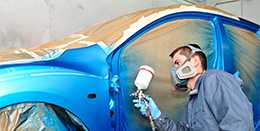
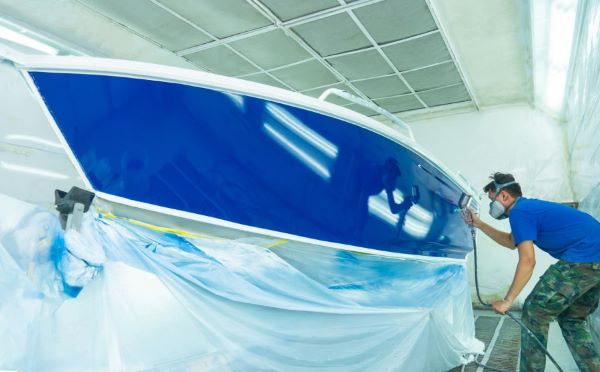
When painting a boat, you must follow exactly the same rules as when applying car paint. The method of application is done with a paint gun. It is not possible to use a roller.
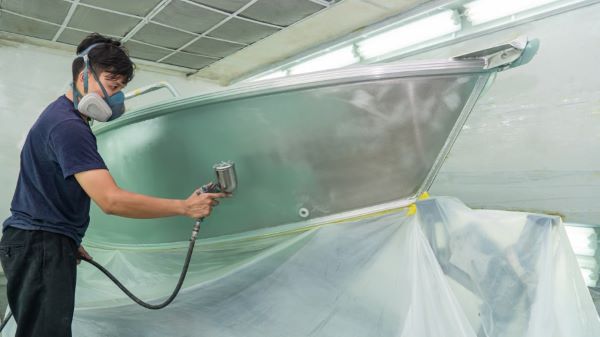 Step 4 ► Paint the Primer
A primer is not only used to repair the surface of the background and to smooth the support. It also allows you to create a homogeneous color for the background.
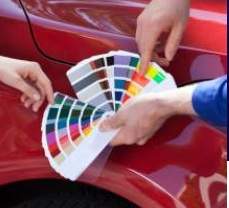
The color of the background must be specifically chosen according to the painting project that is going to be carried out on the boat. This is particularly and especially the case when creating complex and special paints, such as pearlescent paints, metallic paints, chameleon paints, etc.
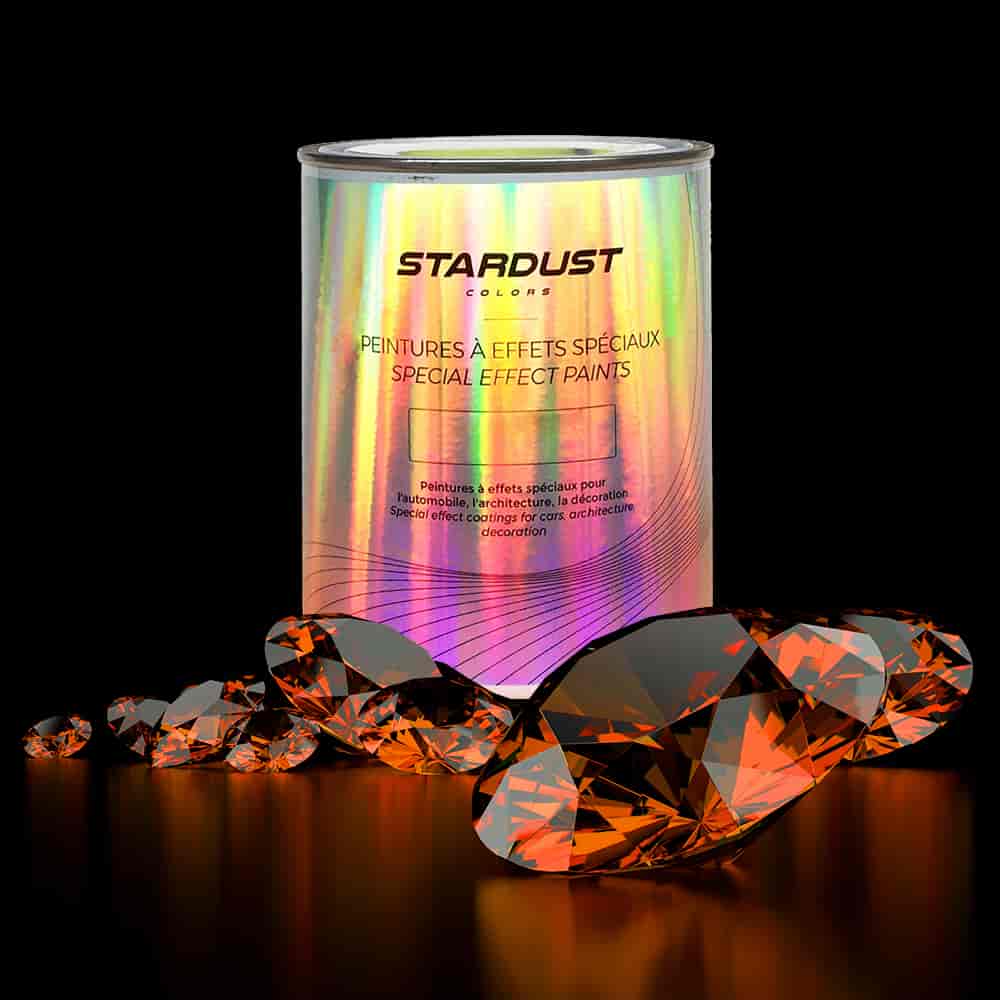
The primers therefore exist at Stardust in 5 RAL colors, that is to say:
- pure white (9010)
- the 3 grays (7035, 7040, 4016)
- Pure black (9005)
Take care to study the technical data sheet of the paint and know the necessary background color before painting it.
Sanding before painting the boat:
We recommend using a grit of sandpaper between 400 and 500 before applying any paint.
Step 5 ► Apply paints and decorations
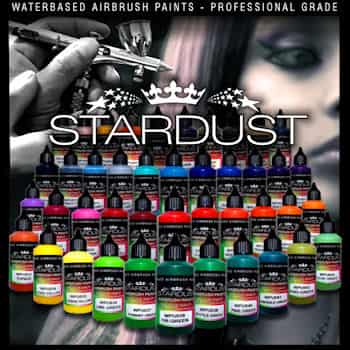
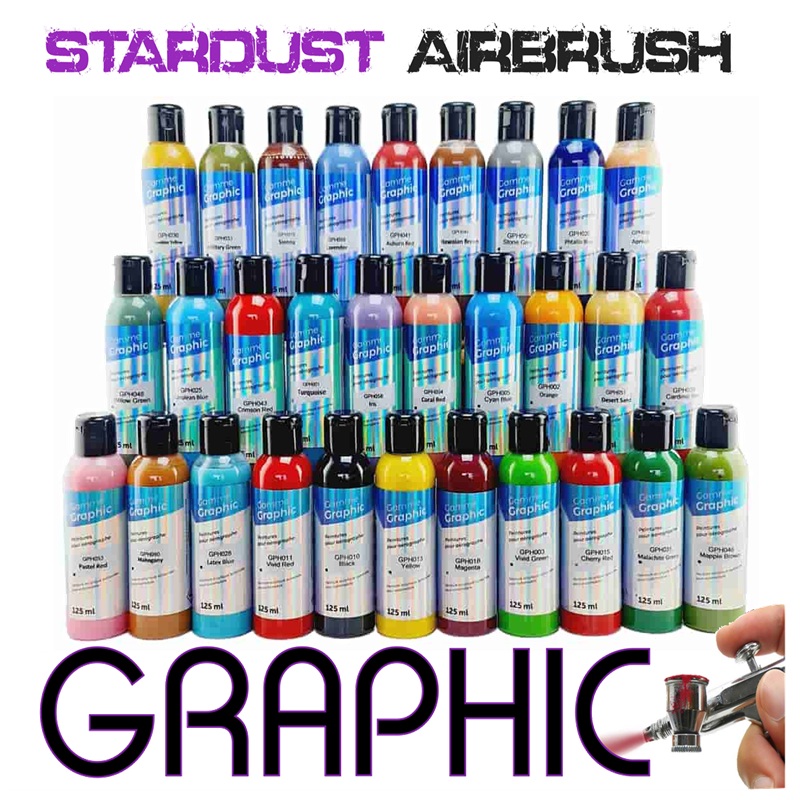
It is possible to create a personalized boat painting, thanks to the many spray painting techniques and thanks to the numerous paints and special effects offered by Stardust.
Here are some examples :
A → Juxtapose or superimpose 2 or more different colors.
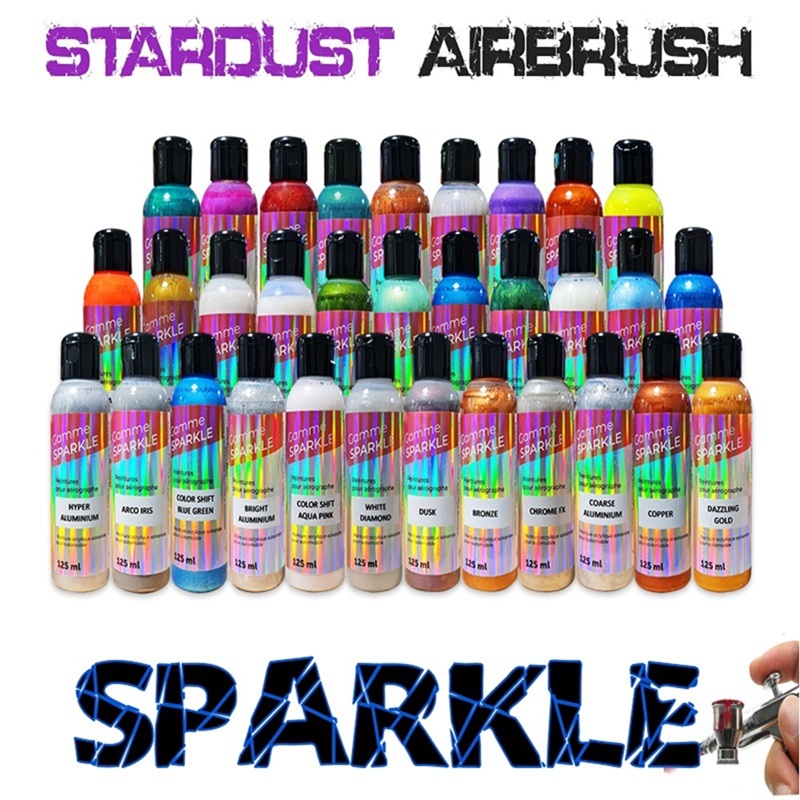
B → Apply glitter
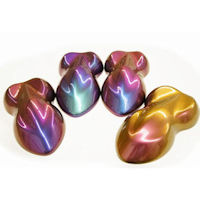
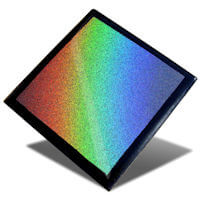
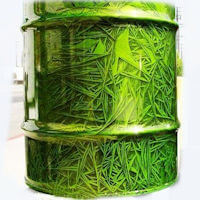
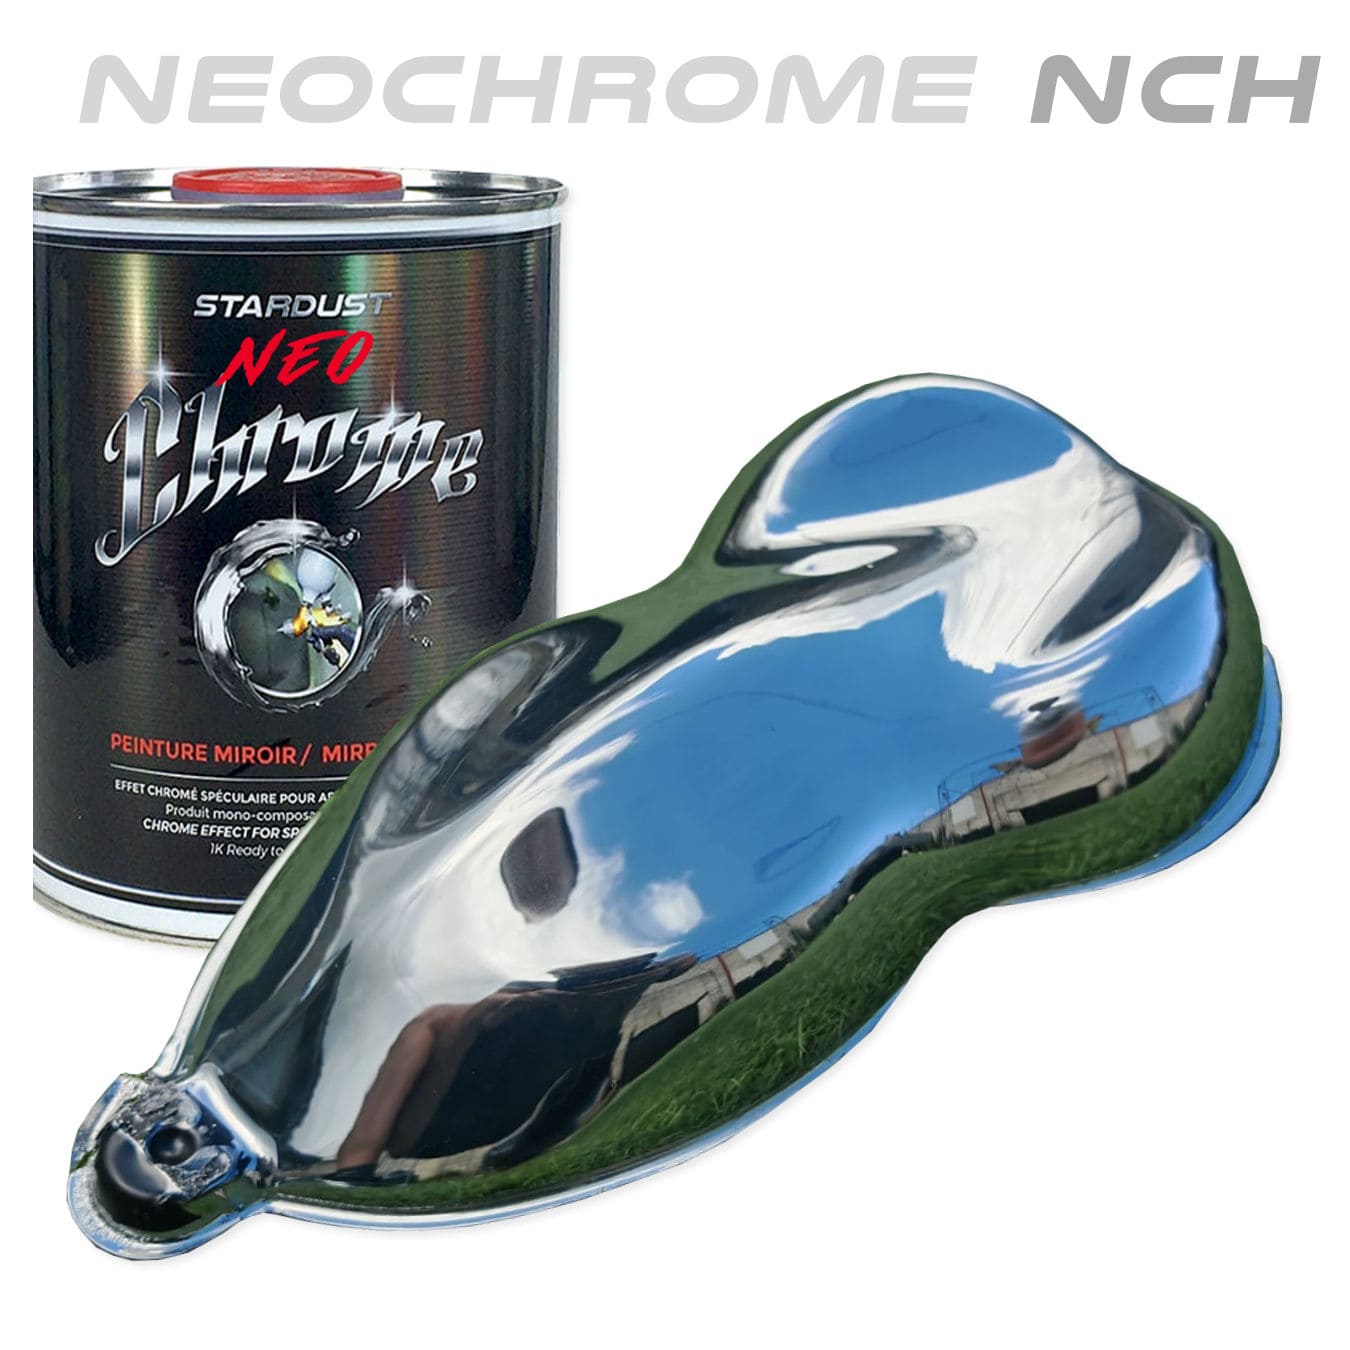
C → Use metallic or chameleon paints
Of course, creativity is only limited by the imagination and we will simply explain the technical summary of application for these 3 examples in this tutorial.
A ► Painting a boat with several colors
To achieve any color on a boat, you should not use polyurethane lacquer type paints: these products are slow to dry and are very thick. You must use single-component type paints, which allow very rapid drying, optimal finesse and easy work, particularly for decorations and graphics.
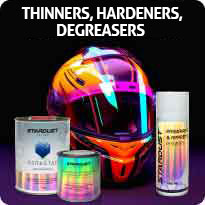
♣ If you want to strengthen the resistance of these paints, it is always possible to add around 3 to 5% polyurethane hardener.
To create the different decorations, we therefore use masking adhesives. Before applying adhesives or applying a new color, simply allow the underlying layer to dry completely (generally 1 to 2 hours for complete drying) and sand.
Covering the paints with another paint can therefore be done either after sanding (P500 grit required), or with the wet-on-wet technique (covering before 30 minutes, while the paint is still sticky). Of course, it is not possible to apply adhesives to a non-dry surface.
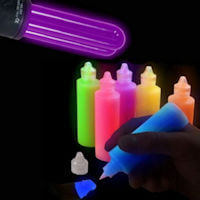
 B ► Painting a boat with glitter
Here is a trend that is currently spreading in the field of customizing boat paints.
Sequins are highly reflective particles or pigments (glass, or polyester). They are called glitters in particular for their size (width) which is notably larger than that of mother-of-pearl or that of metallic pigments.
There is a very wide variety of glitter, which comes in different colors, different families and different sizes. If you are interested in knowing the whole range of these sequins, then visit the mother-of-pearl and sequins category.
1/ Metalflakes glitter
This is the most beautiful option, but also a lot of work. Metalflakes are polyester flakes that have a certain thickness and also a certain weight. They are applied to the entire boat to create a glittery undercoat. We then apply several layers of colored varnish, to obtain a breathtaking result: the color is luminous and deep, the glitter sparkles in all directions.
♦ Primer: Black. Sanding 500
♦ Cover with varnish or binder + glitter (80g/m²)
♦ ST6000 varnish + concentrated Candy (5%): 5 coats
The entire job can be done with a gun ranging in size from 1.4 to 2.5 mm. ST 6000 varnish is used because it is the thickest varnish, with the highest filling power.
2/ Glitter in the surface layer
These are glitters with less thickness: Metalflakes Cosmic glitters or diamond glitters.
They occur on the surface in the varnish layer.
The advantage is above all a great saving of time and material savings. On the other hand, it is possible to use any background color (red, blue, yellow, etc.) because the glitter is transparent.
♦ Primer: Sanding 500
♦ RAL matt base paint
♦ ST 6000 varnish + glitter (10-20g / Liter)
Glitter can only be applied over opaque colors. They should not be applied over metallic boat paint, as the effect of superposition is canceled.
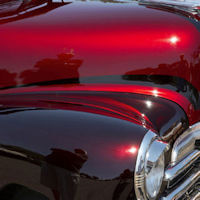
C ► Painting a boat with effect colors
Most paints and colors used on land or air vehicles can naturally be used to paint a boat.
The only aggressive element specific to the marine environment is salt, which is a factor accelerating oxidation and corrosion.
Automotive varnishes are solvent-based polyurethane acrylics which provide maximum protection against the sun, water, and even salt. The varnish which is responsible for protecting all layers of paint as well as the support.
Find the full range of the best bodywork varnishes here.
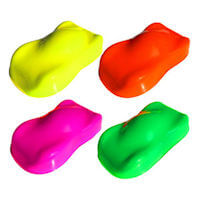
⚠ It is totally not recommended to use paints that are not very resistant to the sun (like fluorescent ones for example).
It is of course possible to apply more thickness: A varnish should always be applied with 2 coats and it is totally not recommended to apply more coats, as this not only lowers the level of shine, but it can also generate faults. To apply more thickness, simply apply 2 coats after 24 hours of drying and light sanding with 500 paper.
Once the surface of the boat is properly prepared, this means that you can give free rein to your desires and tastes in terms of color and special effects. There is no shortage of choice in the Stardust product range catalog.
Here are some examples :
- metallic paints
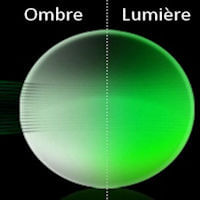
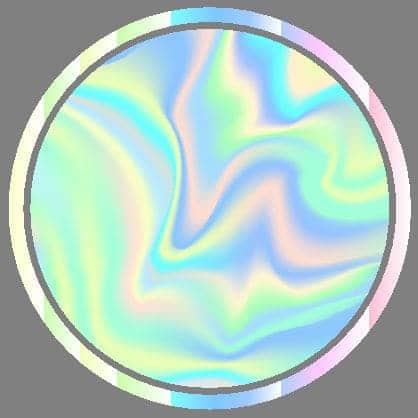
- pearlescent paints
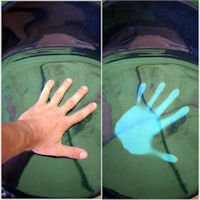
- chameleon paints (several color changes)
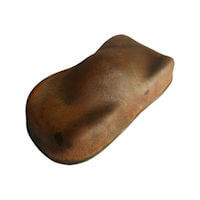
- OPAL paints (shell effect)
The implementation of these effect paints
The application is simple and is done with a spray gun. The application is always done from left to right, because you never cross layers when painting body paint.
First of all, you must apply a primer whose color corresponds to what is required by the effect paint, generally black. The white background color is used especially for white pearlescent paints and for some Opal colors.
- Black primer (drying, then sanding with P500 paper)
- Chameleon or metallic paint (application in thin and repeated layers)
- Varnish (application directly following within 30 minutes, or after complete drying and - - sanding with a gray abrasive sponge).
It is inevitable to get imperfections or dirt in the final varnish coat when applying varnish outdoors. Certain preventive measures, such as watering the soil, help to fix as much flying dust as possible. However, it is always possible in the end to polish to obtain a perfect, flawless varnish.
How to paint a car?
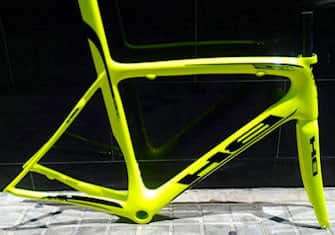
How to paint a bike?
How to paint a motorcycle?
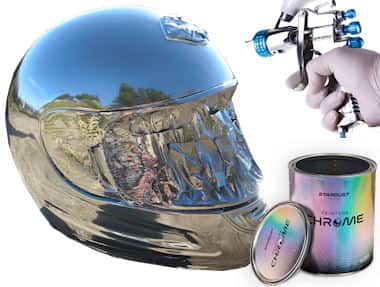
How to paint a helmet?
How to paint a quad?
How to paint a portal?
How to paint a chassis ?