


 How to touch up car paint in 7 steps?
In this easy tutorial, designed for unqualified individuals who wish to carry out bodywork paint repair for the first time, we present seven steps with detailed instructions for touching up car paint :
Step 1 ► Sand the surface
Step 2 ► Apply filler then sand
Step 3 ► Define the area and mask
Step 4 ► Apply primer and sand
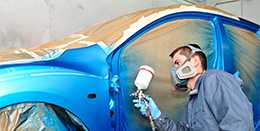
Step 5 ► Apply the paint
Step 6 ► Apply Clearcoat and Blend
Step 7 ► Polish and buff
All the necessary steps to touch up car or motorcycle paint are described in detail below.
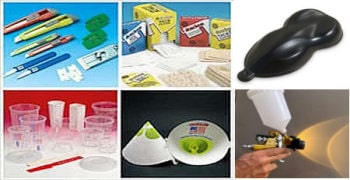
Before that, here is a list of necessary products, tools, and workspace preparations required to successfully perform a paint touch-up.
List of Consumables and Tools for Bodywork Touch-Up
1 Abrasive papers: Grits 220, 320, 500 – for various sanding stages of filler and primer.
1 Sanding block: for flat and efficient sanding.
1 Filler Spreader (only if using filler)
1 Tack Cloth: for removing dust before applying clearcoat.
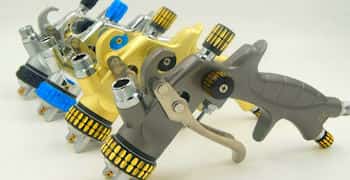
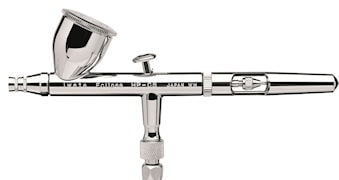
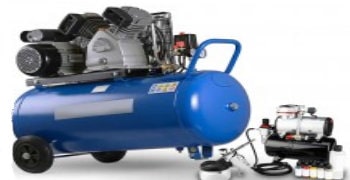
1 Spray gun (any nozzle between 0.8 mm and 1.4 mm)
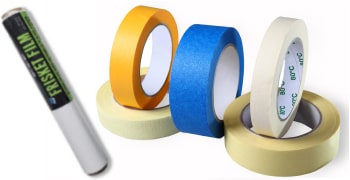
1 Masking Tape (24 mm or 48 mm) – paper-based.
1 Respiratory mask
List of Products for Bodywork Touch-Up:
Degreaser
Cleaning thinner (not required if using aerosol cans)
Filler (only necessary for major scratches or dents)
Primer
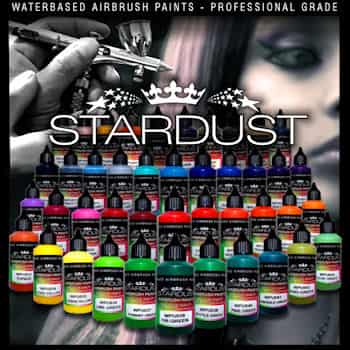
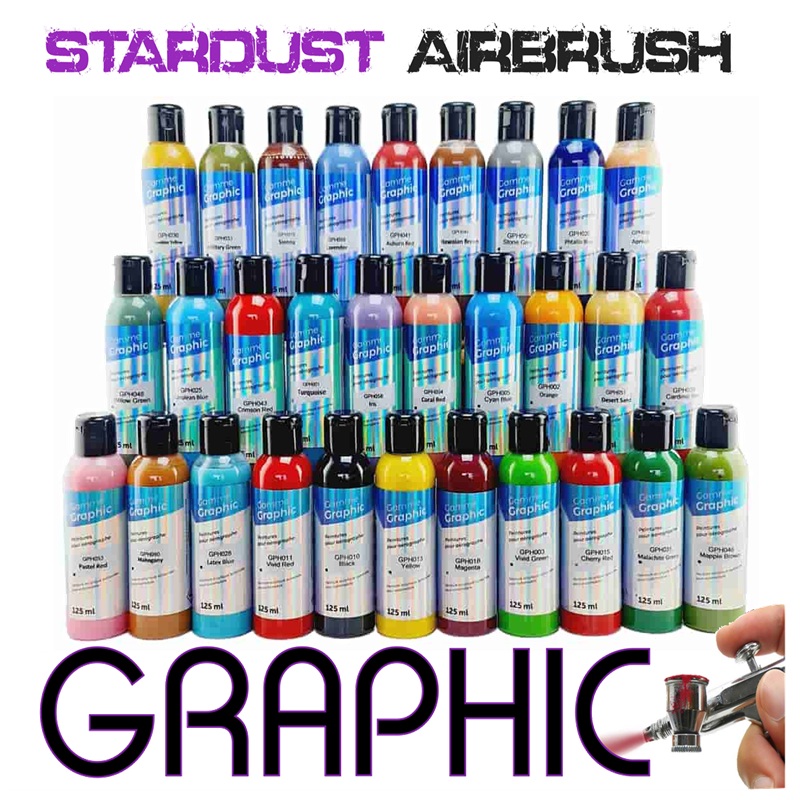
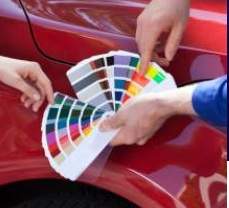
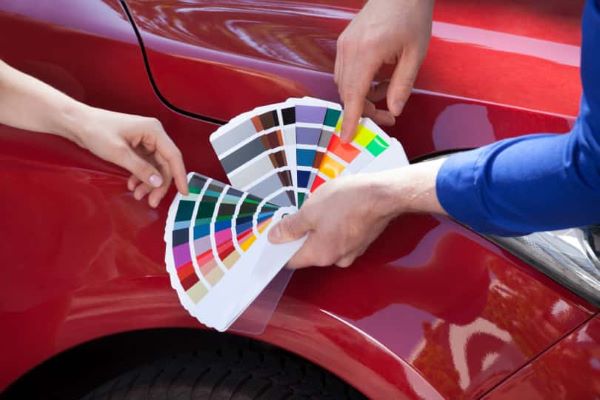
Paint: Original vehicle colour obtained via the colour code.
Clearcoat
Most of these products are available in aerosol cans or in tins on our website. Feel free to contact our technical support for advice (tech@stardustcolors.com)
The Ideal Workspace for Bodywork Touch-Up:
To protect yourself from fumes, work in a well-ventilated area with adequate air circulation (air intake and exhaust) to quickly remove paint fumes during spraying.
Choose a clean, dust-free, and well-lit area. Wetting the floor and walls can help trap residual airborne dust.
How to touch up bodywork paint?
When considering a bodywork touch-up following a scratch or impact, it's important to assess the extent of the damage to determine the necessary steps and products.
⚠ Only perform the essential steps, using the minimum required work and products – not every step is always necessary.
Step 1 ► Sand the surface
The first step in touching up a car’s paint is to sand the area using abrasive paper. This ensures that the products adhere properly, preventing peeling and adhesion issues over time.
→ Use P220 grit if applying filler.
→ Use P220 or P320 grit if applying primer.
⚠ Sanding must be light and superficial, this is NOT a stripping process. Do not remove the paint or any underlying layers.
You can wet sand or dry sand.
Before moving to the next step, apply degreaser with a cloth and clean the surface thoroughly.
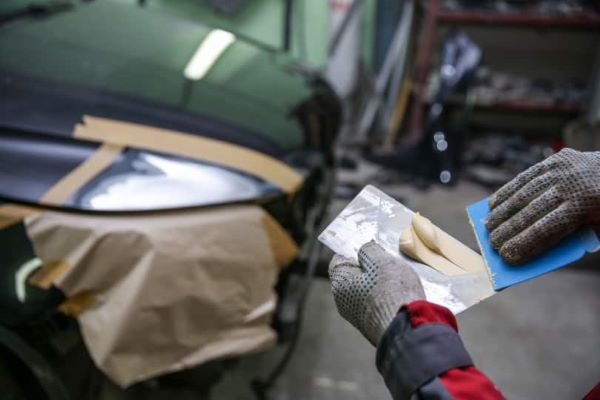 Step 2 ► Apply Filler and Sand
♣ In most car touch-up cases, filler is not required.
This step involves applying a thick layer of filler to restore the surface after deep scratches, dents, or impacts.
→ Apply filler if the defect is deeper than ½ mm.
We have a detailed tutorial on using filler.
Filler adheres directly to bare metal, so it can be applied directly to exposed sheet metal if necessary.
Mix the filler with a red hardener at approximately 2%. Once mixed, the filler must be applied within 1-2 minutes before it hardens. Apply without delay and smooth with a spreader.
⚠ A clean application is crucial – excess filler means more sanding work later.
Sand with P220 grit, then P320 grit.
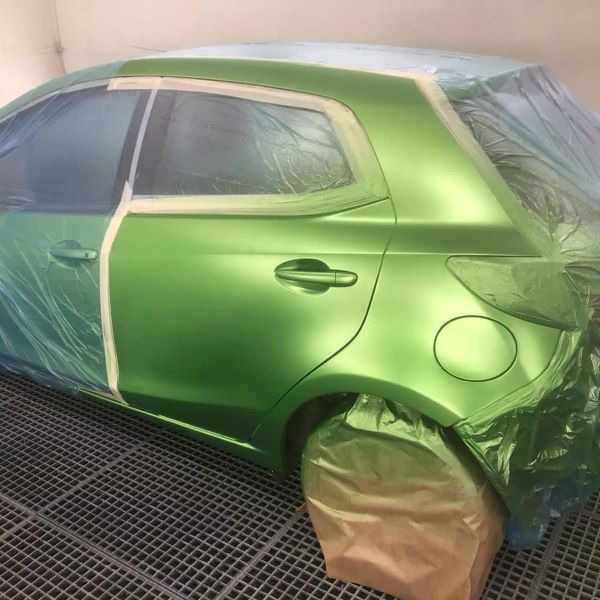
 Step 3 ► Define and Mask the Touch-Up Area
Before spraying any paint products, it's essential to protect surrounding areas that should not be painted.
It is always recommended to paint an entire panel rather than a partial area. A panel includes components like the bonnet, door, or fender.
⚠ Never place masking tape on the central paint area – this would create a highly visible demarcation line.
⚠ Avoid painting to the panel’s edges – subtle colour variations will be more noticeable.
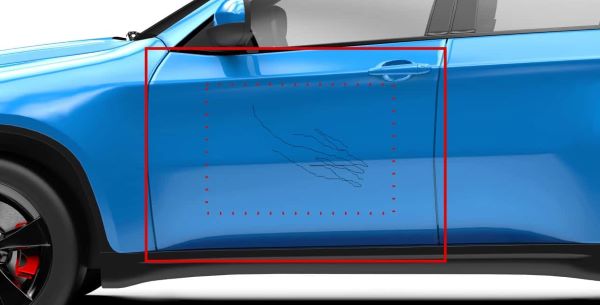
For small scratch repairs, paint only the affected area, blending into the original paint.
Use masking tape around the panel (red frame). Sand the entire panel with P500. Prime and paint only the central part of the panel. Apply clearcoat over the entire panel in the final step.
Avoid partial clearcoat application unless using a special blending technique (explained in Step 7).
Step 4 ► Apply primer and sand
It is recommended to use a primer even when there are no scratches. However, if the surface is perfectly smooth and the goal is simply to touch up the colour, it is possible to skip the primer step and apply the paint directly. In the case of pearlescent paints, it will be necessary to go through the primer step, as these paints are relatively transparent and offer low coverage.
Purpose :
Primer helps to create a flawless surface by filling in very fine irregularities, small holes, scratches, and slight uneven areas. It also allows for the creation of a medium-grey and uniform base coat.
When filler has been applied, using primer is mandatory—paint cannot be applied directly onto filler.
A single coat of primer is approximately 0.05 mm thick, or 50 microns minimum. Depending on the condition of the surface, it may be necessary to apply between one and three coats of primer.
Appearance :
Primer is a paint-like product with a thick but lightweight texture, making it easy to sand. It is usually supplied in grey shades. For automotive painting, the commonly used RAL greys are:
RAL 7035 (Light Grey)
RAL 7040 (Medium Grey)
RAL 7016 (Dark Grey)
Each automotive colour should be applied over a specific grey reference.:
Instructions :
Apply one or more coats of primer (5-minute intervals between coats).
Allow the primer to fully cure (2 to 4 hours at 20°C).
Sand with P320 grit, then P500 grit.
Remove as much of the total primer thickness as possible, without sanding through.
Observe the surface and feel it with the palm of your hand to detect any surface defects.
Degrease the surface before proceeding.
A sanding guide coat can be used to determine if further sanding is needed or if the surface is sufficiently prepared.
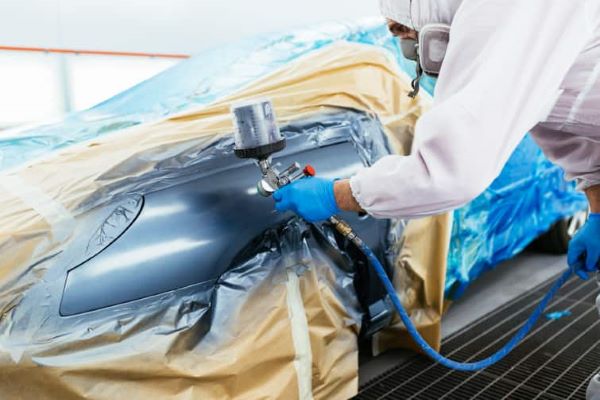 Step 5 ► Apply the Touch-Up Paint
At this stage, the surface is ready for painting—it is clean, smooth, and degreased. Just a few seconds before painting, a tack cloth should be used to collect any remaining dust particles on the surface.
The paint must be mixed according to instructions and used in a "ready-to-use" form, either from an aerosol spray can or a spray gun.
Advice !
♣ Applying multiple coats is necessary to achieve proper coverage. It is preferable to apply more thin coats rather than thicker coats. Always apply the coats from left to right, ensuring a sufficient drying time between each coat—this drying time varies depending on the ambient temperature.
♣ Whether using an aerosol or a spray gun, the key to a successful paint touch-up lies in a very smooth wrist movement. If possible, perform a blended application technique with the original colour to seamlessly integrate the new pain
After application, a visual difference may be noticed between the fresh, slightly glossy paint layer and the matte, sanded base layer underneath.
⚠ Do not apply degreaser on fresh paint if clearcoat is to be applied immediately afterward.
Step 6 ► Apply Clearcoat and Blend: The Final Step for a Car Body Touch-Up
Clearcoat should be applied quickly after painting to take advantage of natural cohesion between the fresh paint and the clearcoat. After 30 minutes at 20°C, adhesion between paint and clearcoat is no longer guaranteed without sanding. For pearlescent or metallic paints, sanding should be avoided before clearcoating.
Clearcoat should be applied over the entire panel, always in two glossy coats, with a 10-minute interval between each coat.
► The key to a flawless clearcoat application lies in the correct amount of product deposited on the paint. To achieve this, two key factors must be monitored:
♦ The distance between the spray gun or aerosol and the surface.
♦ Maintaining a stable application speed.
Can Clearcoat be applied to a partial area?
This is not recommended, but it is sometimes necessary for economic reasons, particularly for large parts such as a roof or bumper. To avoid a visible halo effect around the freshly applied glossy clearcoat, some painters use a “Blender”, —this is a solvent in an aerosol can that helps blend and integrate fresh paint into an existing painted surface.
Always remove masking tape before the clearcoat is fully dry.
 Step 7 ► Polish and buff, in case of micro defect
No matter how controlled the painting conditions are, it is impossible to guarantee a flawless clearcoat free of dust, insects, hairs, or small particles. Fortunately, minor surface defects can be corrected by polishing.
We have a detailed tutorial on the polishing techniques available on our website.
Before polishing, wait at least 24 hours to ensure the clearcoat is fully cured.
To remove minor defects, perform wet sanding using P2000 grit, followed by P3000 grit. Then, polish the surface using a buffing compound and a wool pad. The rotation speed and temperature increase during buffing help to restore gloss. Finally, finish the process with a fine black foam pad for an optimal shine.
All polishing products, including foam pads, wool pads, buffing compounds, and polishing machines, are available in our polishing category.
Product Quantities Required for a Paint Touch-Up
An aerosol can of paint, primer, or clearcoat can cover up to 0.5 m² in multiple coats (equivalent to a 1-metre by 50 cm rectangle).
To perform a car body touch-up on a surface of approximately 1 m², the minimum required quantities are: 250 g or 250 ml of ready-to-use paint and The same quantity for primer and clearcoat
→ If using a spray gun, it is preferable to choose products in tins rather than aerosols.
Using aerosols is not always the most efficient option. Aerosol spray cans typically contain a significant amount of propellant gas within their total advertised volume. For example, a 400 ml aerosol can usually contains only 100 ml of actual paint, with 300 ml of propellant gas.
How to repair a complete bodywork painting
How to polish and shine bodywork paint?