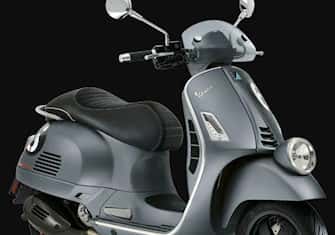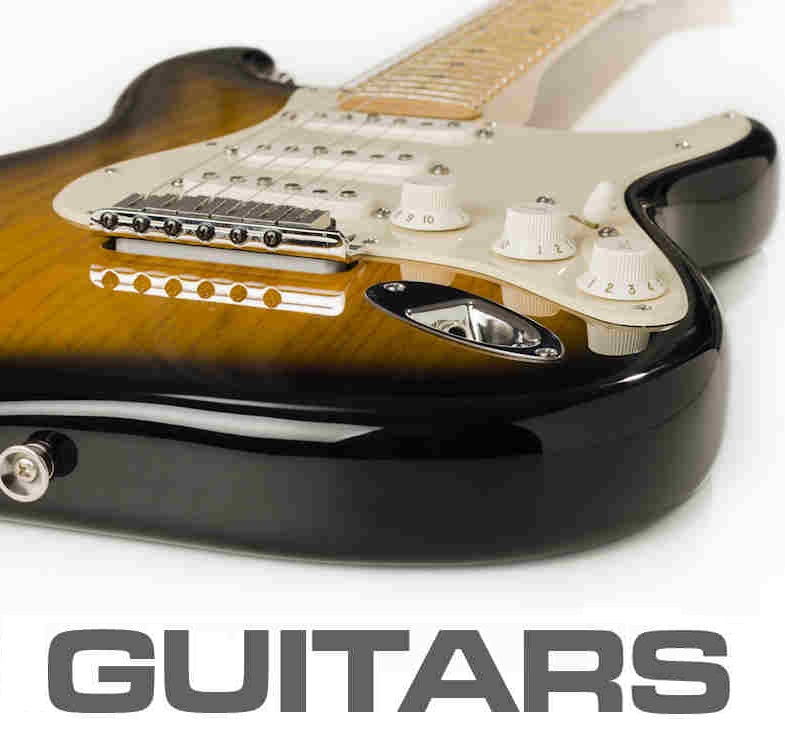


Motorcycle painting techniques: complete tutorial for beginners
Here is a complete tutorial written in collaboration with our painter specializing in custom painting on motorcycles, who will effectively explain the basic notions to you as well as certain specificities of the techniques applied to painting to redo the motorcycle painting of its fairings. We detail the pitfalls to avoid when you are not a professional painter and we give some techniques to increase efficiency.
Here is how to paint a motorcycle in 7 steps:
Step 1 ► Dismantling and fitting the motorcycle, choosing the right tools
Step 2 ► Preparing the surface before painting the motorcycle
Step 3 ► Priming - when and with which primer
Step 4 ► Sanding - the rule for covering the different coats
Step 5 ► Painting the motorcycle – manufacturer colors and application
Step 6 ► Painting the designs, logos and applying the stickers
Step 7 ► Clear coating the motorcycle – clearcoats and flex agents
Advice, tips for clearcoat
Don't skip steps, be patient and very careful!!!
Because you can't improvise yourself as a body painter, if you're not motivated or meticulous and you want impeccable motorcycle paintwork, it's more sensible to call in a body painter, if possible with good experience of motorcycle dismantling.
Here we explain how to paint a motorcycle for beginners. Painting a motorcycle requires patience, meticulous handling of the spray gun, and above all a good knowledge of the products, how to mix them and how to apply them. Taking the time to read, understand and scrupulously follow instructions will ensure the success of the project, even for a novice. That's the best advice you can give for a successful motorcycle paint job. So now, let's get painting!
How to paint a motorcycle: the 7 steps for a successful painting
Step 1 ► Dismantle the bike and position the parts for painting, choose the right tools
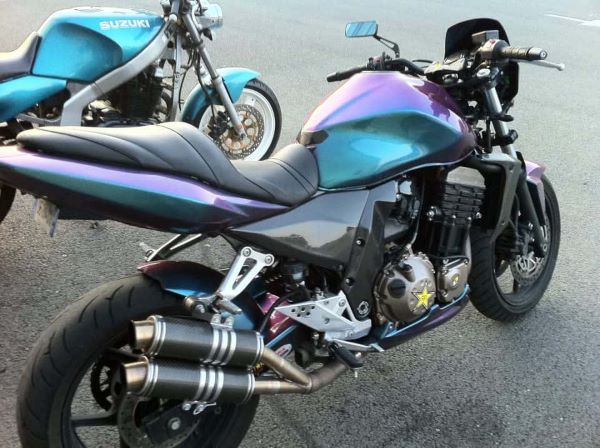
It is possible to paint a motorcycle only after dismantling the fairings, tank, guards, rims, etc.
The different parts must be stored in the painting space (depending on your case, a paint booth or your garage). They should be positioned flat, as much as possible, at hand level.
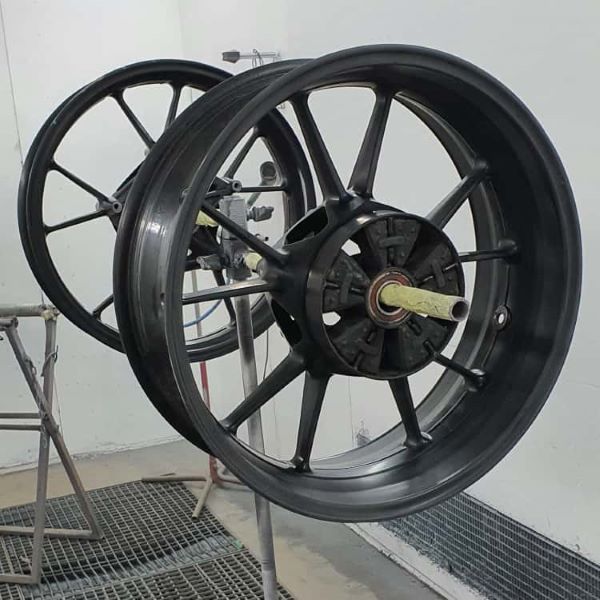
⚠ It's not advisable to paint on boards: grids are preferable, to prevent the spray paint from bouncing back when painting the motorcycle. Ideally, motorcycle rims should be mounted on a rotating support: this way, it's the part that rotates, not the painter.
Paint your motorcycle in your garage or in a paint booth:
The paint booth filters and ensures good air circulation. It protects the user and evacuates paint fumes so they don't fall back onto the bodywork. The ideal air flow is 1 meter / second.
 When you want to paint your motorcycle in your garage, here are the tips:
♣ The painting area must be well-lit and clean.
♣ Choose a location away from people. Ensure good air circulation or draught
(inlet and outlet).
♣ Enjoy mild temperatures (15-25°C) and dry weather.
♣ Spray and dampen floor and walls to trap dust before clear coating.
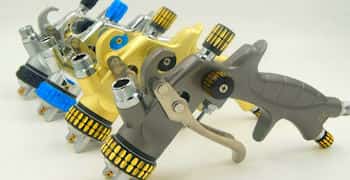
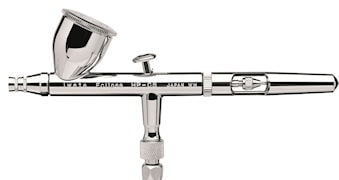
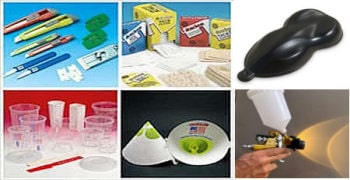
Choosing the tools and consumables for painting a motorcycle
Painting with motorcycle spray paint cans gives very good results. However, this is not very economical because each aerosol contains 75% propellant.
♣ Scalpel and heat gun
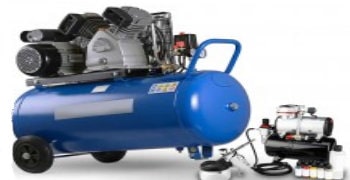
♣ Air compressor with air filter
♣ Paint gun
It is perfectly possible to do a very nice job with an economical gun. It is recommended to have a full-sized gun, rather than a mini gun. A medium nozzle between 1.3 and 1.5 is ideal for spraying all products, including primer, paint or clearcoat.
Step 2 ► Prepare the surface before painting the motorcycle

All motorcycle parts have paint and clearcoat on their surface. With the exception of motorcycle frames, it is never advisable to strip old paint.
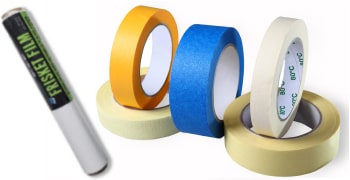
Remove stickers
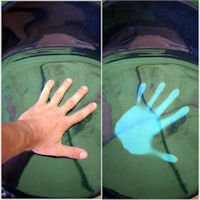
If you run your hand over the surfaces, you will realize that there are unevenness and adhesives, which are underneath the clearcoat. It is essential to remove them before painting a motorcycle. To do this, you must sand the clearcoat with 320 abrasive paper and then heat the stickers with a dryer to help them peel off, which is done using the tip of the scalpel.
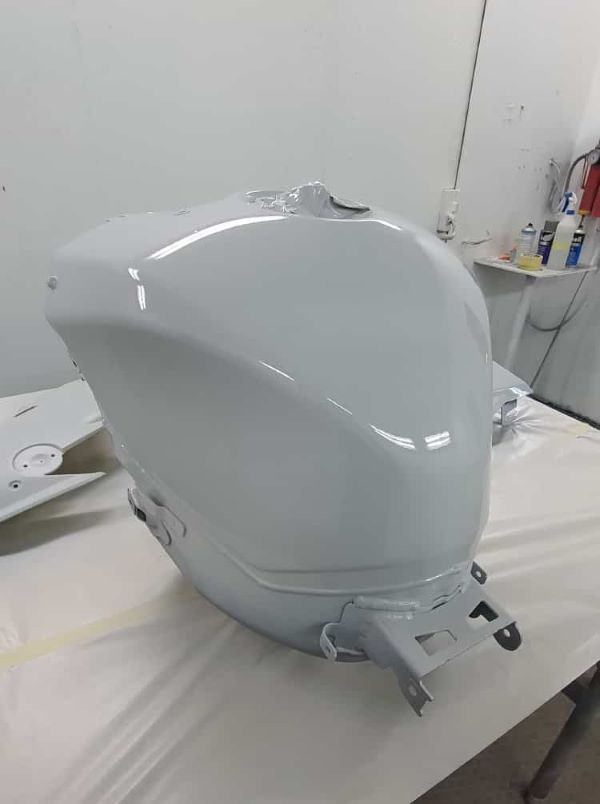
The reservoir
The motorcycle tank must be emptied and the hole must be plugged (packed with a cloth or adhesive). It is not recommended to make a clear adhesive mask in this area, because gasoline seeps under the paint layer more easily when there is a border.
Putty
If there are any dents, it is possible to apply a putty. On flexible parts, it is possible to apply putty provided it is of minimum thickness.
Sanding
Preparation is a very important step: sanding is carried out wet with P320 grit abrasive sheets. It helps reduce scratches and eliminate fine imperfections on the surface and above all it will help create the adhesion of the motorcycle paint.
⚠ We do not recommend using a sander on curved surfaces. Prefer manual sanding, if possible wet, by soaking your abrasive sheet in water. After sanding, rinse, dry.
Degreasing
Use a degreaser to remove any glues, silicones, greases, fuel, or any sort of invisible contamination that could create defects in the upper layers. Wipe the degreaser with a cloth then remove it with clean paper.
⚠ Do not leave degreaser residue on the fairings before painting the motorcycle.
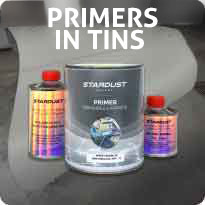
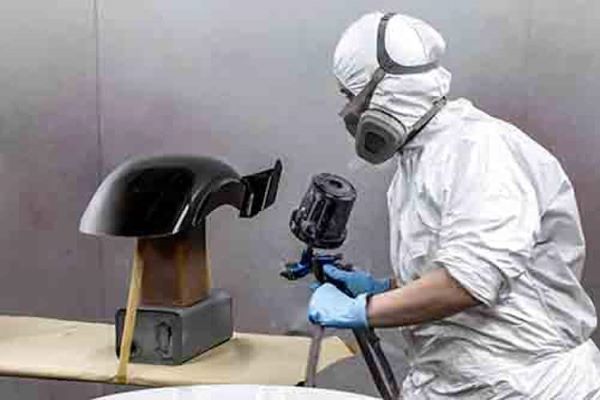
Step 3 ► Prime – when and with what primer
Apply 2 to 3 coats of filling primer
Leave to dry for 2 to 4 hours, then sand with 500 grade abrasive.
For your information, primers can have 3 functions:
• Join
• Level
• Create a background color
The adhesion promoter primer (e.g. metal, aluminum, fiber or plastic) is only necessary on raw and bare supports. Most motorcycle parts are generally made of painted steel or painted plastic and therefore do not need any adhesion primer.
The surfacer or filling primer: the professional versions are always two-component (primer + hardener) and are available in 2C aerosol or in a gun kit. They form a thick layer which fills and levels. After drying and sanding, a perfect surface is obtained!
Background color
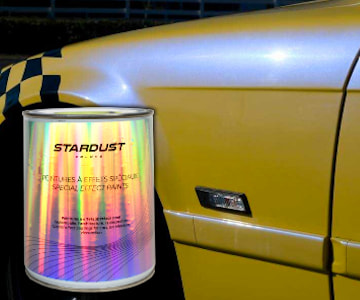
It is very important to have a single and consistent background color to avoid color problems. Additionally, most specialty paints need a white background or a black background. Finally, all motorcycle paint color codes require a specific primer color (Black 9005, Light Gray 7035, Medium Gray 7040, Dark Gray 7016, etc.).
Step 4 ► Sand - the rule for covering the different layers
Sand the primer with P320, then P500 with water*.
When carrying out the different layers and stages of a motorcycle paint, it is important to respect the sanding grains in order to obtain a guarantee of good resistance over time. Primer should always be sanded. It must be reduced to its minimum thickness in order to promote better flexibility on the fairings. There are actually no self-leveling primers that can be covered directly with motorcycle paint.
From the primer stage to clear coat, you will always need to have a base sanded with P500 before painting.
“Wet on wet” and covering within 30 minutes
Coats of paint can be covered without sanding, this is called covering with the “wet on wet” technique. This promotes perfect adhesion between the layers of paint and clearcoat.
This is the technique usually used by professionals to combine paint and clearcoat. The condition is to cover within approximately 30 minutes after application of the paint, because beyond this time, the varnish can no longer “cling” in a perfectly guaranteed manner.
When making decorations with several colors, you must let it dry, then sand with P500 before applying the next color. Sanding colors with metallic, pearl or chameleon effects should only be done with abrasive sponges.
♣ Wet sanding: Optional, it has many advantages over traditional “dry” sanding, since it avoids the formation of dust, clogging of the paper and heating of the support.
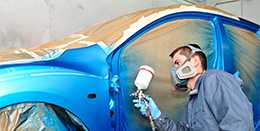
Step 5 ► Painting the motorcycle – manufacturer colors and application
This is where the serious things begin: the different parts of the motorcycle are ready: we are sure that the bottom is perfectly clean, dry, sanded and dusted, we can therefore get started:
Mixing and Application
♦ With a pre-diluted ready-to-use paint: apply directly
♦ With pure paint: dilute to approximately 60-70%
Apply 3 to 4 thin layers, so as to completely cover the background color and until the optimal color is obtained. Between each layer wait a minute or more, if the room temperature is cold.
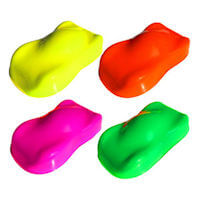
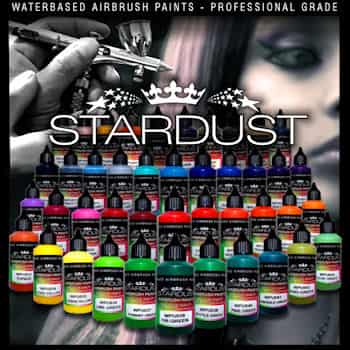
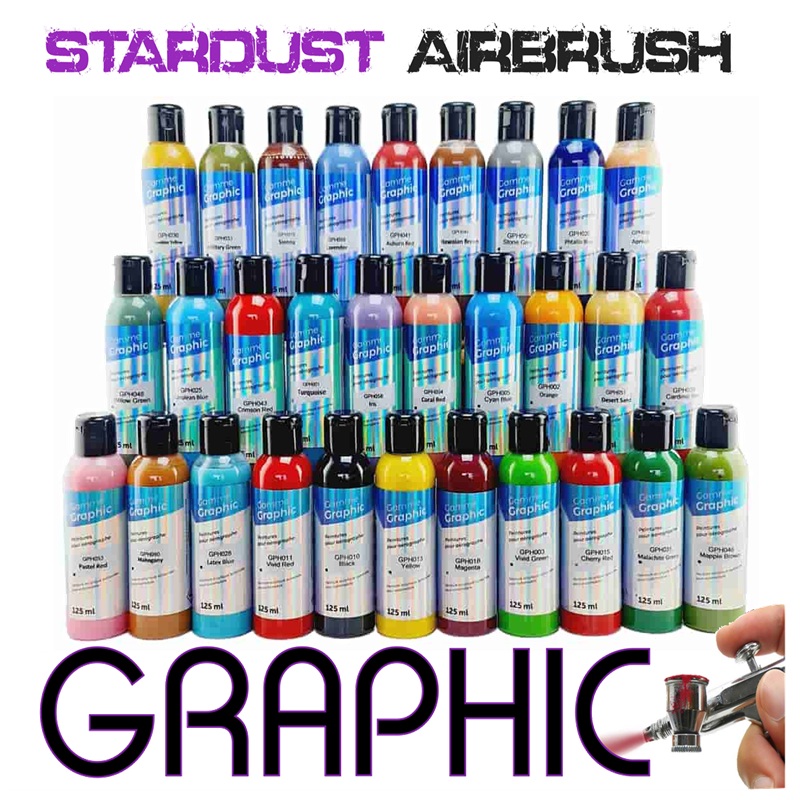
Types of motorcycle paint
There are color codes, for each brand of motorcycle, to designate the manufacturer's original color type paints.
In a pot or aerosol, these body paints are solvent-based or water-based and they are called '1K basecoat' or even 'two-coat paint'. They require a simple dilution in order to be very fluid. They will always be applied in thin layers to ensure optimal placement of the pigments.
As their name suggests, these paints must be varnished. They dry very quickly and a delay of 30 minutes is generally indicated for clear coating, before they ‘close’. It is therefore better to clear coat immediately.
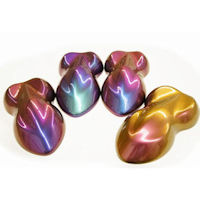
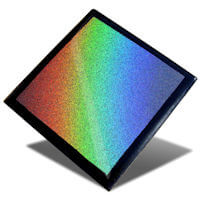
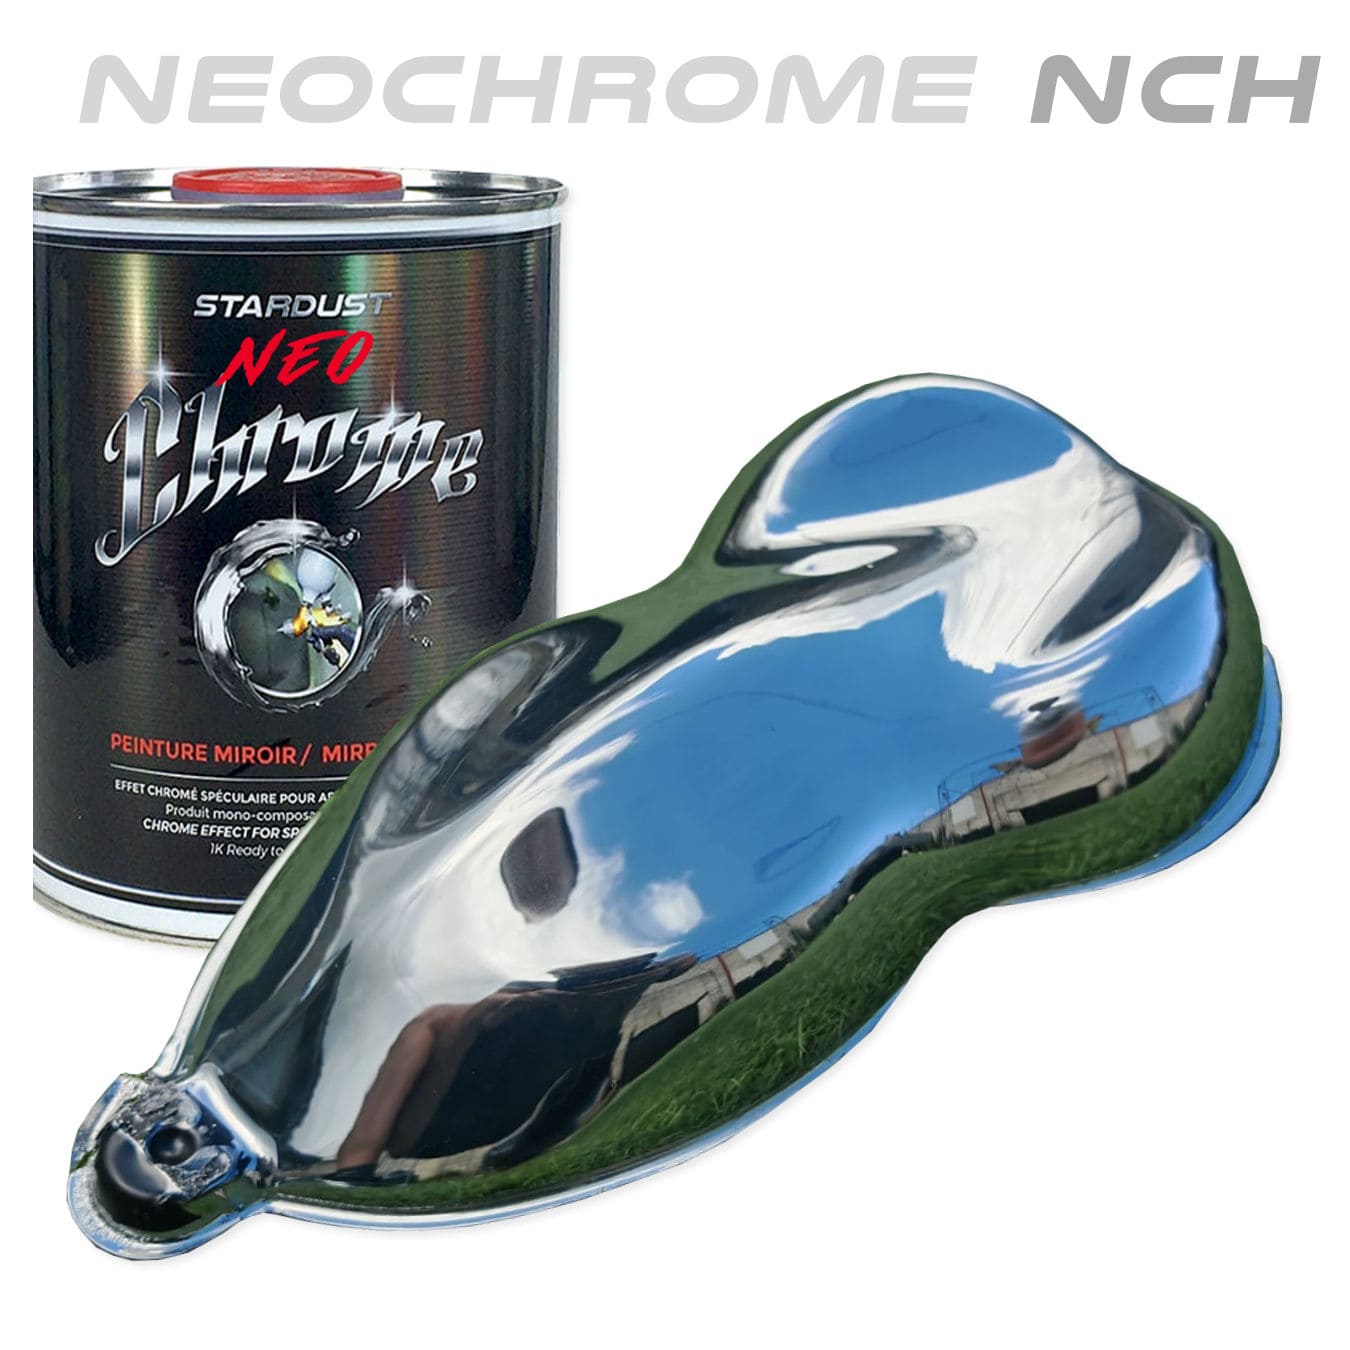
There are also special effect paints (Effect Paint Catalog (PDF link for each language /documents/en/catalogue.pdf) which apply in a very similar way.
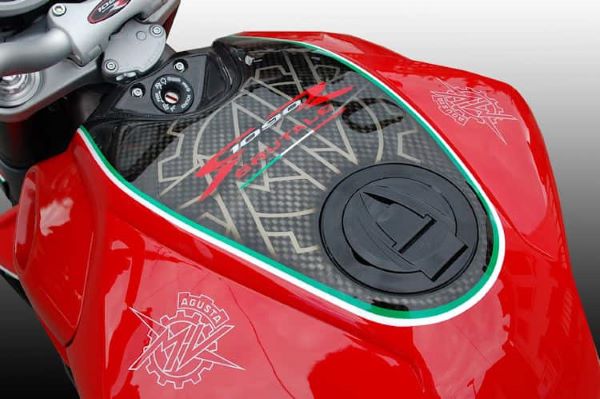
Step 6 ►Paint the decorations, logos and apply the stickers
as well as the majority colors, then finish with dark and/or minority colors.
It is important to plan the best strategy for superimposing layers and creating decoration, in order to create as little thickness as possible and work as efficiently as possible.
♣ Example: What is the best way to make a black painting with a red line?
Better to apply a red background, sand, put down a line of tape to hide the red background, paint black, then remove the line of tape. Clear coat.
Decors with masking
You don't have to be a draftsman or airbrush artist. It is possible to create strip decorations, lines, logos, etc., using masking and adhesive covers. For this, we use thin flexible adhesive lines which will allow us to trace the shapes of the graphics. We place them on the surface of the dry paint and sanded with 500 grit. We then cover all the areas with economical adhesive masking paper, then we cut with the scalpel at the level of the lines to remove all the excess.
♣ Between each layer of colors, you must let it dry, then use the gray abrasive sponge, which will allow you to work quietly on your design and repaint or clear coat when you are ready.
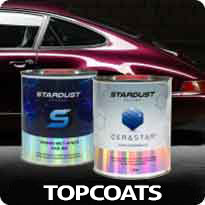
Step 7 ► Clear coat the motorcycle – clearcoats and flex additives
The clearcoat must be chosen carefully from a range of high professional quality clearcoats. The best clearcoat is currently ceramic clearcoat.
Clear coating has a protective purpose above all, protecting the paint and metal from fuels, detergent products, rain, sun and oxidation.
Its purpose is also aesthetic because it allows you to obtain a lacquered and shiny surface, or even matte thanks to matte clearcoats. Rest assured ! It is generally easier to obtain a very shiny clearcoat on small curved parts (tank, mudguard) than on large flat parts (auto).
Mixing and Application
♦ Mix the clearcoat and its hardener. Dilute according to the technical data sheet.
♦ Allow clearcoat to stand for 5 minutes before use. Use clearcoat mixture within 30 minutes.
Apply two glossy coats, waiting 8 to 10 minutes between each coat. Each layer actually consists of a round trip with the gun (at a 90° angle and a distance of 15cm from the support).
Drying
Bodywork clearcoat is a liquid product but thicker than basic paints. The clearcoats polymerize using a hardener and can harden completely in 1 hour for quick clearcoats up to 24 hours for traditional clearcoats.
Additives and flexibility
Bodywork clearcoats are naturally flexible. Normal, because a high-quality clearcoat must be flexible, otherwise it would break quickly. It is nevertheless recommended to add a flexibilizing additive to the clearcoat layers. This additive is not useful in the lower layers of the paint because these layers are very soft.
Advice on clearcoat defects
This is the most delicate step, as many defects can occur. Here are the main ones:
♦ Lack of clearcoat: poor gloss.
♦ Coats too thick: drips.
♦ Orange peel: temperature too high, hardener too fast.
♦ Dust and impurities: poor cleanliness conditions.
♦ Bubbles: water contamination (compressor, hose not purged) or solvent rising.
♦ Opening: presence of silicones.
♦ Humidity: lack of shine.
In all cases, it's easy to re-varnish by sanding the surface after 24 hours, using P500 to P800 maximum abrasive paper, and applying two new clear coats.
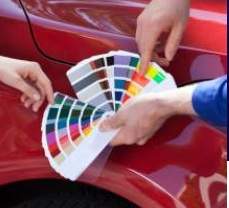
How to find the reference and color code of your motorcycle paint?
What paint to paint your motorcycle?
How to paint the frame of your motorcycle?
What paint to repaint the fairings of your motorcycle?
How to paint a car?
How to paint a bike?
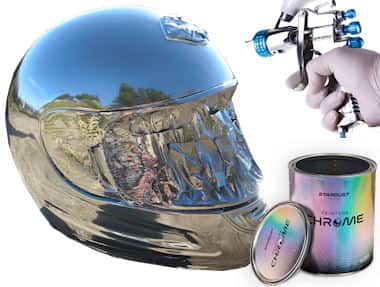
How to paint a helmet?
How to paint a quad
How to paint a boat?
How to paint a chassis?
How to paint a portal?