


How to make an epoxy floor with marbled effects ?
In our file "How to make an epoxy resin floor ?", We reveal our tips for obtaining floors with "marble effects".
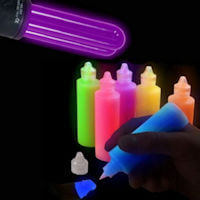
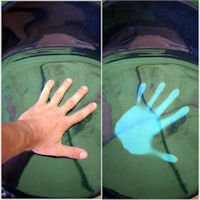
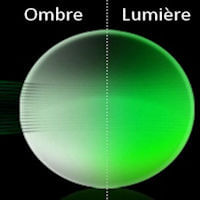
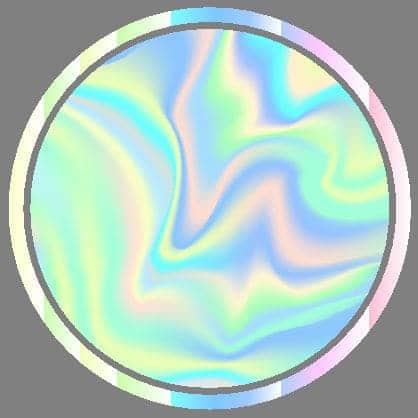
By mixing pearl or metal pigments, and specific dyes, in epoxy resins (glaze, or ground) you can achieve magnificent marbled effects, giving the illusion of depth, even if the layer is often not thicker than a millimeter. A resin is always transparent at the base, one can add dyes / opaque tints, transparent, or pearl and metal pigments. But not everything is done just anyhow and we must respect certain rules and a certain order.
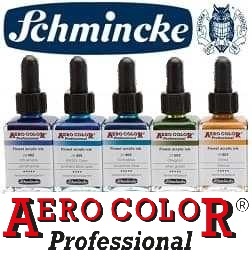
 Here are some videos from Leggari Products, American specialists in custom epoxy resin effects for counters, worktops or floors. Here is their online store : www.leggari.com We have tried to translate and decipher examples of interesting techniques used in their videos. We will not dwell on the techniques for preparing the backgrounds, nor for applying floor resins or glazes, but only on the effects of coloring and superposition. All these techniques are used immediately, without waiting for the lower layer to dry. In these videos, no example is unfortunately shown on the use of "Candy®" translucent dyes. These dyes can be mixed with mother-of-pearl, or superimposed on layers of metal or mother-of-pearl without diminishing their effect, unlike opaque dyes which drown out the mother-of-pearl and block all reflected light (incoming or outgoing).
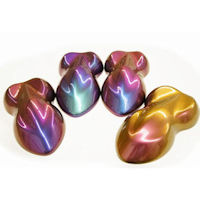
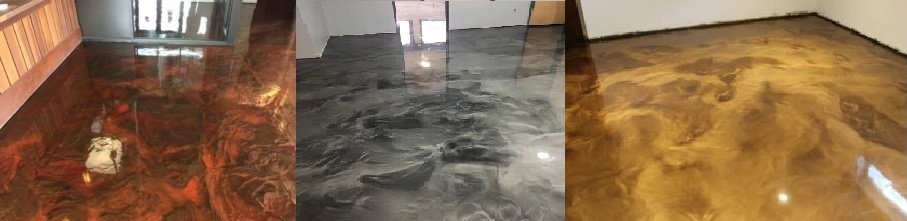
Pearl white resin with aluminum gray metallic marbling
1 - White background applied (primer resin + white opaque colorant), or paint, or none if the background is already white...
2 - White pearly resin (glazing resin + fine white mother-of-pearl 30-60µm or 10-30µm)
3 - Then stripes / marbling with resin + aluminum pigments 30-60. Here same technique with :
Marbling on a counter covered with epoxy resin from a gray background
1 - Applied Gray Base (Resin + White + Black Opaque Dye)
2- Then second pearl coat (glazing resin + fine white mother-of-pearl)
3 - Stripes / marbling with glaze resin + aluminum pigments
Black zebra white floor resin
1 - pearly anthracite resin (obtained with white pearl or aluminum pigments + a little opaque black dye)
2 - stripe with resin + white opaque dye*
1 - Light brown background (printing resin + opaque brown shade*)
2 - Bronze pearly floor resin obtained with the mixture of copper or bronze mother-of-pearl
3 - Marbling obtained by pouring touches of pearly brown, opaque black and pearly gold.
The use of mother-of-pearl, given that they are always semi-transparent, must always be done on a colored or dark background. With the exception of a white pearl effect, which must always have a white background. The most interesting marbled effects will be obtained on a dark colored background (epoxy floor paint or black tinted floor resin) to obtain marbling with a mixture of resin + mother-of-pearl + optional translucent dyes, and lastly, touches of dyes black opaque in light quantity (at risk of opacifying the effect of depth).
Magnificent black and white marbled resin counter
1 - Black hydro epoxy base for printing (obtained with opaque dye)
2 - Metallic glaze resin obtained with aluminum pigment + some opaque black tint
3 - Trench with pure aluminum pigment
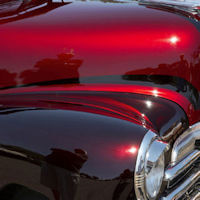
Red metallic marble effect resin floor
1 - Hydro black background (tinted print or floor resin)
2 - Copper pearl ground resin (it is possible to use an optional transparent dye, to intensify the color and the depth)
3 - Pour dabs of colored resin in opaque black
In summary, we are free to use many existing pearls and pigments, and opaque or transparent shades. It is simply important, with pearlescent or metallic epoxy resins, to always apply them on an opaque and homogeneous background in color, as they do not cover.
Note that there are printing resins, usually water-based, for which water-based (hydro) tints are used. And there are floor resins or epoxy glazes, they use specific and compatible dyes. Tips ! You have to be careful with the working time, since you spend time handling the resin to make the effects. So spread the resin well just after mixing to have more time to work on the effects afterwards. Do not keep the resin in a jar to limit the mass effect (and premature hardening).
At some point, you will have to stop working with the resin otherwise the defects generated will no longer smooth themselves out. When working with several colors, first tint the resin by mixing pigments or powders well. After only we dose the tinted resin then the hardener on top without mixing. In this way, when we start working, we have the colored products pre-dosed in each pot, but as long as these are not mixed, it does not harden.
We apply the base, and then we mix the colored pots as needed : the product will be "fresh", without advanced viscosity. To do this technique, which avoids wasting time weighing while the resin already applied begins to pull, you must be careful to first put the resin which is denser and the hardener on top ; it will remain on the surface without mixing. So there will be no interruption in the work.
A note about baseboards : Rather than "drawing" the thicknesses with the brush on the baseboards in the horizontal direction (at the beginning to give an effect), you should always finish with a final vertical stroke. This prevents drips ! While horizontally we create the beginnings of drips with the traces of brushes...