


Car painting techniques: general instructions
Our set of tutorials details all the specifics of the techniques applied to painting on all vehicles and all supports. The first and most important of these tutorials is called “how to paint a car”?
In this tutorial, we present the basic techniques of body painting, which will allow you to paint a complete car in 7 steps.
We have written another tutorial that is slightly different as it is dedicated to partial touch-up painting on a car. Other tutorials specialize in applying putty and different primers. This article does not describe the dent removal and disassembly steps.
How to paint a car in 7 steps:
Step 1 ► Sand and degrease
Step 2 ► Apply the masks
Step 3 ► Apply primer then sand
Step 4 ► Prepare the work area and tools
Step 5 ► Paint the car
Step 6 ► Varnish the car
Step 7 ► Polish and buff (optional)
⚠ Before undertaking the painting of a car and the transition to application, it is very important to prepare your project well, by studying the different instructions for using the products and also by visualizing the different phases and the different possibilities. Car paint is a multi-coat system and it is important to fully understand the use and specifics of each product.
Each vehicle is different from its shape and size. It is important to prepare well for work and general handling, in the art of painting a vehicle. It's essential to operate as cleanly, patiently and meticulously as possible. Any failure to comply with these rules exposes the painter to defects that may appear at different stages of the painting process.
|
Yield of ready-to-use products (mixed and diluted) |
|
Primer : 1L = 4/6m² |
|
Paint : 1L = 5m² |
|
Varnish : 5 m² |
How to paint a car ? Preparatory steps
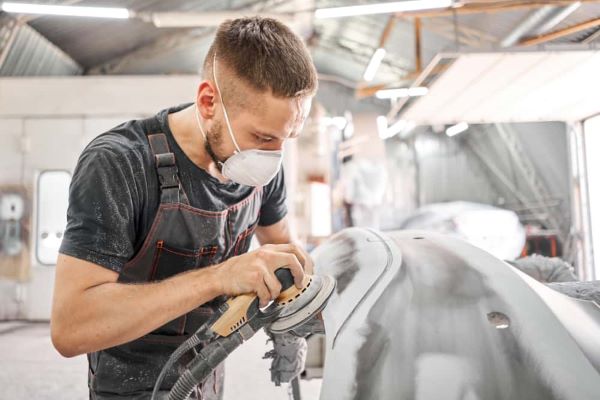
Step 1: sand and degrease
The first step is sanding. This action has several uses:
1 – it allows the different products to adhere to the surface of the old paint.
2 – it allows you to remove slight defects and perfect the surface. Additionally, after sanding and cleaning, the absence of shine makes it easier to visually detect defects.
⚠ Sanding does not mean stripping. Its purpose is not to remove all paint from the car. Sanding remains a superficial action which will scratch the topcoat layer. There is no need to strip topcoat, paint or primer.
How to sand car paint?
→ It is possible to use an electric, pneumatic or battery-powered sander. The sander must be orbital.
→ It is possible to do manual sanding, and in this case, you must use a sanding block so that the car paint is sanded flat (the hand follows the defects and does not remove them).
What grit of sandpaper should I use?
→ If a primer must be applied, then sand with P320.
→ If you are going to apply paint, then you must sand with P500.
⚠ It is essential to respect the sanding grains when painting a car.
Remove dust from sanding
→ We generally use a pneumatic blow gun to remove sanding residue, which is very fine dust.
→ It is also possible to clean the sanded bodywork with water.
Do not collect sanding dust with a sticky pad.
Degrease before painting the car
A matte surface is obtained, which is almost ready to be painted.
The surface is then dry, sanded and dusted. It must then be degreased with an anti-silicone degreaser.
The degreaser is an effective solvent for glues, silicones, waxes, greasy residues, fuels, fingerprints and does not affect paints or plastics.
⚠ The degreaser is applied with a paper or cloth to the surface. It must be removed immediately (within 60 seconds) by “picking up” the degreaser with a clean paper, before painting a car. When degreaser is left on the surface, it causes serious defects in the upper layers of the paint.
Step 2: apply the masks
Some parts of the car can and should be dismantled and removed. When this is not possible, adhesive masking must be applied to protect areas that must not be painted.
The surfaces on which the adhesives are applied have previously been degreased like the rest of the bodywork: this allows the adhesives to stick perfectly and avoid any opening during spraying of car paint. When an area is poorly protected, paint spray settles on the surface and thinner must be used to remove the dried paint.
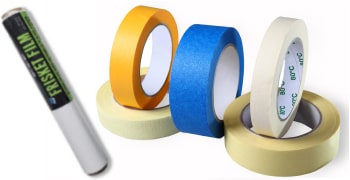
The different adhesives
- Adhesive paper masking tape: this is the most used and is available in several sizes (24, 48, 96 mm)
- Plastic film/tarpaulin with adhesive tape
- Fine PVC adhesive line: these are extremely flexible and allow you to follow each contour of parts that are difficult to mark, such as plastics and rubbers.
How to apply marking adhesives?
There is no point in excessively pressing the adhesives onto the bodywork. Simply press with the weight of your hand, which will allow them to be easily removed after the job is finished. All cuts are made with a scalpel.
When you want to paint a car, you have to plan how the application of the paint in the interior areas will be carried out, because the painting of the car cannot be done in several batches (for example in the door interiors) without creating an unattractive boundary or mark.
Step 3: Apply Primer, Then Sand
There are a wide variety of primers . A tutorial is entirely dedicated to this subject: how to choose the right primer for your bodywork?
To put it simply, no adhesion primer is necessary when painting a car, with the exception of certain special cases (bare sheet metal, bare plastic).
The use of a primer surfacer (commonly called body primer) is not always necessary.
Here are the cases in which a primer is necessary:
putty has been applied
the background does not have a uniform color
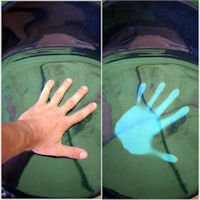
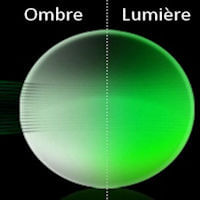
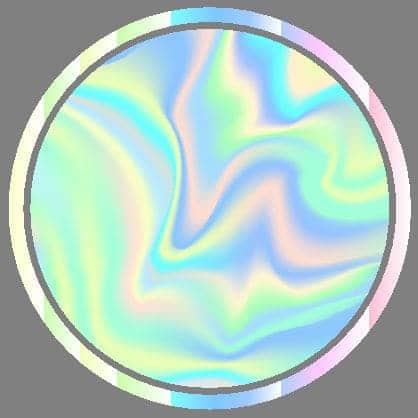
the color code of the car is pearlescent paint
In these cases, priming is necessary to restore a perfect surface condition and create a homogeneous background color (for example GRAY RAL 7040).
Applying the primer and sanding it is the last preparatory step before applying car paint.
Applying and drying the primer
The minimum quantity necessary should be applied. We apply several coats only when necessary, that is to say when the background is very damaged (scratched, putty). The application of products does not require great precision.
The primer is a fairly thick product. Its texture is light and powdery. It dries quickly and sands easily.
Sanding the primer
With P500 abrasive paper, sand the primer until you obtain a perfectly smooth and flawless surface: when you pass your bare hand over the surface of the sanded primer, you should not feel any imperfections. It is advisable to remove as much of the primer as possible, without going through it, that is to say without reaching the background paint.
Degrease before painting the car.
♣ No, there is no such thing as a “self-levelling” primer that can be applied directly without sanding.
Step 4: Prepare the work area and tools
The workspace
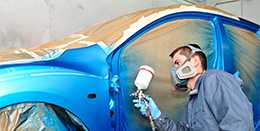
Painting a car is done in a paint booth. Two motors push and extract the air with a vertical displacement of approximately 1 m/s. There are paint booths with horizontal air movement. It is possible to use inflatable booths and some make their own paint booth.
Air circulation is one of the most important points. Paint fumes must be evacuated, otherwise they fall on the bodywork and create a powdery or grainy surface.
The work area for applying paint to the car must be as clean as possible. Dust must be removed with a blow gun. This dust is found both on the surface of the bodywork, but also on the surrounding ground, on the walls and even on the painter's clothes or hair.
It is not really possible to paint a complete car without having a paint booth, if you want to obtain a perfect finish. However, it is perfectly possible to carry out partial painting without a booth, and in this case, it is recommended to fix all dust on the walls and floors by spraying with water.
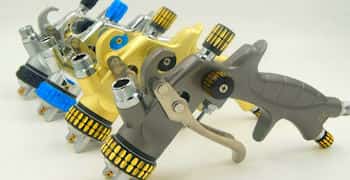
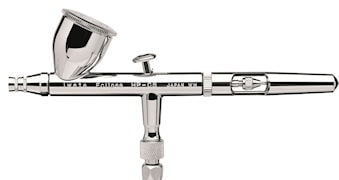
The tools
The painter must have at least two paint guns: the first will be reserved for primers and the second can be a high quality gun which is mainly used for finishing paint and varnish.
Paint guns must be perfectly clean and functional, because once the motors are turned on and the paint is mixed, the painter must be able to focus on the application.
To paint the roof of a car, it is necessary to prepare a bench which the painter can climb on.
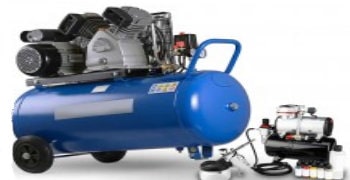
The supply of air is very important: the air must be filtered using filters placed at the compressor outlet.
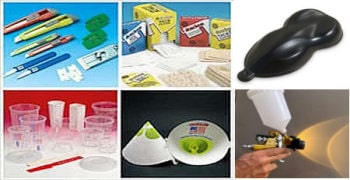
Consumables and accessories will be a full suit, respirator mask, vinyl gloves and sticky pad.
Atmospheric conditions
To paint, you need a dry and slightly warm environment (around 20°C).
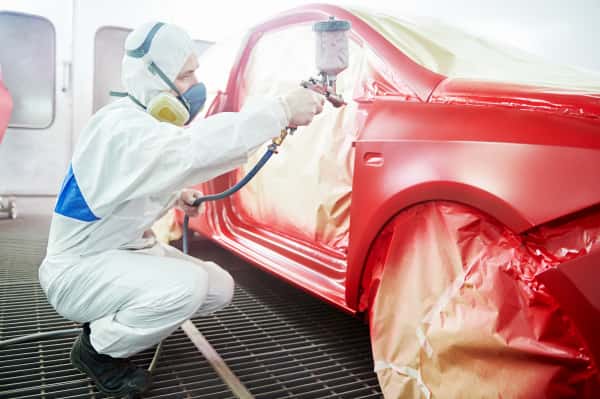
Step 5: Paint the Car

Type of paint
Spray paints:
These are essentially solvent-based paints and ready to use: that is to say, already diluted. All aerosols contain one part propellant and one part paint (generally only 100ml per aerosol).
Paints in cans:
Paints for painting a car are formulated today as water-based or solvent-based, but in all cases, they are paints that must be varnished. These are single-component paints (which do not require a hardener), very thin products, easy to apply, and dry very quickly.
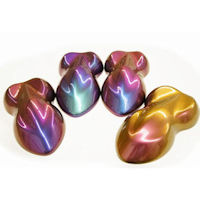
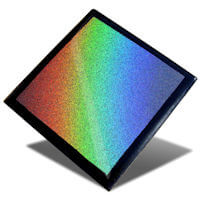
Modern vehicle paints are essentially complex colors based on metallic or pearlescent pigments. These compositions make it impossible to use old formulas of two-component glossy lacquer (commonly called “2K paints”).
♣ Solvent-based paints have many advantages over “Hydro”-type paints: they dry more quickly, they are thinner, they are easier to sand or mask and they have a longer lifespan.
Need and performance
It is necessary to calculate the quantity of paint required, allowing for an additional quantity.
In general, paint consumption varies very slightly from one color to another: the painter can count on a yield of 1 liter of pure paint per 12m² for the application of one coat.
Two layers are necessary, therefore the final consumption is 1L per 6m² for 2 layers.
Of course, the thinner does not enter into the calculation of the yield, because it is a 100% evaporable product.
Mixing the paint
The paint must always be diluted to be sufficiently fluid.
The dilution of solvent paints is quite free and depends on individual preference. Mixing can be done using a measuring cup or a balance.
Generally, the dilution is done at 50-70%.
Example: paint 100% + Thinner 50-70%.
In the field of body painting, we usually talk about “parts”. The parts can represent both a weight and a volume (ml, cl, L, kg, gr...).
Diluted one-component paint can be kept for a very long time when the can is perfectly closed.
Preparation
The bottom must be sanded (P500), dry, degreased and dusted. To remove dust, use the blow gun and the sticky pad.
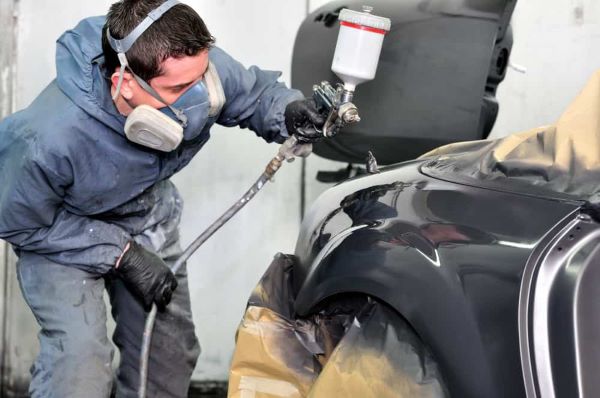
Applying paint to a car
The painter's gesture consists of going back and forth from left to right, then from right to left. We never paint while crossing. We always paint horizontally.
♠ The painter's wrist must be flexible so that the paint gun or paint spray is always perpendicular to the bodywork support. The body of a car has flat surfaces, but also curved surfaces and the gun must follow the surface at a 90° angle.
♦ The distance between the gun or aerosol and the surface must always be the same: 15 cm.
♣ Finally, the movement speed of the arm must be perfectly adjusted and regular: the faster the speed, the less paint will be deposited on the surface and the slower the speed, the more paint will be deposited on the surface.
► The quantity of paint:
Regardless of the number of coats, the most important thing is the quantity of paint deposited on the bodywork and the thickness of this layer. You simply need to apply the amount of paint necessary to cover the background, no more, no less. It is always better to apply thin coats, rather than thick ones. The application of thin layers promotes rapid drying, allows optimal placement of the pearls and avoids all risks of running or marbling.
In the theoretical practice of painting bodywork, it is recommended to apply 2.5 coats for pearly or metallic colors: 2 coats 5 minutes apart + 1 fine “placement” veil*.
* This thin layer is sprayed at the end, from a distance of 30 cm. It allows you to equalize and create a homogeneous effect. It allows you to erase horizontal marks from layers of paint.
Recovery
Solvent-based paint or water-based paint dries relatively quickly: at an average temperature of 20°C, the maximum covering time with the topcoat is estimated at around 30 minutes for a solvent-based paint and 24 hours for a Hydro-based paint.
Beyond this recovery period, sanding will be necessary to create adhesion.
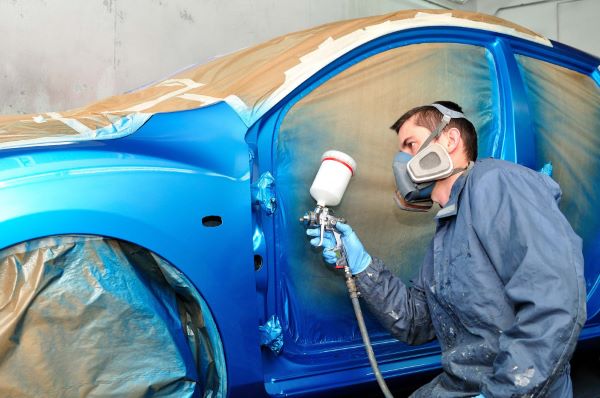
Step 6: varnish the car
The topcoat is a transparent, glossy, thick layer that offers resistant protection against all possible aggression factors (UV, scratches, water, fuel, etc.) for 15 or 20 years.
The method of application is completely different from that of painting. It is a 2-component product which is applied after being mixed with its hardener. The mixture has a very limited shelf life.
While paint is relatively easy to apply, topcoat requires a certain dexterity and perfect dosage of the quantity of product sprayed.
→ Too much product = dripping.
→ Not enough products = lack of shine or “orange peel” phenomenon.
Mixing :
Follow with sufficient precision the mixing instructions detailed on the product technical sheet:
Example, “3:1” means
→ 300g of varnish + 100g of hardener or
→ 1000g of varnish + 333g of hardener or
→ 300ml of varnish + 100g of hardener
The mixture should generally be done both by weight and by volume. It is best to scrupulously respect the recommendations in the technical sheet.
It is advisable to let the mixture rest for 5 minutes. It is imperative to use the mixture during the pot life detailed on the technical sheet.
Dilution is done according to the quantity of varnish (hardener excluded).
Example: 15% means
→ 1000g of varnish + 333g of hardener + 150g of thinner
The type of hardener
Some brands offer normal, slow or fast hardeners to adapt to different temperature conditions depending on the season.
Applying varnish
Just before applying the topcoat, it is possible to apply the degreaser, then pass the tackcloth pad over the surface of the paint to pick up the last dust.
The application is always done in 2 shiny coats:
For a UHS topcoat, apply a medium coat, followed after 10 minutes by a glossy coat.
A wet thickness of 100µm will correspond after drying to approximately 50µm, which is the optimal dry thickness.
It is not at all advisable to apply more coats, as this can affect the shine and resistance of the topcoat.
♣ Tips and advice: you must use a quality topcoat to facilitate and promote successful application. It is essential to work in an atmosphere that is neither too cold nor too hot: 20°-25°C is the ideal temperature. The painter's gesture, with the speed of the gun, the inclination of the gun, the distance of the gun from the support will determine the quantity of topcoat sprayed.
We have written a tutorial on the different varnish defects and also the orange peel phenomenon.
Step 7: Polish and Buff (Optional)
This optional step can be performed on most bodywork topcoats. Before polishing, you should wait 24 hours for a classic topcoat and 4 hours for a quick topcoat.
Polishing allows you to remove certain minor defects and restore shine.
The polishing and buffing process consists of very fine sanding (1500, 2000, 3000) followed by buffing with sheepskin, then a polishing foam. Polishing can be done manually, but of course it is more practical to do it with a polisher.
We have written a complete tutorial on the polishing technique: how to polish and shine your body paint?
How to paint a bike?
How to paint a motorcycle?
How to paint a quad?
How to paint a helmet?
How to paint a boat?
How to paint a portal?
How to paint a chassis ?