


 Painting a dashboard – 5 step tutorial
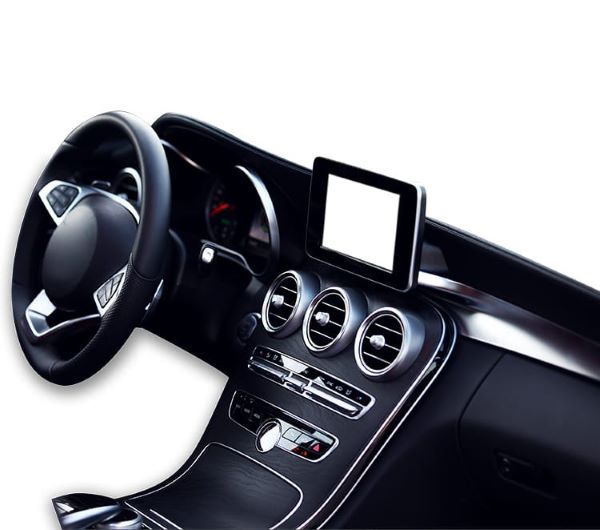
It is possible to renovate the appearance of a central console, a dashboard and various plastic parts in the car's interior, with dashboard painting or with special, matte varnishes.
Textured dashboard plastics can be aged by exposure to sunlight and high temperatures. A console is subject to small shocks (snags, hazards due to use, small shocks, scratches, stains, etc.). To make them look like new, here is what you can do:
→ Paint with a similar RAL color (example GRAY NOIR 7021 or Citroën Métallisé)
→ Apply a new matte varnish, to restore a new and homogeneous appearance.
→ Apply a special velvet effect varnish (SOFT TOUCH) or a rubber effect (GUM)
In this tutorial we explain to you how to successfully paint a plastic console: we tell you what existing solutions are available and what are the best products to use to obtain an effect as close as possible to the original, which is resistant to use.
Tutorial: paint or varnish a dashboard
Step 1 ► Disassemble
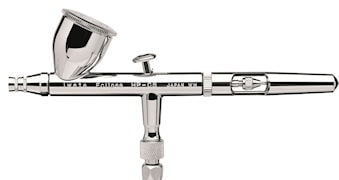
In order to spray paint (with a paint gun or an aerosol), you must dismantle the different parts to be painted.
It is easy to dismantle the different parts of the dashboard in order to remove the plastic parts that you wish to repaint. The important thing is to know how to reassemble all your parts as originally! Then, lay the pieces flat.
Step 2 ►Prepare the support
To clean
It is important to remove all visible or invisible contaminants present on the surface of plastics. We do not recommend the use of a professional degreaser or alcohol, as these products can leave marks on fairly absorbent plastics.
We also do not recommend all plastic renovator products such as wax or silicone. Instead, we recommend light washing with soapy water.
To dry
The surface must be perfectly dry before painting.
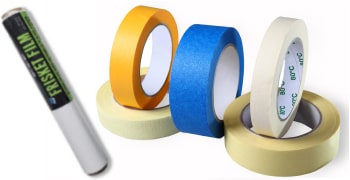
Mask
If there are areas to protect, use masking tape.
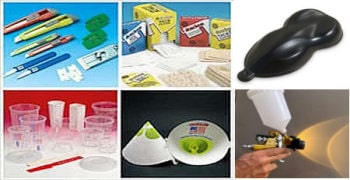
Polish
In order to protect against detachment and to ensure perfect durability of the coating that will be applied over time, it is very important to sand the plastics of the dashboard or console.
→ When dealing with the soft plastics of the dashboard, you should mainly use an ultra-fine yellow abrasive sponge.
→ In the case of hard plastic center console parts, then it is possible to use abrasive sheets with grits between 500 and 800.
To dust off
To remove all dust from the surface before applying the paint, use an anti-static and sticky “tackCloth” pad which will help catch all the dust.
Step 3 ► The plastic primer
This is a step that is sometimes optional and sometimes unnecessary!
For the hard parts of the center console, if they are made of raw plastic, then plastic primer is important to ensure adhesion.
On the contrary, if the elements are already painted or varnished*, then a plastic primer is unnecessary and should not be used: simple sanding with P500 abrasive paper will suffice.
Concerning the soft and textured plastic dashboard area: it is unlikely that a solvent-based paint or varnish could come off spontaneously. However, if you want to do durable and guaranteed work, which does not come off with heat or in the event of an impact, then it is advisable to use plastic primer.
♣ *how do I know if a piece is already varnished or if it is plastic? Just do a test with light sanding: if you obtain a white powder, this generally means that there is a varnish. On the contrary, if one creates scratches, then it is a bare plastic surface.
The primer is applied in a single thin layer and must be covered by the paint and varnish very quickly, i.e. within 2 minutes.
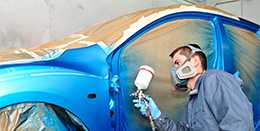
Step 4 ► Paint the dashboard or center console
→ In general, it is not recommended to paint the dashboard, because the varnish will be enough to restore a homogeneous and even color, with an impression of new plastic. The varnish helps remove the bleaching effect caused by time.
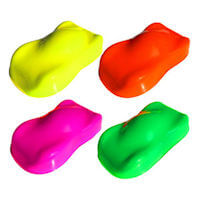
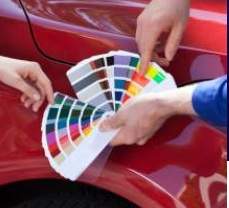
For the central console, it is possible to use any color of your choice:
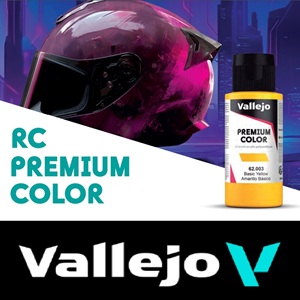
→ Among the manufacturer colors
→ Among RAL colors*
*We provide a RAL color chart to download at the bottom of the pages.
We use solvent-based paints in the “matt base” version. These paints are easy to apply, in 3 thin coats. These paints are very thin and are not particularly durable, as they are intended to be varnished. It is the varnish which is responsible for protecting the paint and the support.
Step 5 ► Apply polish to the dashboard or console
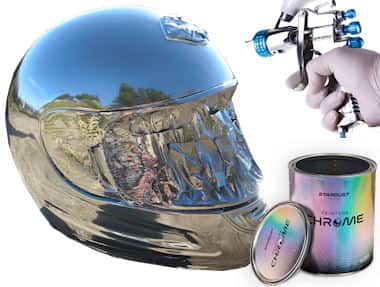
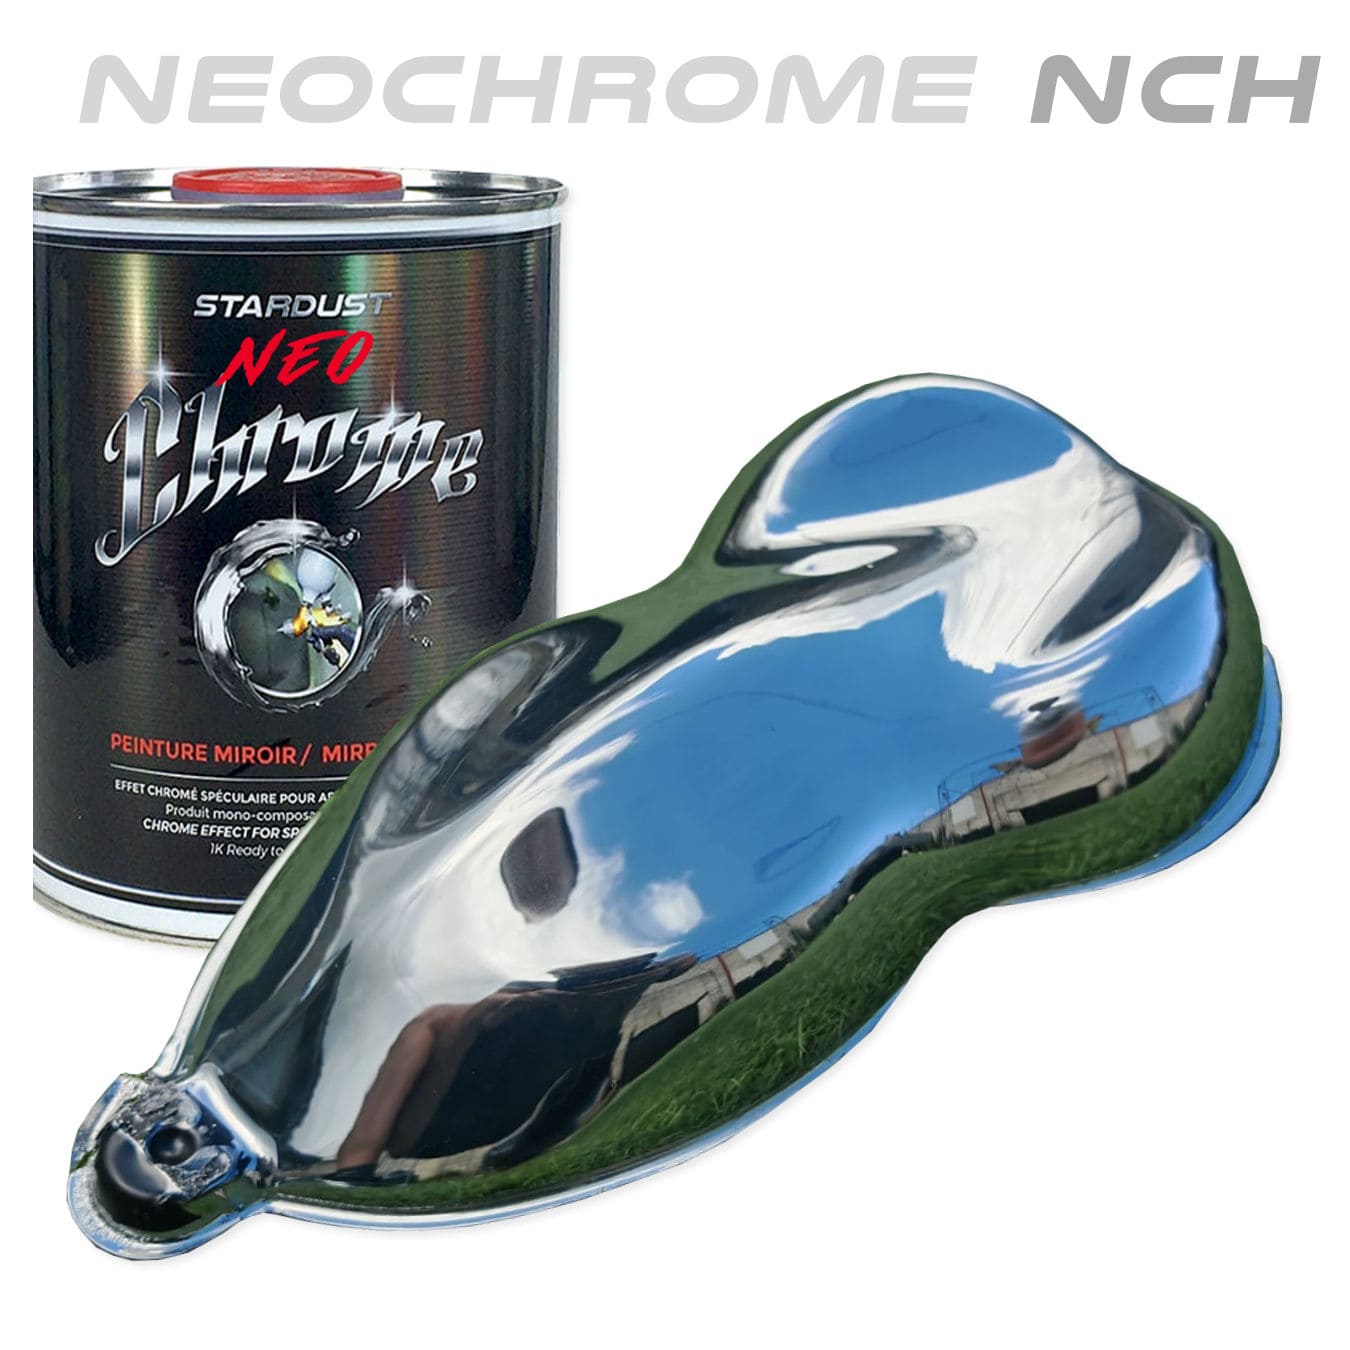
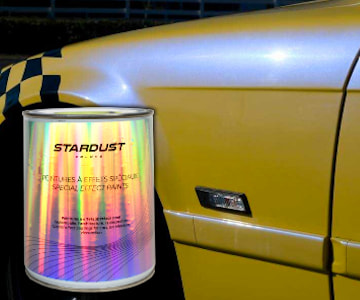
There are many types of classic, glossy, matte or even special varnishes available at Stardust.
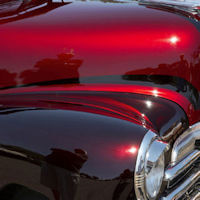
Classic glossy and matte varnishes
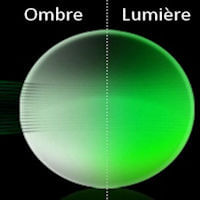
On the center console of cars, there is usually a glossy or matte finish (4°). The 4° matte finish is a very resistant two-component matte varnish which gives a very beautiful “silky” effect on metallic paints.
ST822 Ultra-matte 4° varnish is also particularly suitable for soft and textured plastics on dashboards and plastic parts on doors or armrests. It cuts out all light reflections and avoids the risk of glare. It gives a very natural plastic effect.
Special velvet effect or rubber effect varnishes: Here are varnishes which are specially compatible for the plastic areas of dashboards. They make it possible to reproduce both the visual appearance of matte plastic, as well as the soft or rubbery touch effect.
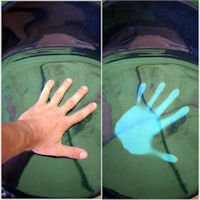
→ SOFT TOUCH peach skin effect varnish is a two-component polyurethane varnish which gives a matte effect, silky to the touch. It is a two-component polyurethane varnish, which offers good resistance and allows scratches to disappear when cleaning.
→ GUM rubber effect varnish is a unique varnish that imitates the soft, non-slip appearance of certain rubbery plastics. It's a very matte varnish.
These two types of varnish are ideal for dashboards. They require extended drying and curing time, extending up to several days for full hardening.