


How to prepare a surface with flame treatment ?
Among the various surface preparation techniques for painting, flame treatment is a well-known method that provides unique and highly effective solutions in multiple applications, ranging from automotive painting to glass bottles, flacons, and plastics.
Tutorial for flaming before painting
Flame treatment enhances adhesion on certain hard-to-bond materials and improves the wetting properties of liquids on smooth surfaces such as plastics and glass.
Step-by-Step Guide for Flame Treatment on Plastic
Step 1 ► Remove adhesives, paint residue, dirt...
If stickers or adhesives are present on the plastic surface, they must be removed. Using hot air helps soften the glue and makes peeling easier. The plastic must be exposed either by sanding or thorough cleaning.
Another possible preparation method is to rub the plastic with an abrasive sponge and solvent.
Step 2 ► Degrease with an anti-silicone cleaner
It is crucial to remove glue, silicone, or grease residues before performing flame treatment. Using a professional degreaser also helps reduce surface electrostatic tension and creates an anti-static effect.
Step 3 ► Flame the surface
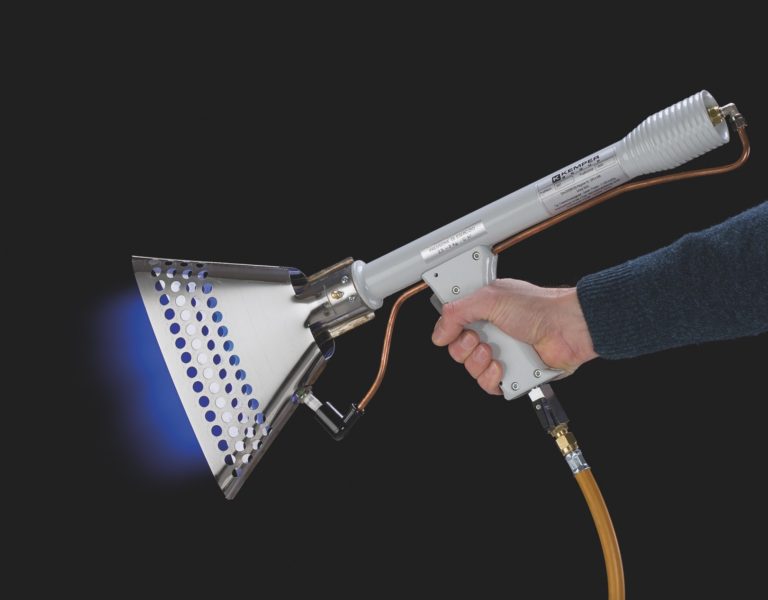
With a gas-fed torch, follow these instructions :
Perform two back-and-forth passes over the plastic surface. The flame should lightly "lick" the plastic.
The torch must always be in motion and should not remain fixed on any spot.
The plastic temperature must not exceed 70°C (158°F) to prevent warping.
Depending on the plastic’s thickness, the operator should determine the number of passes the material can withstand without deformation.
The flame should be blue—a yellow flame indicates poor combustion and produces black residue.
If black deposits form, clean the torch nozzle to restore proper combustion.
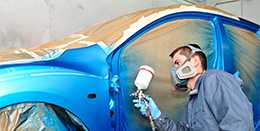
Step 4 ► Painting
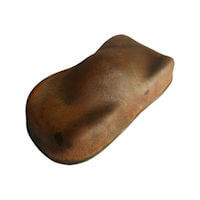
When passing the flame over the plastic, a "sweating effect" can be observed. The surface gloss may decrease after flaming, as the process eliminates surface tension.
This allows paint to spread more evenly over the plastic.
It also improves adhesion, as the process creates a covalent atomic bond between the paint and the plastic.
After flaming, the painter has a 10-30 minute window to take advantage of the reduced surface tension.
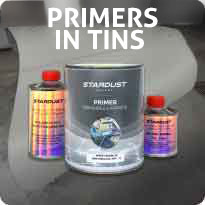
→ Apply a plastic primer
What is Flame treatment ?
Flame treatment is not the same as using a blowtorch. A standard blowtorch produces excessive heat and concentrated flames, which are unsuitable for this process.
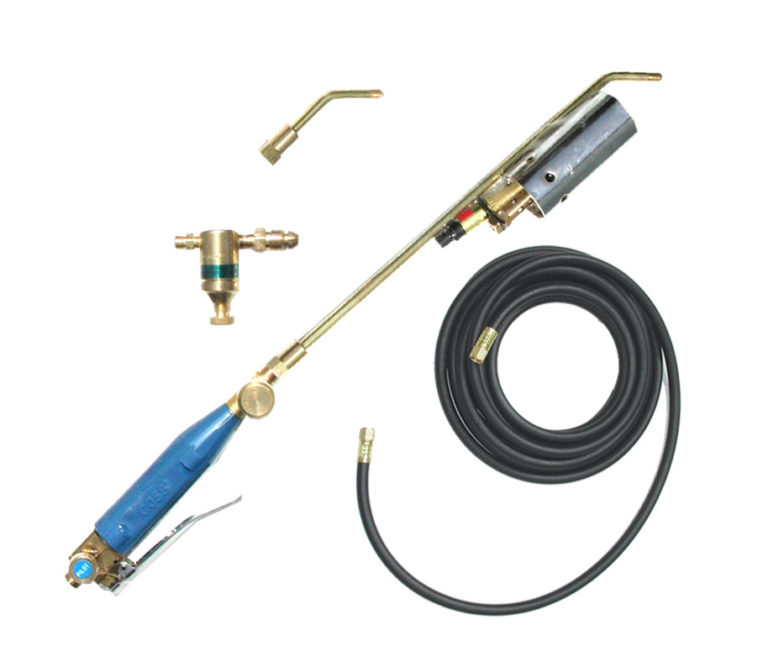
Flame treatment involves using a propane or butane-fed torch with a round or triangular-shaped burner. A heat gun does not produce the same effect because it only projects hot air. Flaming must be done with caution, considering the material’s nature, with quick, controlled passes over the surface.
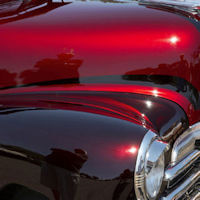
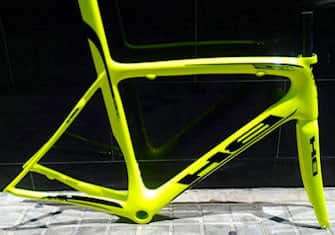
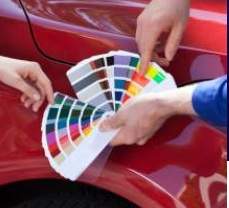
The effect of Flame treatment on automotiver paint.
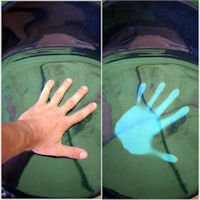
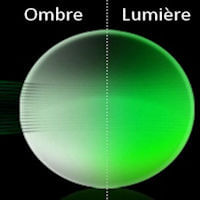
When flame contacts a surface, it eliminates surface tension.
Surface tension is an electrostatic force present in certain materials.
It hinders liquid spreading and causes beading or paint refusal.
Flaming also enhances adhesion through covalent bonding, which does not require additives or primers.
Flame treatment remains effective for approximately 30–60 minutes.
Practical applications of Flame treatment
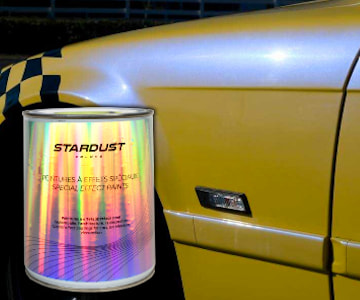
Plastic Preparation in Automotive Bodywork. Some plastics are very difficult to paint, making flame treatment an essential step.
This method is recommended by major automotive paint manufacturers for polypropylene (PP) and polyethylene (PE).
Flame treatment improves paint adhesion by modifying the plastic's surface energy and releasing certain solvents.
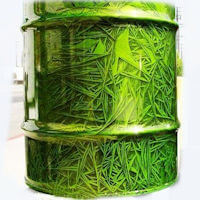
 Painting on glass
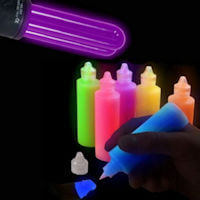
Flame treatment is commonly used before painting or priming glass and ceramics. It ensures better liquid dispersion and optimal adhesion.
This method is widely used in the decorative bottle industry, particularly for perfume bottles and flacons.
For glass surfaces, it is essential to apply either an adhesion primer for glass and ceramic, or a direct adhesion clearcoat for glass.
For industrial applications, more advanced vacuum plasma treatments (Corona effect) exist.