


 How to prepare the supports for the application of paint ?
This is a must-read article, for those interested in the craft and techniques of spray or airbrush painting, relating to the preparatory work for painting on different types of surfaces and materials.
Support preparation techniques primarily allow paintings to cling to a painted material or background.
This is one of the main concerns of the painter who must ensure that the different coats of paint he applies can hold up well over time and that a guarantee of quality can be given to his customer, without him coming back after a few weeks, complaining of paint peeling, for example.
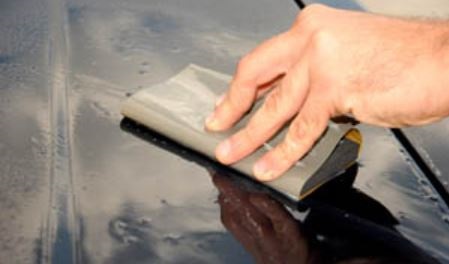
The main surface preparation techniques are sanding. Sanding can be done either manually or mechanically, with abrasive sheets (from 40 to 5000), or with abrasive sponges.
Sanding with an abrasive sheet is likely to remove some of the material and the advantage of an abrasive sponge is that it does not remove material : it will simply scratch the surface.
Sanding will therefore modify the surface condition of a material that is too smooth or shiny, by “opening it up”. That is to say, it will allow the overlay paint to cling more effectively. This is a particularly effective technique, it is generally impossible to peel off paint after sanding.
The sanding must of course be coarse enough so that the paint can approach it. If the sanding is too fine, then there will be no real grip. Often, applicators are afraid that scratches will be visible under the paint and will therefore sand with too high an abrasive grain. This is a mistake, because no scratches can be visible, unless very coarse sanding is done. In general, under automotive paints, scratches are invisible from sanding with P300 and this is valid for paints, primers or even varnish.
Even for varnishes, it is generally recommended sanding with 500 grit : it is essential to follow the technical data sheet of the product to the letter.
What does the preparation of the supports for painting consist of ?
We use abrasive sponges on irregular surfaces, granulated or difficult to access to the passage of an abrasive sheet. We use abrasive sponges on plastics all the time because when we use sandpaper on a plastic, the plastic will fray or heat up.
Of course, the preparation of the support is one of the fundamental rules of the art of painting. It's not just about sanding. Preparation also means creating a healthy surface, ready to receive the topcoat paint. This consists of a cleaning that aims to remove all contaminants, polluting elements or invisible dirt, which may possibly be present on the surface, even if they are not detectable with the naked eye or to the touch. It can be residual grease, silicones, glue or even moisture.
Substrate preparation techniques can also involve the application of a product whose purpose is to smooth the surface, level it or create a grip layer. Some materials are not easy to adhere and if an adhesion promoter is not applied beforehand, paints and varnishes peel off quickly and easily.
For some metals, it is necessary to carry out a sandblasting or a gear, to remove the old paints and remove the visible or invisible oxidation.
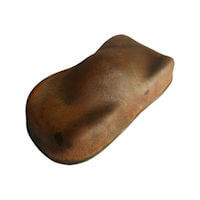
For some plastics, you have to use drastic measures with fairly aggressive treatments, such as sanding with solvent and passing a flame.
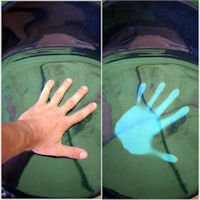
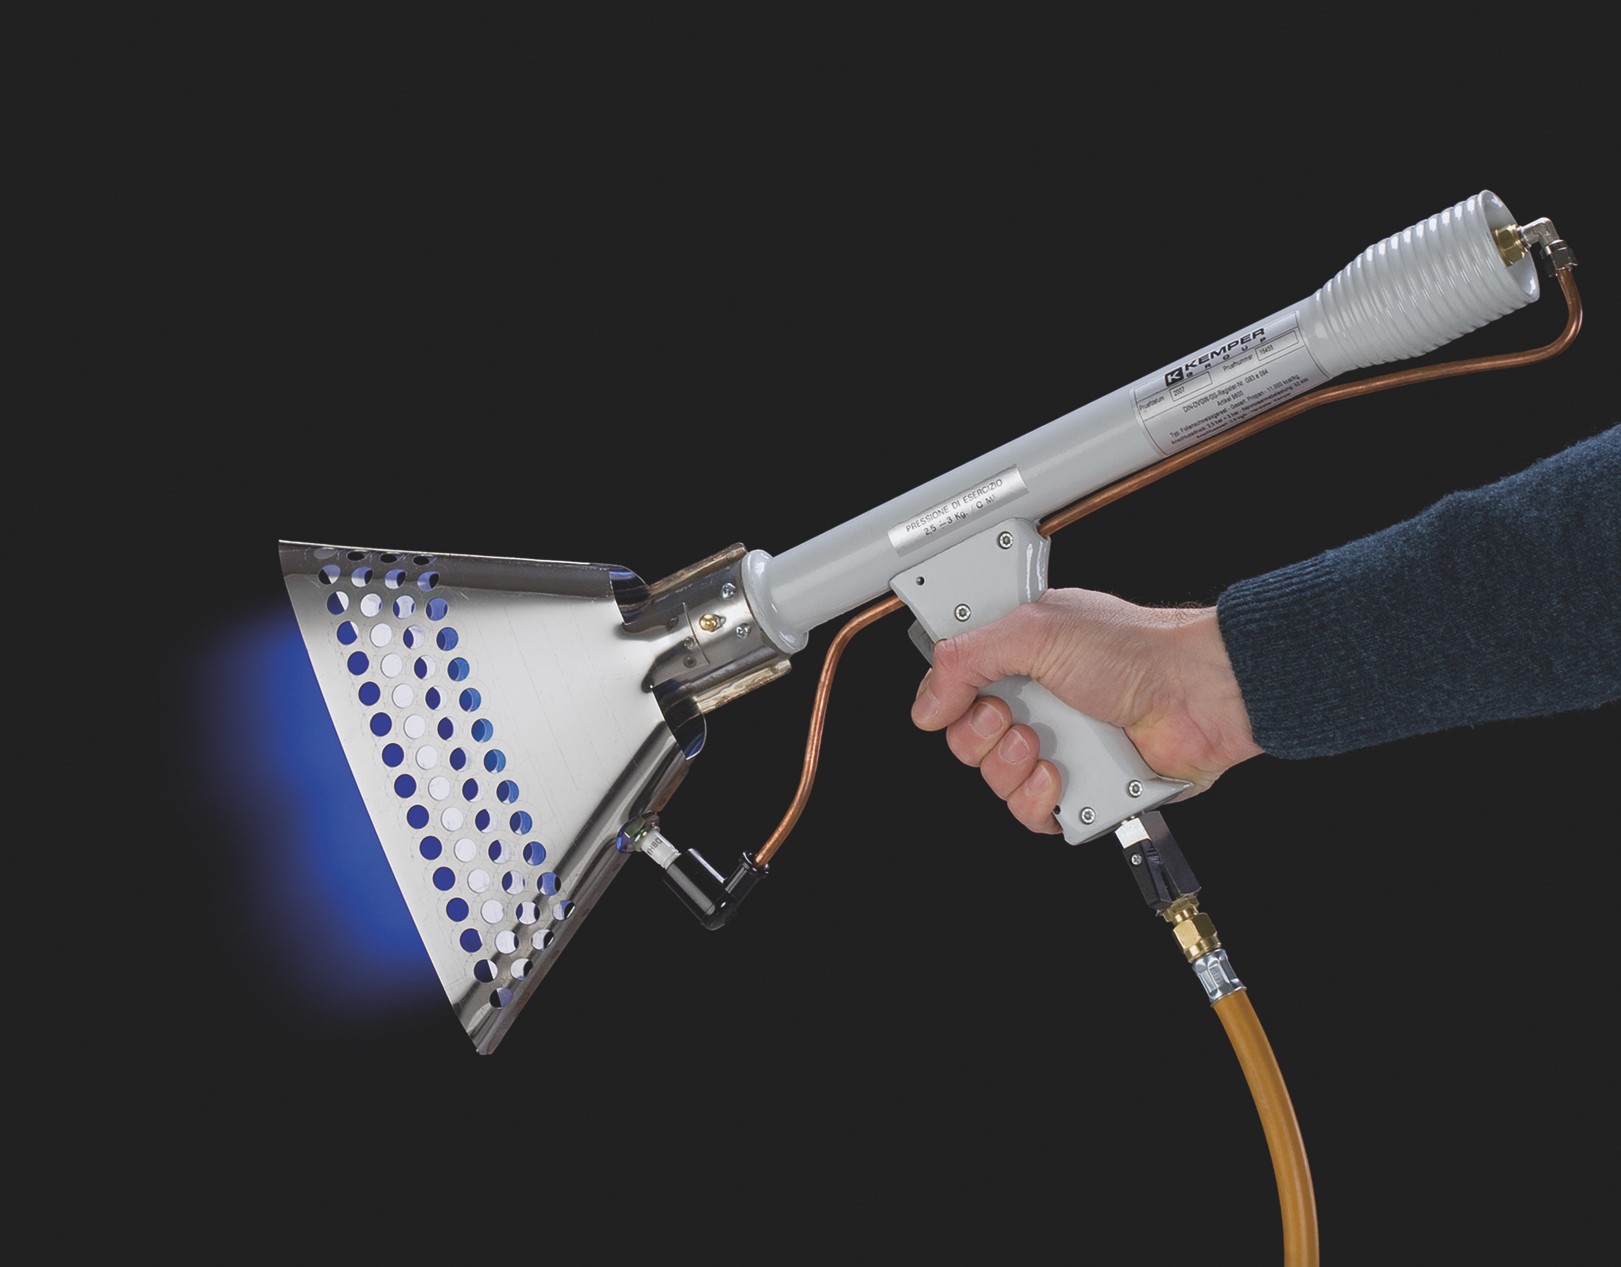 flaming technique
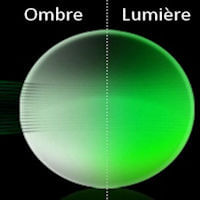
One of the enemies of paint is called surface tension. It is an electrical state, specific to the surface itself, which can represent a problem for the correct application of the paint. The flaming techniques make it possible to solve this problem of guaranteeing a good distribution of the paint and ensuring a good wetting power to the paint.
The surface tension prevents the paint from spreading well on the support. It creates what are called dripping or denial effects. This is more specifically known in the field of paint, with the case of paint that shrinks and leaves bare and dry areas.
The flaming is done using a torch with a gas flame . It promotes adhesion when painting a surface. This technique is commonly used in industry, for painting glass and plastics, among others.
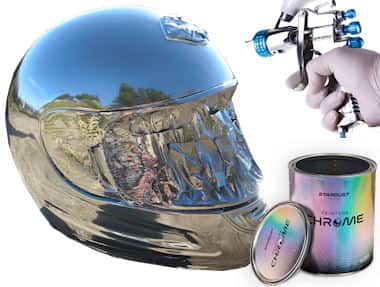
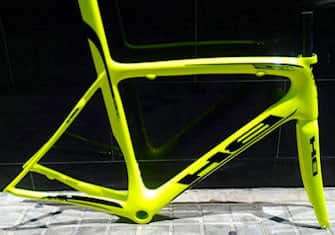
Car paint matt and shiny areas
It's a fairly fashionable customization idea at the moment, which consists of making matt and shiny areas appear on the surface of car paint, often bicycle or motorcycle paint. Partially shiny and matte areas, at first glance it seems quite easy to achieve, but in truth it is not !
It is difficult to sand a small area and especially when there is adhesive masking. There is also a possibility of creating an undesirable stairway or drop of an aesthetic level.
We will learn in this article a particular technique and several solutions to create a matte and glossy finish effect.
How to apply a putty?
Find in our complete tutorial article which describes how to apply a putty, all the tips and techniques for correctly applying a putty to a bodywork. Putties are thick pastes used to fill and level large defects on bodywork. They work directly on the raw or painted surface, and underneath the primer. Putties are mixed and applied with metal or plastic spatulas.
Based on epoxy or polyester formulas, putties are generally products delivered in 2 components and whose drying takes place by rapid catalysis between the putty and the hardener. This rapid hardening allows the bodywork painter to be able to work quickly without waiting several hours for drying. Sanding can be done with 220 grit abrasive after only 5 or 10 minutes of curing.
Mixing and diluting paint
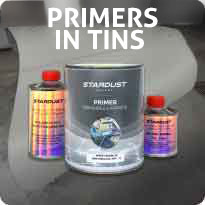
Choosing the right primer or filler
How do I paint over stickers or adhesives ?