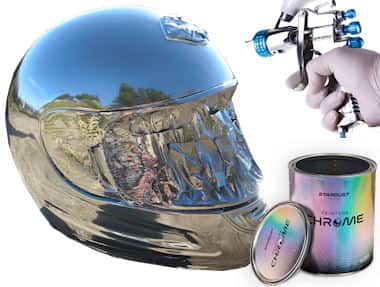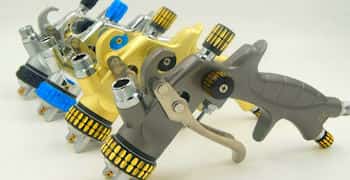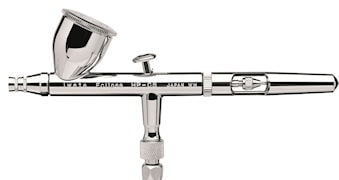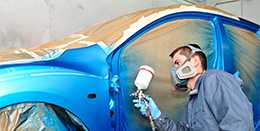


Paint 3D prints with a brush, spray gun or airbrush
Post-processing
Post-processing is a step that is too often forgotten (voluntarily or not) and neglected, even though it is the most important step if you want to obtain good results in your 3D printing painting project.
We all want to quickly move on to painting because it’s the coolest part that we have the most fun with, especially for painting fans! I was the first to fall into the trap of wanting to go straight to painting without going through the “Post-processing” box. If the most beautiful painting is done on a wall with holes, irregularities, cracks, there is no point, the result will be mediocre.
Post-processing, whether in FDM or resin printing, is essential in order to erase the defects linked to the 3D printing process. The aim of this step is to erase the lines/layers of prints and to erase the impacts left by the print supports. The techniques are numerous and everyone has their own method. I will present to you here my post-processing method for resin parts and for PLA parts. Although similar, the steps are not exactly the same.
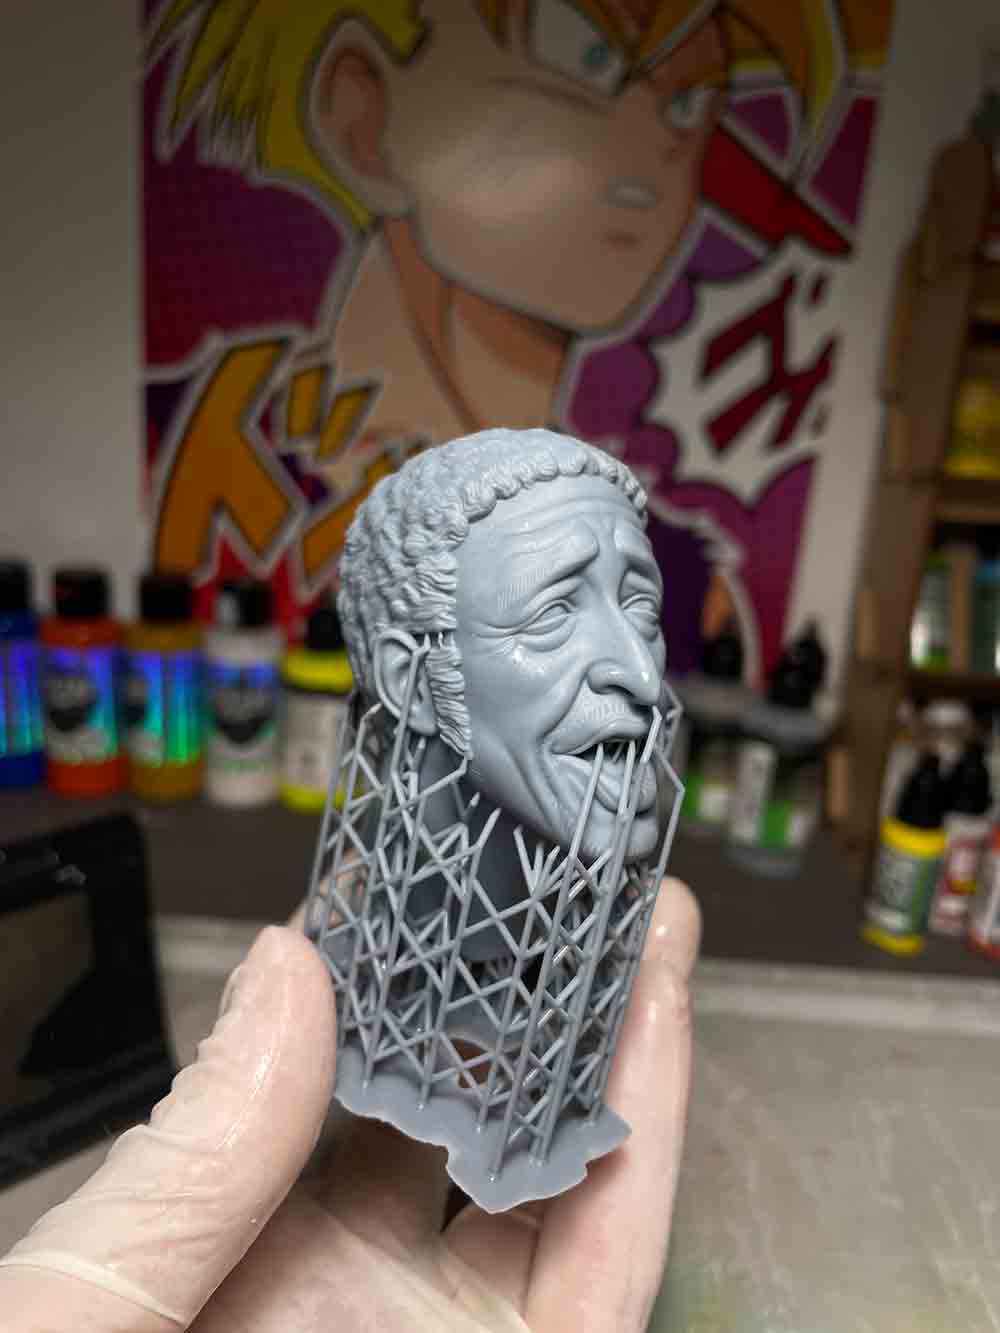
Post-processing of resin parts
Resin is easier to post-process than filament because there are no print streaks as visible as in FDM. It is precisely because the part appears so perfect when it comes out of print that we would like to skip this step.
The objective here will be to remove the print “patterns” and the impacts left by the supports. Please note that good printing parameters and good, well-placed supports during the preparation of the part in the slicer will save you significant time in post-processing!
Here are the different steps that I carry out:
- Sanding the entire part with 400 grit and 240 grit in places where there are support “nipples”. Be careful not to force the sanding so as not to lose details.
- Clean with water to remove all dust.
- Addition of resin in the holes left by the supports with a pipette and a brush, then polymerization of the resin with UV lamp. Tip: there is no need to do this step in non-visible areas such as sockets.
- Sanding with 400 grit the areas where resin has been added in order to smooth the surfaces and not have excess resin in certain areas.
- Very fine sanding with a “Dremel” to remove “nipples” in places inaccessible with fingers (hair for example).
- Cleaning with water to remove all dust then drying.
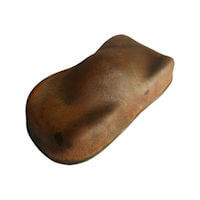
- Covering the part with spray finishing putty in order to smooth the surfaces, fill in scratches and highlight remaining defects such as printing patterns.
- Sanding 400 or 600 grit and with a “Dremel” if necessary.
- Covering the part with spray finishing putty.
- End of post-processing!
Once you have obtained a very clean and flawless room, you can now move on to the long-awaited step: PAINT!
Post-processing of FDM parts
Let's now see how the post-processing of a PLA part made with FDM printing works. The process is quite identical but a little longer because the print streaks are much more visible in FDM printing. You can even feel them by touch.
The objective here is to remove the print streaks, but also the large defects left by the print supports in order to obtain a very smooth and clean part.
Here are the different steps that I carry out:
- First sanding with an electric sander, grit 80, then 180, then 240 (or 180 grit 240 directly if the print is clean) in order to erase the print lines as much as possible. Sanding with 240 grit removes the grainy appearance that sanding with 80 grit will give to your part.
- Cleaning with water + application of the first coat of spray putty
- Hand sanded with 320 grit
- Cleaning + application of a second coat of putty
- Hand sanding with water at 400 grit Cleaning + application of a coat of primer (black undercoat) to highlight the last defects
- Hand sanding with 600 grit water
- Cleaning + application of plastic putty in areas heavily marked by supports
- Application of a coat of primer + final wet sanding with 800 grit
- End of Post-processing!!!
Once you have obtained a very clean and flawless room, you can now move on to the long-awaited step: PAINT!
The painting
After successfully completing the previous steps, you are left with a beautiful clean room, just waiting to be painted.
The first step before painting and this is valid for all materials and for airbrush or brush painting, is the undercoat!
The undercoat (or Primer) is a thin layer of primer paint which will allow your paint to adhere better and be more solid. The primer is therefore essential and can be applied by spray, airbrush or brush.
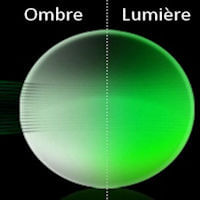
There are several colors but the most used are black, white and gray. The choice of colors is important because it will have a direct impact on your painting. For example, you can do "pre-shading" by applying a black undercoat, plus a white undercoat at a certain angle. The black/white contrast will make your highlights/shadings stand out from the color you will apply subsequently.
Personally, I use spray primer for the vast majority of my figurines because they are very large and it would take too long to airbrush.
I use the airbrush primer for very detailed and reasonably sized parts like faces for example or to do black/white pre-shading.
For colors, I mostly use white. I mainly paint manga characters with fairly bright colors. It is with white primer that I obtain the results that I like the most. If I want to give a darker, duller appearance, I will rather use gray or even black.
The primers are therefore used depending on the result you want to obtain and the parts you want to paint (with an aerosol for a miniature or with an airbrush for a full size, isn't that the smartest thing)
Painting on a resin 3D print
FDM VS Resin, which paint for 3D figurine to choose?
Which painting for 3D printi?
FDM (Fused Deposition Modeling) printing
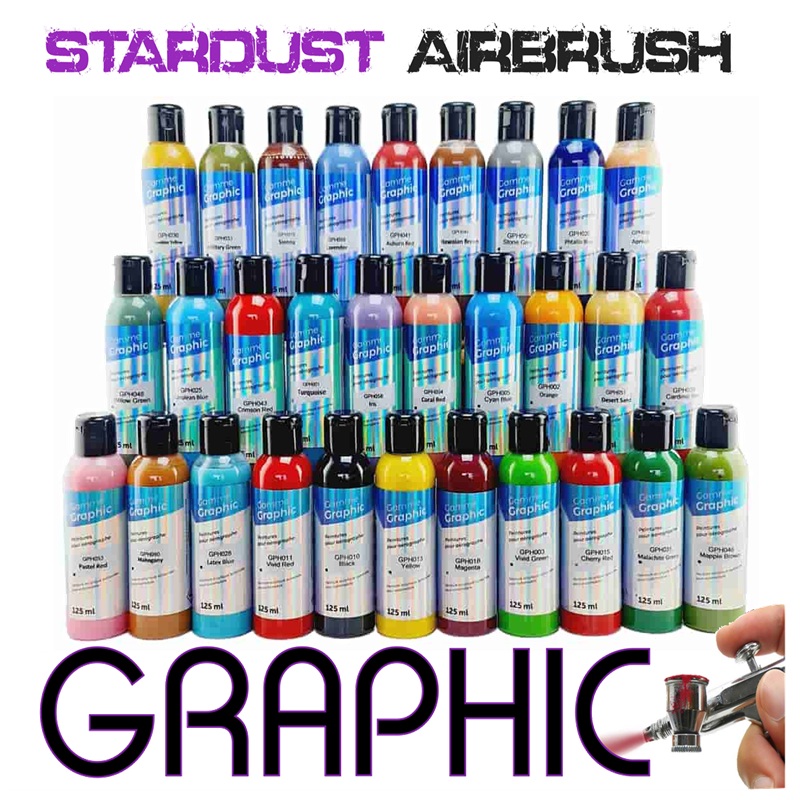
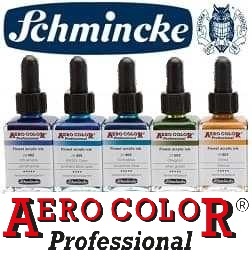
Choosing acrylic paints for 3D printing