New red glitter look for a 1983 Yamaha XV1000 TR1

New red glitter look for a 1983 Yamaha XV1000 TR1

Complete tutorial for the realization of a Red Metal flakes motorcycle paint :

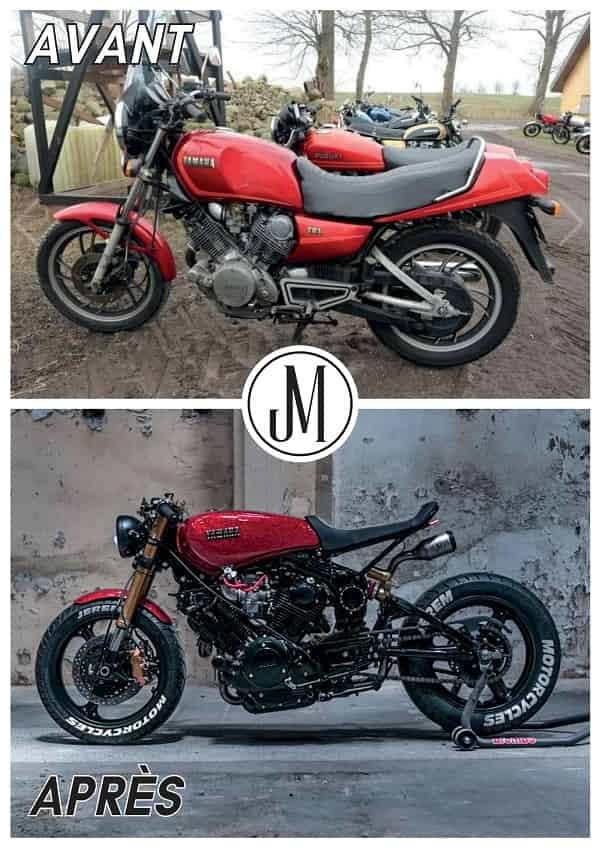
Our customer @Jerem_Motorcycles was pleased to send us the photos of the different stages of the complete makeover of this 1983 Yamaha XV1000 TR1. Discover their achievements on Instagram:
As you can see, the work is impressive and the result exceptional:

motorcycle paint Yamaha XV1000 R1

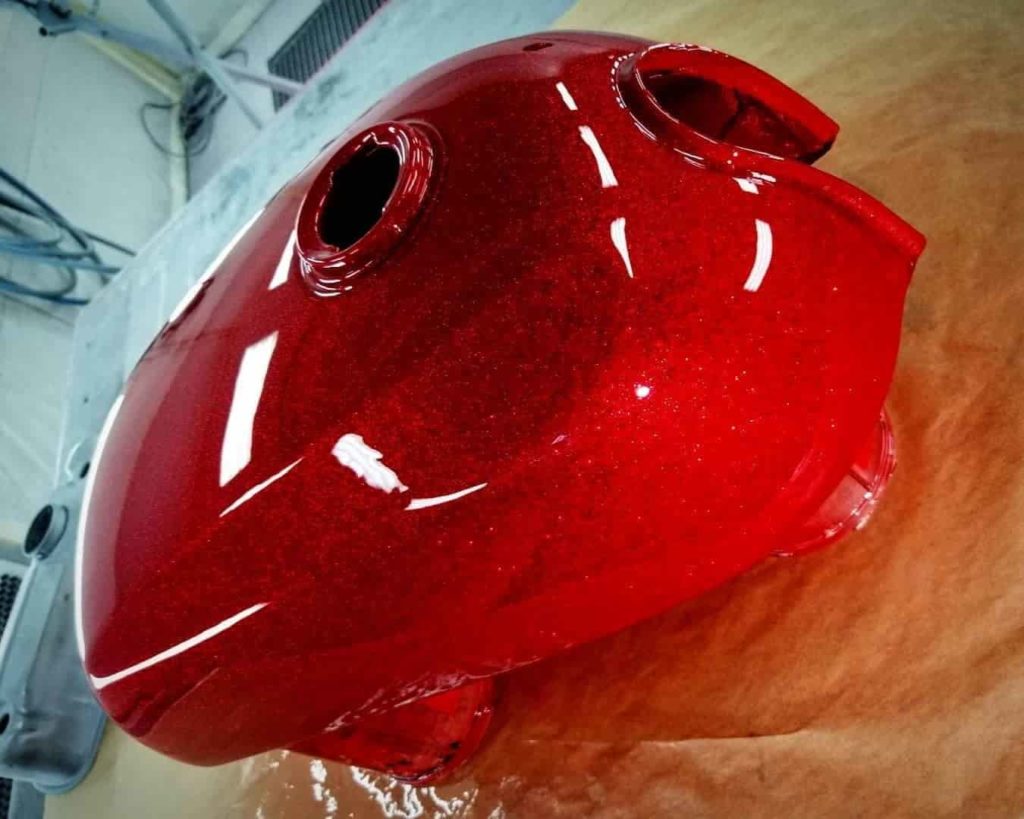
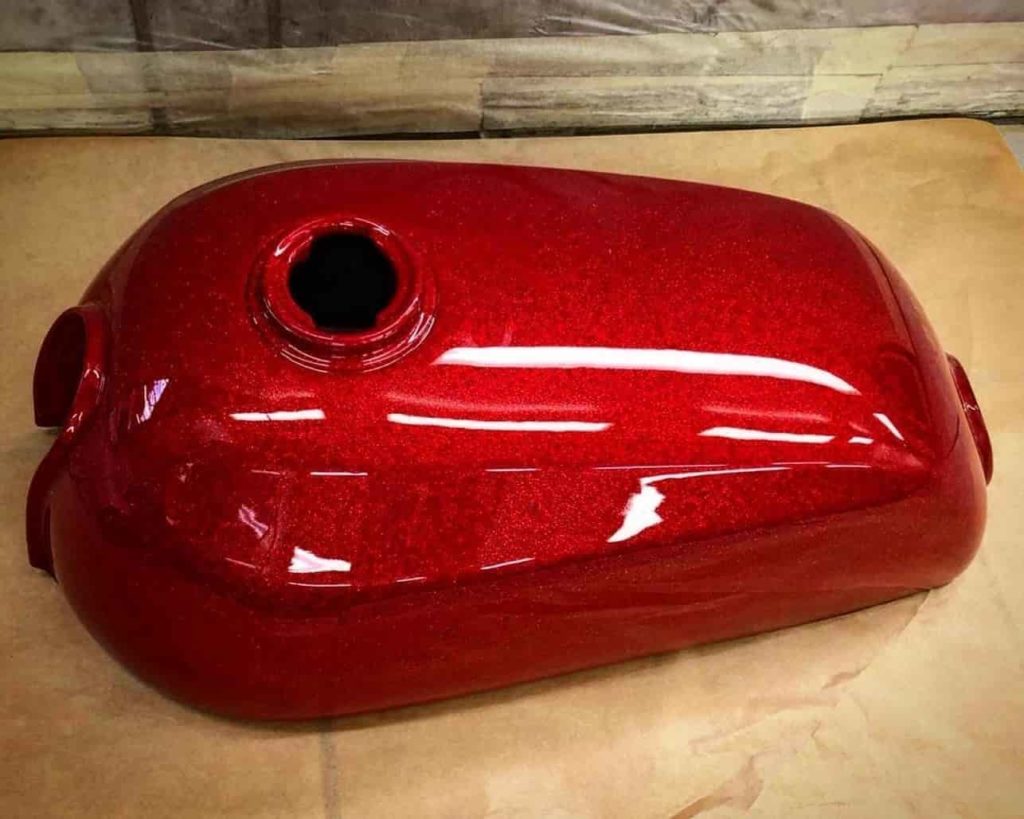
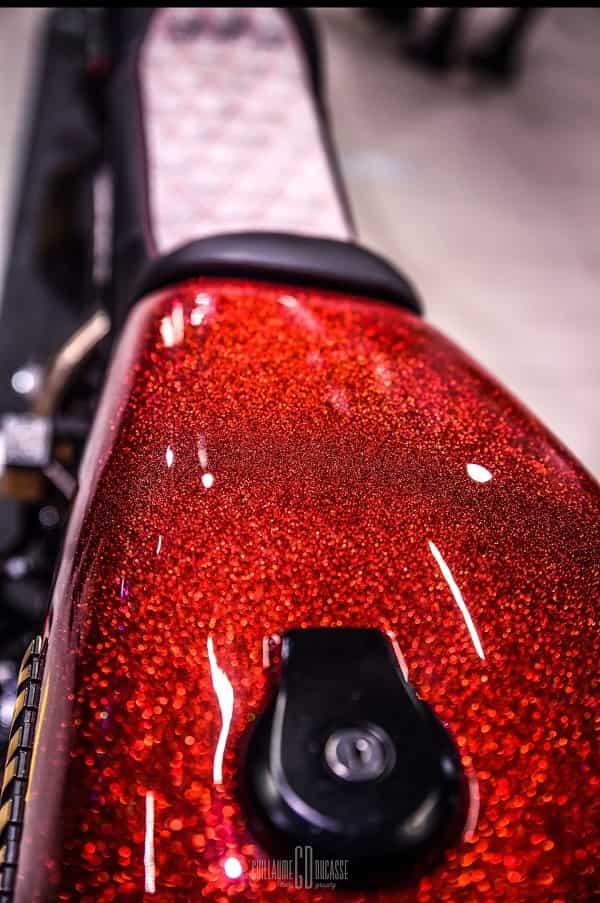
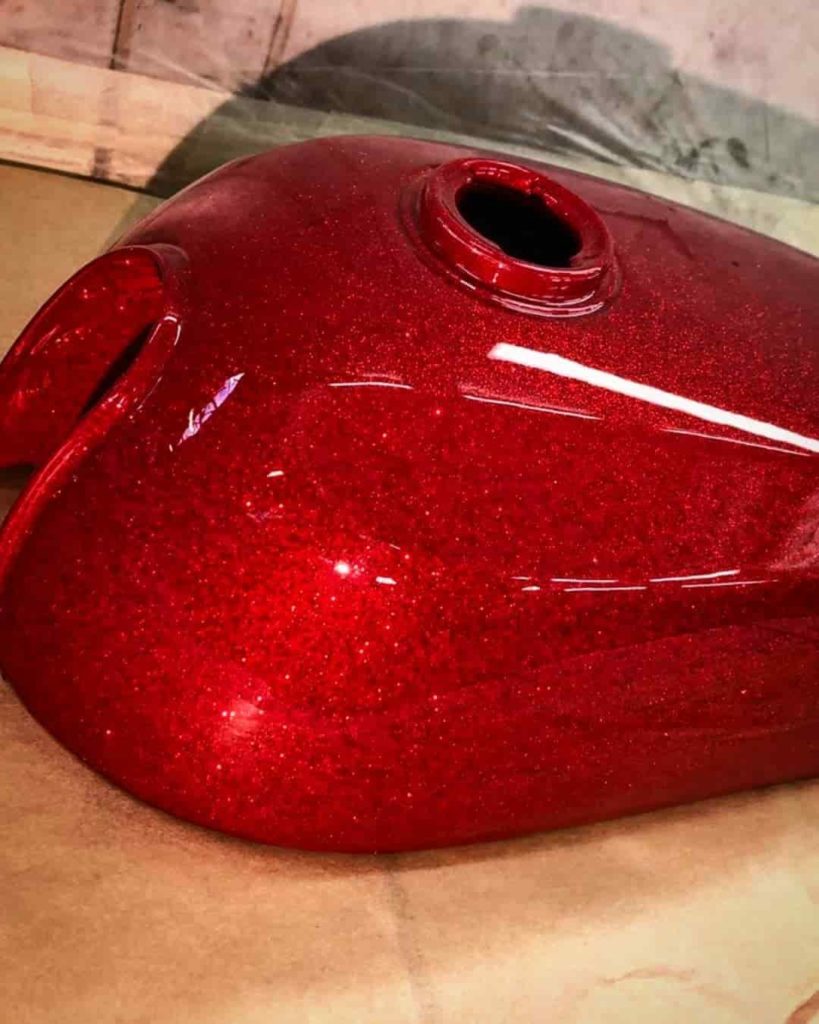
We can admire the work of preparation and transformation of the bike and just as much behind this glittery paint project with red Metal Flakes: first attempt, total success.

“.. I’m not a paint professional, I’m just a motorcycle preparer, it’s a friend of mine who paints me for the red glitter and the pure red glitter that we ordered from you with 12 coats of varnish”.

motorcycle paint yamaha xv100

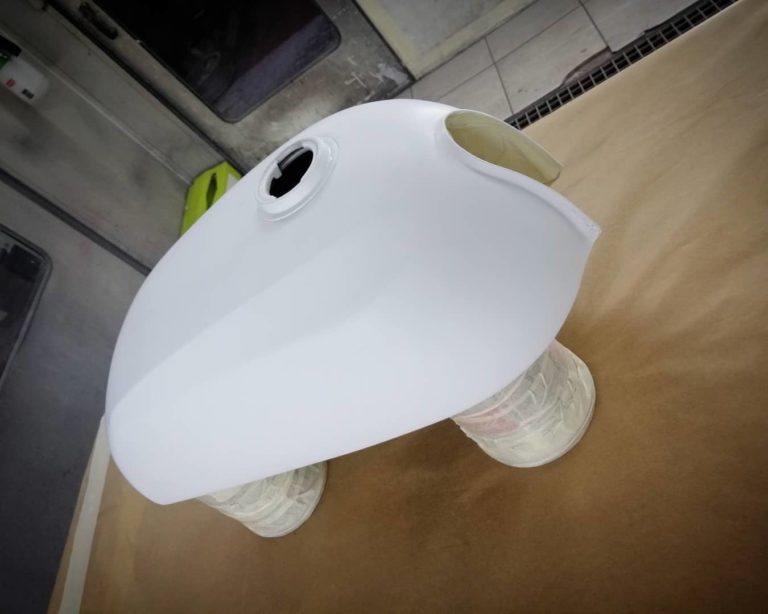
The first phase of the painting is the priming of the tank and fairing parts of the Yamaha XV1000. For this, a white two-component primer was used to stabilize and perfect the surface. After a few thick coats applied, wet sanding is carried out.
The tank is now ready to paint!

motorcycle paint yamaha xv100

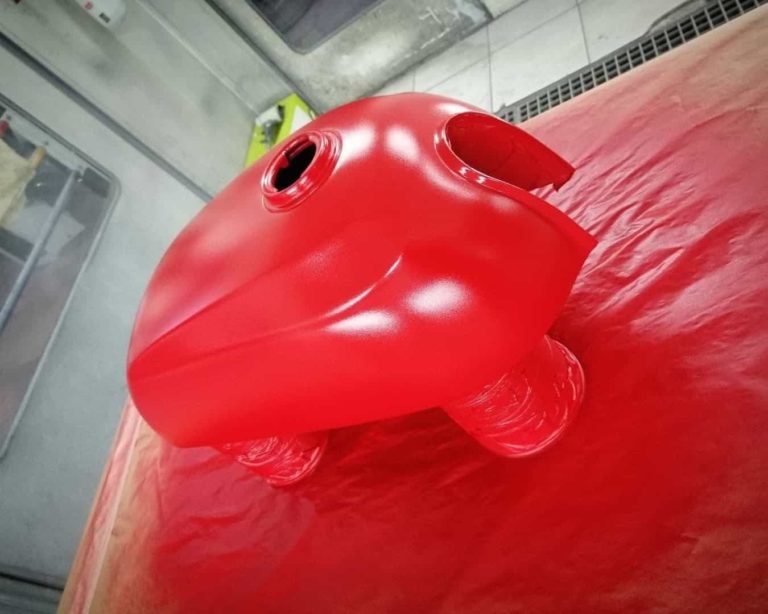
A red paint (base to be varnished) is applied.
Why ? This constitutes a red background.
Glitter, of any type, cannot form an opaque layer. Depending on their type, they are either transparent or opaque, but let the bottom be seen between each spangle.
For this reason, two types of background are recommended:
The black background to create a depth effect or the glitter color background to create a lighter effect.
A white background should never be used.

A first attempt was made with “transparent” type glitter with interfering colors (i.e. of a color different from the color of the background): this can be glitter from the “COSMIC” range or from the “DIAMOND“. Their advantage is a low thickness and therefore greater ease of varnishing.
As the effect was not convincing, the choice was made to apply classic glitter, the famous “METAL FLAKES”.

motorcycle paint yamaha xv100

There are basically two solutions or options for doing glitter paint on a motorcycle:
– apply silver glitter then a red “Candy” varnish
or
– directly apply red glitter
Option 2 was chosen.

motorcycle paint yamaha xv100

To apply the glitter, there are also two operating mode options:
– Classic spraying, with a gun, with a mixture of binder or varnish + glitter
– “Dry” spraying glitter with a flakebuster on a tacky coat (varnish)

To apply glitter with a spray gun, make veils 30 cm from the support, crossing and covering, layer after layer, so as to cover the background as much as possible.
After the operation, we obtain a very irregular and rough surface, which will have to be varnished a certain number of times….

motorcycle paint yamaha xv100

No less than 12 coats of varnish were applied to obtain this magnificent result.
A few tips for varnishing, for those who want to reproduce this result:
On the bare glitter, it is not useful to sand, because first of all, it is impossible and the varnish will naturally hang on this glittery background.
Then, it is not useful to limit yourself to two coats of varnish (the rule…) because you don’t worry about the loss of shine due to excess coats: in these first 5 to 7 coats, you simply seeks to garnish and cover the graininess.

motorcycle paint yamaha xv100

Then, every 24 hours, after the varnish has completely dried and hardened, it is possible to sand with P500 then re-varnish.

It is in the last coats that we will seek to obtain a perfect and shiny varnish.

Kudos to the artists…!

Tutorial : how to paint a guitar ?

Tutorial : how to paint a guitar ?

Below, we present the different steps and products that allow to paint a guitar, with professional paints from Stardust.

Whether you are painting a car body, a bike, a battery or whether you want to paint a guitar, the processes and the rules of the art of painting are identical.

Automotive type finishes are acrylic polyurethanes, which are the only modern products offering this level of resistance and gloss.

To summarize, a complex paint is done in 3 steps (base / paint / varnish) while a simple paint (a lacquer) can be done in 1 step.

How much paint for a guitar?Candy paint guitar

It depends on the paint. However, we will simply say that the minimum packaging available for all products on the STARDUST website is more than enough.

Specifically, it is about 125 to 250 ml, for all products.

Can you paint any STARDUST paint on a guitar?

Yes, clearly. Whether it’s a chameleon, glitter, candy, rust, glow-in-the-dark, or any other effect, anything is perfectly possible.

The rule is to prepare the surface well.

Guitar paintHow to apply Stardust paints over a guitar ?

Only by spraying, i.e. with a gun or an aerosol. All Stardust products are available in aerosol or can versions.

The preparatory phases are essential :

BACKGROUND

We consider the nature and condition of the background. A painted background is considered as paint.

One can therefore find raw wood (obtained by sanding, which is not recommended) or wood / various materials painted, lacquered or varnished.

Most effect paints and paints in general need a solid color background. It is not suitable to paint on a background with multicolored decorations.

Therefore, a background is applied, often black, which can be a paint or a primer.

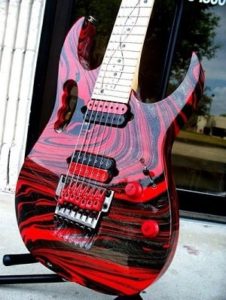
A black background is used for chameleons, glitters, metallics, pearlescents, crystallizers or marbled…

In the case of a painted surface :

No primer is needed, we will simply allow the adhesion by sanding lightly, then we start to paint. Sanding is done with P500 abrasive. This also smoothes and removes superficial scratches.

We will paint with a black or white base (a 1K basecoat) available in 125 ml or 500 ml, or spray :

In the case of a raw base (sanded wood) :

Apply a black filler primer. The product is available in a can to apply :

This serves to fill the pores of the wood and create a smooth, closed surface.

The different effects of common “Custom” paintsGuitar peint metal flakes

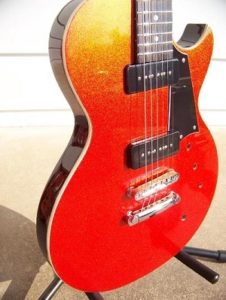
Creating a “Metal Flakes” effect on a guitar 

The flake paint can be sprayed with 0.2 mm metal flakes. Metal Flakesand also by airbrush with a mini flakebuster.

For the background, you can use a black background (for a dark and deep effect) or an aluminum or flake tone paint, to create a background under the flakes.

Aluminum and metallic paints are available in 125 ml or 250 ml.

Applying polyester flakes in an aerosol can is not possible.

The flakes are mixed in transparent binder or varnish and applied with a spray gun. The ratio of flakes in the binder is unrestricted.

The flakes are painted, or rather sprayed, in successive veils until the background is covered.

This very rough and uneven flake surface then needs to be varnished and this is done with at least 6 coats of UHS body topcoat.

Another option for varnishing is the application of a very thick epoxy glaze resin.

This is explained at the end of the article.

Note : you can use colored flakes, then varnish, or you can do more interesting: use silver flakes and use a colored “Candy” varnish. This is presented in the section of Candy paint.

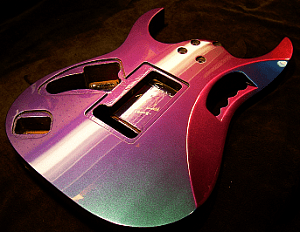
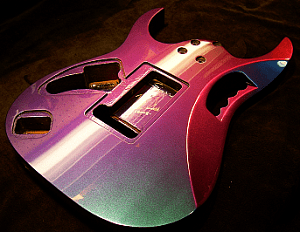
Painting a guitar with a chameleon, crystallizer, pearl paint, etc…

Once the black or white background is in place, you can apply any special color effect.

There are many possibilities to be discovered on the website.

The special effect paints are perfectly adapted to a guitar and it is simple to read, study and respect the detailed instructions on the product pages.

It is important to respect every point of the application, especially the drying and covering periods.

All paints must be varnished. The varnish represents the finishing coat that will protect the paints and the instrument, but also create the shine and the wet look.

Guitar paintThe varnishing of a guitar

For the varnishing, we use a clear topcoat.

You can apply a very nice topcoat with a spray gun as well as with an aerosol can, provided you use the two-component car body topcoat in aerosol 

All ceramic type varnishes, ST6000, ST8500, UHS830, are suitable for creating high gloss and hard finishes. However, they are only available in large kits.

The smallest body topcoat kit is offered in 850 ml all inclusive

The alternative solution is to glaze with an epoxy resin.

This consists of pouring the product and spreading it with a spatula. It will quickly self-smooth. A spray application is impossible with such a thick product.

It is a very thick varnish that can reach in 1 coat a thickness of 2 to 10 mm.

VARNISH 4000 

Related products

This thinner is suitable for cleaning or diluting for each step

Abrasives and adhesives are available in all sizes and grits

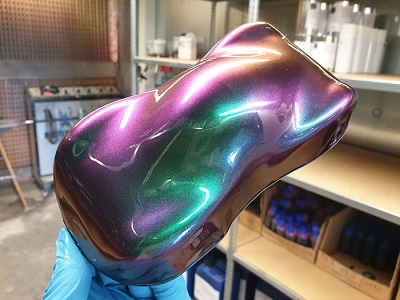
What are the differences for the Extrem Stardust chameleon range?

What are the differences for the Extrem Stardust chameleon range?

Stardust, the French special effects paint manufacturer, expands its already unique collection of 18 “chameleon” colors, with an impressive series of 16 “Extrem” chameleon colors.

What is the difference with the previous range?

First of all, the price, which at first sight seems to be much higher than that of the Standard chameleon paints.

The reason for this price difference? probably, the composition and rarity of the material constituting the chameleon, which does not seem to be made of classic synthetic mica particles, as found everywhere in the world of automotive paint.

Indeed, Extrem colors are made from a magnesium substrate, covered with thin layers of metals deposited by an electrical process.

The result?

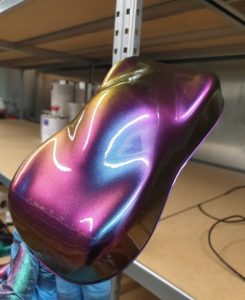
Very powerful metallic colors, very vivid and saturated in color, compared to conventional “colorshift” paints.

These paints also offer a better coverage.

One can see at first glance the very marked contrast between the color changes: Each Extrem reference shows radical color changes, with 2 to 6 changes, depending on the angle of observation.

Description of the color change or “color travel”

L1009 ORIONIS

L1009 ORIONIS : the only chameleon to show 6 to 7 colors, with green, turquoise, blue, purple, red, orange / gold

L1010 CENTAURI : a 3 colors shade, quite atypical, in light and fruity tones, green gold and pink

L1020 DRACONIS : a reference with only 2 color changes, green and silver (silver is a rare color in chameleons)


L1030 MAJORIS


L1030 MAJORIS : another reference with 2 colors, turquoise and silver (a rare shade)

L1050 AFRICA: a beautiful tri-colored chameleon, with the colors of Africa: green, yellow and red

L1060 ANDROMEDA: a 4 colors chameleon, unique in its kind, combining cold and warm tones; brown gold, green, blue, purple

L1070 SAPPHIRE: It belongs to the chameleons, although its effect of change is almost unspeakable. It is a very beautiful deep blue, which extends on the purple.

L1080 GAMMA LEONIS : a real Gold, which turns into green, on angles >30°.

L1090 NEBULAR : the very famous Gold, green, blue, ultra powerful in terms of color vivacity

L1100 SIRIUS : a two-tone green-blue shade, twin of the standard 225 chameleon shade

L1210 ALPHA BOREALIS : An extraordinary variant of the standard shade 217, turquoise blue violet

L1230 EPSILON


L1230 EPSILON : one of the most famous colors : turquoise blue violet red orange

L1280 SAGITTARII : this is the most famous color, like L1230, with a deeper blue instead of turquoise.

L1864 SCORPIUS : A rather special color in shades of green and light brown

L1866 L1866 ALDEBARAN: a very energetic color with 3 colors, two of which are titled in the color wheel: pink and green

L1868 L1868 ARCTURUS: a variant of L1866, which replaces the pink color at the end of the “color journey” with red orange

L1870 ANTARES: This is a two-tone color that has taken the name of the giant star, which wears its name well with its burning orange, which turns into green

L1830 HELIOS: Two-tone chameleon orange and red

Can a chameleon paint be applied in all fields?

Given its total resistance to the sun’s rays, a “colorshift” color is perfectly capable of being exposed outdoors, even at the southernmost latitudes, for decades without seeing its color fade.

In addition to being particularly easy to apply, Chameleon is truly the king of special effect paints, as it is truly a paint that catches the eye, surprises, and intrigues (it does that, in that order)!

The application of these paints is particularly in vogue in the world of bikes, but also in all areas of equipment and design objects.

How to make a marine decoration, with waves and beach using epoxy resin ?

How to make a marine decoration, with waves and beach using epoxy resin ?

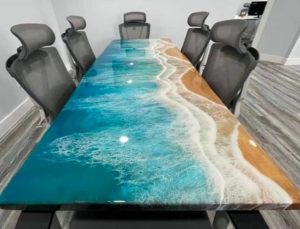
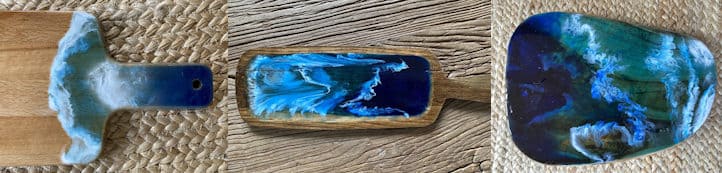
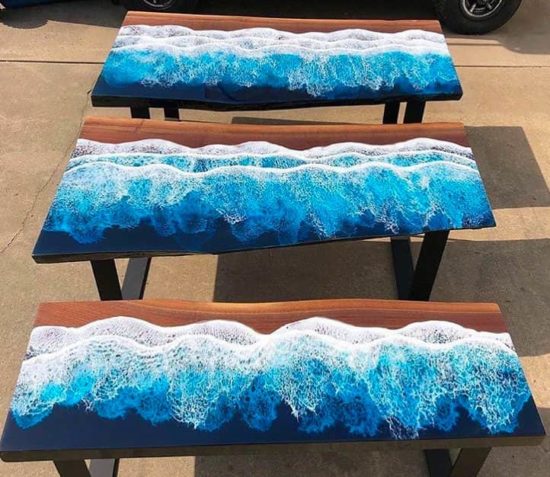
The sea and wave effect with epoxy resin is very easy to achieve and gives a very impressive result :

The epoxy resin is well suited for this magnificent marine trompe-l’oeil, which sparkles thanks to the mother-of-pearl powder and is transparent like water due to the « Candy » transparent dyes.

It is absolutely within anyone’s reach, as long as you follow the few tips and rules, but above all use the right products, such as not using the wrong resin.

[kad_vimeo url=”https://player.vimeo.com/video/520562294″ width=550 height=452 ]


What color of epoxy resin to choose for your sea and wave effect ? 

The warm, light wood-colored background will serve as a natural background imitating the warm color of sand.

It is very important to play on the transparency with the “wood” background and always use very transparent shades (Candy Inks) and never overload the resin.

The sea is a blue that varies according to the color of the sky, but also according to the depth, from dark navy blue or dark gray, to light green or turquoise, which is the result in reality of the superimposition of the light blue of the water on the yellow background of the sand.

The use of a dryer : it has the effect of “pushing” the color, as the wind does on the surface of the waves, without touching the surface and the hot air allows a perfect debubbling of the epoxy resin.

Preparation of the substrate : 

In order to work without surprises, it is important to have a primed and prepared background.

The wood must have been sanded with 180 then 320 and must have been varnished, either with a water-based topcoat or with an impregnating resin (Resoltech 1010 water-based epoxy resin) .

After complete drying, you can start decorating, after a light sanding to ensure a good adhesion.

Ingredients to be prepared 

The resin :

Choose a fast resin and intended for low thicknesses.

(Because the cast thickness will be only 1 to 2 mm).

If a conventional casting resin is chosen, then the surface will not harden for days ! Resin 4000  is perfectly suitable.

For the quantity : calculate the volume, e.g. 1 Litre = 1 m² on 1 mm thickness.

Mother-of-pearl  :

7103 WHITE MIKA

6040 OCEAN BLUE

Or / and

67635 BLUE LAGOON

Only 25g per liter of mixture will be needed.

Transparent dyes  compatible with all types of epoxy resin :

Candy Ink 06 Cyan Blue

Candy Ink 01 Black

Candy Ink 05 Navy Blue

Candy Ink 20 Turquoise

Only 5g per liter of mixture will be needed.

Opaque colorant  compatible with epoxy resin :

Titanium white

Tools :

A brush for resin or impregnation varnish.

A dryer or heat gun : to create natural foam and wave effects resembling those of the moving sea.

An electronic scale to accurately weigh the resin + hardener mixture.

At what point should the resin mixture be prepared ?

Different mixtures will be prepared at different times, to prevent the mixture from heating up and hardening before having time to use it.

As we are working with a fast resin, it is important not to keep the mixture in a pot (in a high thickness, which will allow it to heat up very quickly) and to use it immediately.

Mixture by weight (Resoltech 4000/4005) : 100 g resin + 38 g hardener

Important ! It is advisable to add the dyes and pearlescent materials before applying the hardener so that you don’t delay once the hardener has been added !

STEP 1 : The sea in resin

Prepare the mixture resin 4000 + mother-of-pearl Ocean Blue reinforced with a little transparent shade of Candy Ink 06 Cyan Blue or 05 navy blue depending on the shade of blue chosen.

10-25g of mother-of-pearl / Litre of resin

It is good to have two mixtures with two shades of blue (Cyan and navy blue) and pour the navy blue mixture on the “deep sea” part and the cyan blue or turquoise on the clear part. Before adding the hardener, wait until you have made the following mixtures :

STEP 2 : The Deep Blue

Prepare the “black” resin mixture made of 7103 WHITE MICA mother-of-pearl + Candy Ink 01 Black transparent ink.

5-10g of mother-of-pearl / Litre of resin

Be careful with the black tint, you must not use too much of it, otherwise you will quickly lose transparency ! (2-5g per Litre)

STEP 3 : Casting

Pour the different mixtures on the surface at the same time so that they can mix and spread over the surface.

Once the gradation from light blue to deep blue is well established, one can proceed to the realization of the waves of white scum, in a fast way so that the flows melt before freezing.

STEP 4: The Scum

This consists of one part resin + one part (5-10%) opaque white colorant.

The process is simple :

Pour a horizontal line of white resin.

Then do not touch manually or with a brush, but immediately blow with the heat gun or dryer.

We will make as many white lines as we want, until the last wave that runs aground on the sand.

Once the decoration has been made, the resin must be allowed to ” harden “. For this, it is important to have chosen a fast resin :

Why should I choose a fast resin ?

Epoxy resins work the opposite of paints : the thinner their coat is, the slower they harden and, on the contrary, the thicker their coat (or casting), the faster they harden.

This is why Resoltech 4000 resin, which is basically an epoxy glaze varnish, is the most suitable product, thanks to its very fast hardening in thin coats.

Varnishing

Once the wave and sea decoration in resin hardened to 50% ( it is possible to insert the nail), then we can make a new varnish cast, a glaze with a thickness of 1 mm, still with resin 4000, in order to create a beautiful smooth and shiny surface.

It is also possible to use a Stardust food clearcoat if desired.

Discover all effects paints for bicycle frames !

Discover all effects paints for bicycle frames !

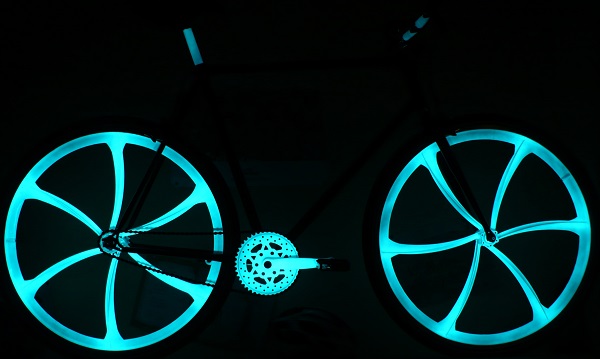
Bike paint spray phosphorescent

So, you want to give your bike a facelift? Or just adopt a stunning new look with a painting straight from the year 2100? Well to your bike spray paint or spray gun, for those who are lucky enough to be equipped! We will show you here the nice or just extraordinary possibilities that exist today in terms of bike paint with special effects !

Our team decided to dedicate a series of demonstration videos with a painter in the cabin, to see below, showing each technique of making a special bicycle painting. This article will therefore grow gradually.

  • Chrome effect video
  • Rainbow effect video
  • Chameleon effect video
  • Candy effect video
  • Video phosphorescent effect

Know that there is something for everyone at Stardust, for every inspiration, from sober, chic and classic finishes, through the effects of chrome or polished metal, pearlescent colors or Candy, or changes of color called either “chameleons” or “holographic”, or fluorescent or phosphorescent paints … We will ignore some much crazier effects.


> Click here to discover all the bike paints available !


Bike paint special effectApply bike paint : the basics and preparations before attacking

Only one question: what is the state and nature of the support? Here is the question to ask yourself in order to get off to a good start. Is it carbon, aluminum, plastic, steel? Or is it just original paint or varnish?
Indeed, there is no need to embark on a stripping or the application of primer in the latter case: a simple light sanding is enough to create the grip. In short, we have made available a complete article on the subject of primers and primers, check it out!

Then, depending on the bike painting effect that you have chosen to undertake, you just have to follow the steps to the letter! It is possible to repaint your bike with a spray gun, as well as with a spray gun. The important thing is application, patience and care.
Tip 1: try to do all the steps, from the base to the varnish, in a single work session, all the steps one after the other, because this will allow the optimal cohesion and the adhesion of the layers between them.
Tip 2: Do not favor hard varnishes! They are more brittle and more sensitive to shocks! Did you know that flexible varnishes are the most suitable for bicycle paints?

Paint your bike chrome

The chrome effect paint is an atypical paint: it is liquid like water, and it gives a real chrome effect!
This is perfectly achievable for a person who has never painted.
With a pistol, we will have the best results, while with an aerosol, it will be a little more sporty. An important thing: it is not possible to varnish with an aerosol, unless the chrome paint is allowed to dry for a very long time. We can note that the chrome paint has a certain resistance, and that if you treat your bike well, then it is not so important to varnish!

Four important things to remember to achieve the chrome effect on a bike:

  • It is the undercoat lacquer, which is the essential step to achieve a beautiful mirror. Remember it should be as hard and shiny as possible. To do this, allow deep drying for 14 days.
  • Chromium is applied in very light layers, consumption is very low
  • Varnishing: Be careful, if you do not take into account the particular technique of applying the varnish, all the beautiful chrome effect will disappear!
  • Requirements: 250 ml of base (2C black lacquer), 250 ml of chrome, 250 ml of varnish
    Technical: see product pages.

Bike chrome paint video:

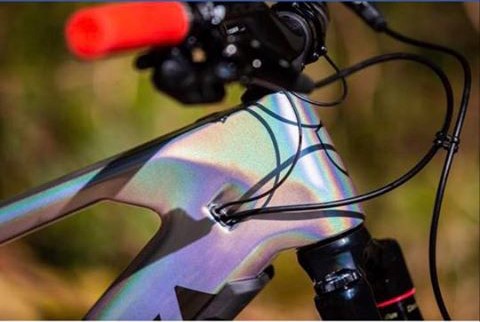
Apply bike paint with a prismatic rainbow effect

The real name of this painting is prismatic painting. However, this painting is most often found under the name Holographic or Spectrum.
This is one of the most impressive effects: it reacts strongly to sunlight, reflecting all the colors of a rainbow and sparkling. There are variants with larger or finer pigments, giving either a glittery or “liquid” effect.

Note that this paint is half transparent, and that it will therefore allow you to use an authentic combination, with the background color of your choice, for example: black, red, green, aluminum.
In general, the darker the background and closer to black, the stronger the effect.

The holographic paint is completely insensitive to UVs, so you can be without fear about the longevity of this paint, which by the way, is not given …

The level of difficulty: it goes from medium to high, depending on the size of the pigments.
Indeed, the finest rainbow paints, bring some constraints, which make the application delicate.

Three-layer system:
Requirements for a bicycle frame and fork: base 250ml, Holographic 250ml, varnish 250ml

Holographic painting video:

Apply chameleon bike paint

Here is the star of special paints: Chameleon bike paint. Old-fashioned in the automotive world, they are ultra-trendy in the cycling world! Some major brands are now even producing bicycles painted in chameleon
This effect, which changes appearance depending on the point of view from which it is observed, has multiple advantages and qualities:

Above all, it is very beautiful: the colors are bright, pearly and intense, and their ability to change color is intriguing and eye-catching.
Then there is the choice of colors: there are up to 35 chameleons, with 2, 3, 4 or even 6 color changes!

Super easy to paint! Indeed, it is one of the effects with which we can say that it is difficult to miss!

The colors do not contain tints and therefore have maximum UV resistance.

Refer to the instructions on the product pages.
Need for a bicycle frame: black base 250ml, chameleon 250ml, varnish 250ml
Three-layer system

Apply Candy bike paint

The name Candy * refers to confectionery (from English Candy), colored and transparent lollipops, because that is exactly what it is: Candy is a transparent, pure, and luminous color.

Candy bike paint is painted in three stages:

1. Black or white base
2. Pure metallic base or pearly (or even glitter)
3. Candy varnish (tinted transparent varnish)
The level of technicality is intermediate.
The color created using this technique is incomparable, bewitching, deep and intense. Why is it one of the most beautiful paintings in existence?
Quite simply because it is a “light color”: imagine the sunlight, it penetrates the varnish of the bike, bounces on the metallic base which serves as a reflector, then comes out colored thanks to the tinted varnish, towards your eye!

Available colors:

Count yourself, that makes almost 350 unique custom shades for your bike, as they are the result of the many combinations, between:

1.the available Candy underlays (14)
2. The candy varnishes (25)
Three-layer system.
Need: 250ml of black / white base, 250ml of BC1 metal base, 250ml of colored varnish.

Phophorescent bike paint

And why not ? We only live once …!

More seriously, this is an effect that exists and is available for bicycle painting.

Is it really effective? Not sure if you drive around town at night. In the forest, on a moonless night … yes! In short, if you want to be visible to motorists, it is better to wear good old reflective strips!

To put it simply, the phosphorescent paint on a bicycle will capture all types of light and quite quickly will accumulate it (in 15 minutes it’s charged, and it will shine for 6 to 12 hours!). The slow, declining release of light is called phosphorescence.

Major disadvantages:

If you want an effective effect, you must apply on a white background. The appearance of the paint is yellowish (by day) so we can admit that if we are looking for aesthetics above all, it is not won. Applications on fluorescent backgrounds or light colors are possible, but this reduces the phosphorescent effect.
The paint does not emit more light than the light of street lamps, so it is likely to fall quickly below the threshold of ambient light. In short: no total darkness, no visibility!

Three-layer system

Need: 250ml white base, 375ml phosphorescent paint, 250ml varnish.
Detailed instructions on the product pages.
Reference: NightGlow spray or in pot

Advice and tips for painting flying models

Advice and tips for painting flying models

Here are some answers to frequently asked questions by model-makers who try to practice painting on their aircraft models!

Which paint should I choose to keep a miniature airplane lightweight?

When talking about flying models (not the static plastic models), or even real fighter jets or airliners, one central point is the total weight of the various layers of paints. Here are several parameters to consider:

Water-based or solvent-based paints?

First of all, a paint is composed of evaporable material and solid matter (solid content/kg of liquid product) which, after application, become microns thick (weight in g/m²)

Water-based paints have a higher solids content compared to solvent-based paints. Therefore, it’s better to choose solvent-based paints, which form a thinner and lighter final layer, for the same coverage rate.

Here is an example of solvent-based paints for modeling with the Graphic range.

The paint system:

Consider using versatile and efficient products to limit the number of paint steps and passes (primers, paints, topcoats): some products are two-in-one, or even three-in-one systems, as they provide adhesion, and can be used as paint and protective finish.

The thickness:

The wet thickness (from 50 to 150μm) is distinguished from the dry thickness (generally from 10 to 50μm). Apply as little paint as possible. To obtain a thin and well stretched coat, increase the thinning.

airbrush for painting flying models

For multi layer decoration with masking and colours:

Reduce the thickness to a minimum. Dry paint areas can be sanded gently with water to reduce “stairs” effect.

When painting on masked areas, it is recommended not to “load” paint on the edges around the adhesives.

Material and paint compatibility

Models made from wood, composites, polystyrene-type foam or other materials such as EPP or EPO are more resistant to solvents.

In case of doubt, there are two solutions:

  • Isolate the surface with a polyurethane acrylic water-based topcoat

  • Spray 2-3 ultra-thin “flash” layers of solvent-based paint or clear coat on the surface, then wet the surface with the paint without the risk of reaction.

Generally avoid the paints sold for the general public in supermarkets because they create reactions when they are coated with solvent-based paints.

Which tool to use? Spray gun, airbrush or aerosol?

Unquestionably, the mini (0.8 mm) or standard (1.4 mm) spray gun is recommended It allows to apply clear coat, prime or paint accurately.

Airbrush use is restricted for fluid products or thinned products, and for painting masked areas. It is not intended for painting or applying topcoat on an entire model!

As for the spray can, although practical and fast, it poses certain challenges: it doesn’t allow to control the spray or the pressure, and above all, it is not very productive, as it contains mainly gas, and little product!

Should we always apply a primer? If so, what type?

No. A primer should only be applied if necessary, in the following cases:

  • adhesion required on bare material difficult to adhere to > adhesion primer

  • need to fill, smooth, repair the surface > “filler” primer

These are the various types of primers that exist, and they have different functions.

When you have a wooden model already primed, it is quite useless to apply a primer. The same applies for the backgrounds with old sanded paints.

What is the resistance of paints and topcoats to fuels?

Experience shows that commercial and supermarket paints are completely contraindicated because they melt immediately.

As for polyurethane acrylic topcoats, although they are water-based products, they provide a good resistance if they come into contact, accidentally or occasionally, with gasoline, but not more!

For maximum resistance to fuels, a lacquer or solvent-based polyurethane topcoat must be applied.

Read more by checking this discussion on model making and model airplanes.

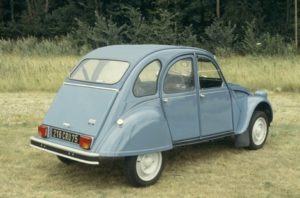
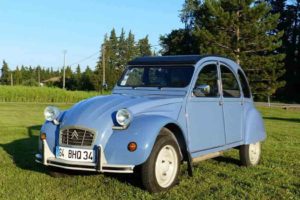
How to repaint your 2CV bodywork?

How to repaint your 2CV bodywork?

In 1948, when the type A 2CV was released during the post-war period, these cars displayed a unique metallic paint colour : Gray 109.

With the success growth in the post-war years, during the 50s and 60s, 75 new shades, specific to the vintage 2CV cars, have emerged until the end of the 1980s, such as the Monte Carlo Blue, the Palm Grove Green or the Cormorant Gray.

Find the original car paint

For this, it is necessary to find its original colour code (specified on the engine board, the doors, the hood, etc.). All colour codes start with AC.

For 2CV cars, we choose a paint called “2K paint” (two-component gloss paint). After mixing with a hardener, you have 30 minutes to apply it. It’s a finish that does not require topcoat application.


Car paint 2CV

Let’s move now to the 4 steps to redo your car paint and the advice of a professional for a long-lasting and quality work :

1. Prepare the substrate

Scrape and remove oxidized areas and those where paint does not adhere. Sand with 220 grit paper.

2. Applying the primer

Apply an anti-corrosion primer on the bare areas of body or metal to ensure good body protection

Then apply a filler primer on the entire body. Sand with 320 grit paper to achieve a smooth surface.

3. Last checks

To succeed your painting project, moisten the floor well to fix dust, clean your spray gun, purge your air compressor and accumulated moisture filter.

Degrease with a degreaser (don’t use white spirit or acetone!)

With a blow gun, blow the dust on the body and on your coveralls.

Car paint 2CV

4. The car paint

It all takes just a few minutes to succeed several hours of preparation:

A successful car paint must have gloss: This is a delicate task. Watch out for drops! If you load too much, the paint will drip, and on the contrary, if you do not apply enough paint, it will lack gloss.

Tip: practice on plates before you start the paint job. Keep the spray gun always straight facing the substrate, at a constant distance and steady speed. Apply 2 passes (allow 5-10 min between each coat). Then let dry in a warm and dry atmosphere.

If you have trouble finding your bodywork tint, here is the page that lists all the 2CV car paint colours with their years of release.

Car paint 2CV

How to create a car body paint with matt or satin areas?

How to create a car body paint with matt or satin areas?

How to create a car body paint with matt or satin areas?

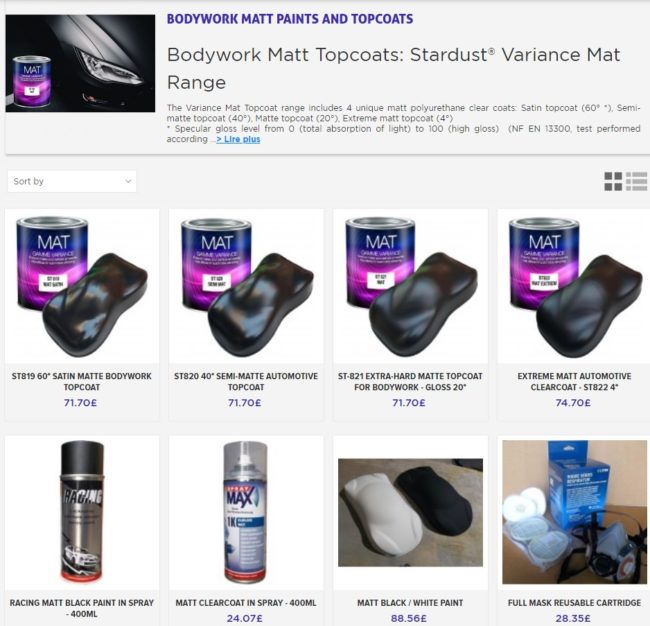
When creating a custom paint, for example on a car bodywork, a motorcycle fairing, or on a bike frame, there’s a very interesting effect which is the association of a matte surface with a glossy surface.

Juxtaposing a beautiful matte topcoat with a gloss clear coat gives a fantastic aspect, but it raises technical difficulties related to implementation and some questions:

– What to do first? The gloss topcoat, or the matt clear coat?
– How do you hide and sand certain areas?
– How not to leave any white marks caused by sanding

StardustColors, with the help of Bryan la tinta for the application, teaches you the trick to create a matt and gloss topcoat:

1 – First, it is necessary to apply the topcoat in the classic way, with a gloss bodywork clearcoat, to the entire painted work. This will form the glossy areas, which will be masked off thanks to the masking tape

2 – Apply then the masking tape to hide the areas that must remain glossy.
For fine lines, especially for very tight curves, we can use a lighter to soften the line.

3 – You can now use the matt clear coat. How to achieve a good adhesion?
Do not sand. If it’s done with an abrasive sponge or paper, it will leave white marks under the adhesives, and this will produce a very poor appearance once the masking tapes are removed.

4 – Make a quick and superficial flaming to obtain good adhesion on the substrate.
After flaming, apply a very fine pass of matt topcoat within 60 seconds.

5 – Matt clear coat: it is important to apply only a very thin coat, to avoid a “stair” effect, and also to obtain a good adhesion.
Also, it is recommended not to load the edges of the adhesives with product but instead, simply apply a thin pass around the masking adhesives. This will create a smooth and seamless finish.

6 – Remove the masking tapes, then let the matt topcoat dry completely.
Using a sticky pad, clean and scrub to soften the low edges


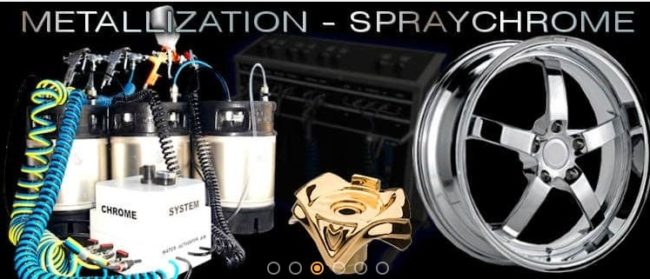
Metallisation by spraying

Metallisation by spraying

Different “chrome effect” metallization techniques:

Silvering (silver), galvanisation (decorative chrome or hard chrome) and vacuum metallisation (aluminum) are different techniques that consist of depositing a metal layer on materials for decorative or technical uses.

Among these techniques, apart from galvanic chrome plating which is a constraining, toxic and polluting process that is increasingly regulated, silver metallisation is the most efficient technique.

Discover the handheld metallisation equipment:
and chemicals with base and topcoat

The traditional silvering process of reducing a silver salt, to create a “silver mirror”, was used for years in the mirror industry specifically, and has been remarkably improved and developed by a French company which now proposes this innovative and patented technology to small and large businesses in 47 countries, to easily achieve a chrome effect on all substrates!

The 5 advantages of this original metallisation technology:
– application on almost all types of substrates
– non toxic products
– easy and quick technique
– chrome surface that can range from a few centimetres to a few meters
– efficient and economical, with prices ranging from 15 to 20€ per m²

This innovative technique has many varied applications in different areas:
luxury, automotive, bottles…


The chrome finish is of high quality: it is almost indistinguishable from a real chrome and produces a real mirror effect.

Metallisation using silver nitrate solutions is sprayed with a double nozzle gun
The silver layer is provided in a thickness of 0.1 microns


Pure chrome effect:
Metallization with silver nitrate is currently the technique that gives the best results and the least toxic method.
The quality of the chrome effect finish is far superior to that of sputtering for example.
Non-hazardous:
the products do not contain any CMR substances or toxic products (except R2S version that contains formaldehyde)
Economic performance:
from an economic perspective, it is by far the most profitable at a cost of less than 20€ per m²
Flexible application:
application using traditional methods (small workshop) or industrial application in automated serial production

2h: minimum time needed for metallisation of a part.
Applying the colourless gloss base (fast baking: 30min)
Spraying the silver nitrate solution, rinsing and drying (5min)
Applying topcoat then drying (30min)

The metallisation process allows you to create coloured Chrome effects using coloured clear coats

Contact info@stardustcolors.com


to receive free documentation

What painting for an airbrush?

What painting for an airbrush?

There are many brands of paintings, different types of paintings, but also different qualities.

There are also different professions using the airbrush. So let’s take a look at all this, and see how to choose and what paint to use for an airbrush.

In truth the choice of airbrush painting is very simple:

First, how do you use the airbrush?
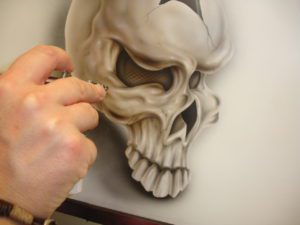
airbrush

Each application has a type of airbrush paint :

Artistic or decorative airbrush paint :

Essentially paints and water-based inks, very fluid with a range of graphic colors exclusively, from the classic palette of Fine Arts.

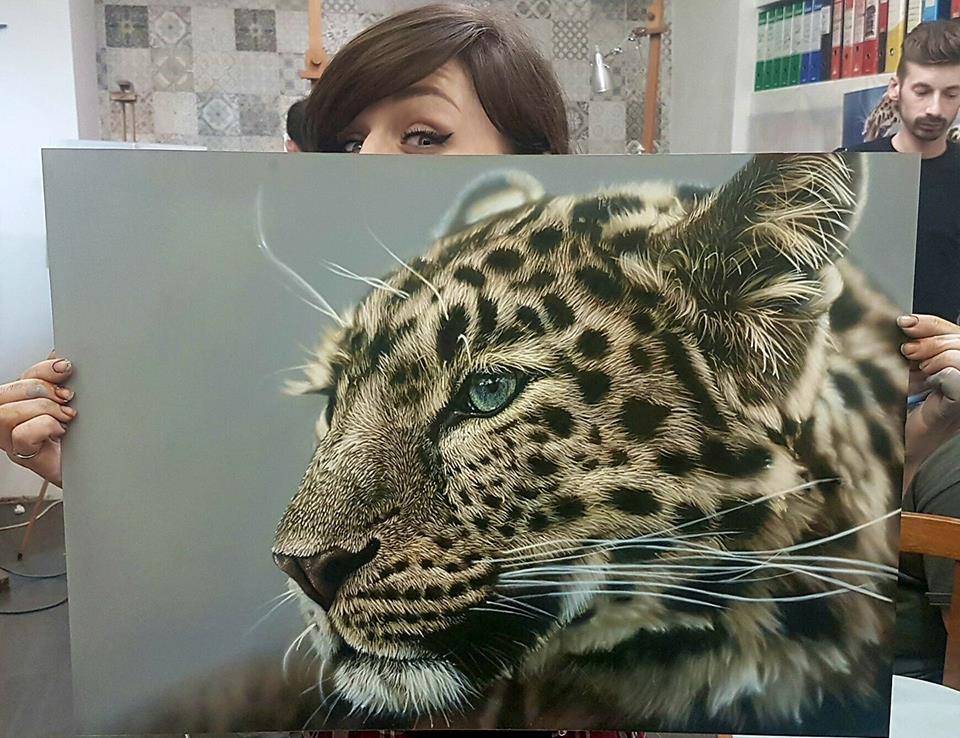
These are paintings made for drawing on paper (min 250g / m²), art board, on interior painted wall … They are ideal to realize portraits, landscapes, animals, frescoes, trompe l’oeil, … and not suitable for other applications. The fluidity, the smoothness and the destination of these products necessarily implies products that are not very resistant once dry, very thin, and sometimes not resistant to UV.

They are often available in very small bottles.
Airbrush paint
« artwork from Alina Tarasenko »

Custom paint, miniature, radio controlled and hobby:

These are waterborne acrylic paints for car bodies or fairings, necessarily more resistant because they can be exposed to the sun (resistant colors), abrasion, fuels, solvents of the primaries and body polishes.

They are a little less liquid, and once dry, they form a thicker film. They have the main advantage of being odorless and solvent-free, perfect for protecting the environment and the applicator.
airbrush paint

These are ranges of paints with a wide range of colors but also effects, such as metallic, fluorescent, pearlescent, candy and all their related products (varnish, thinner, degreaser, …) They are found in bottles of 17ml to 125ml

Warning! There is a great difference in quality from one brand to another, and between the “low-end” paintings usually offered for miniatures, hobby or radio-controlled gear on one side, and the high quality paintings presented “Custom Airbrush”, for the customization of bodies or helmets.

All the famous brands of airbrush paint have embarked on the creation of a bodywork range, after the arrival of the first waterborne car paint. The problem is that the first body water paints represent a good progress of course, but they were not very developed (difficult to sand, slow drying, bad wear over time, fouling of airbrushes, ..), and some big brands have not renewed their products …

Over the last two years, this field has benefited from major innovations directly from the world of professional automotive painting, with the arrival of new-generation body-water paints, as effective as the traditional solvent-based paints and even sometimes better!

This is well illustrated with the new Stardust airbrush paints, acrylic / polyurethane hybrids.
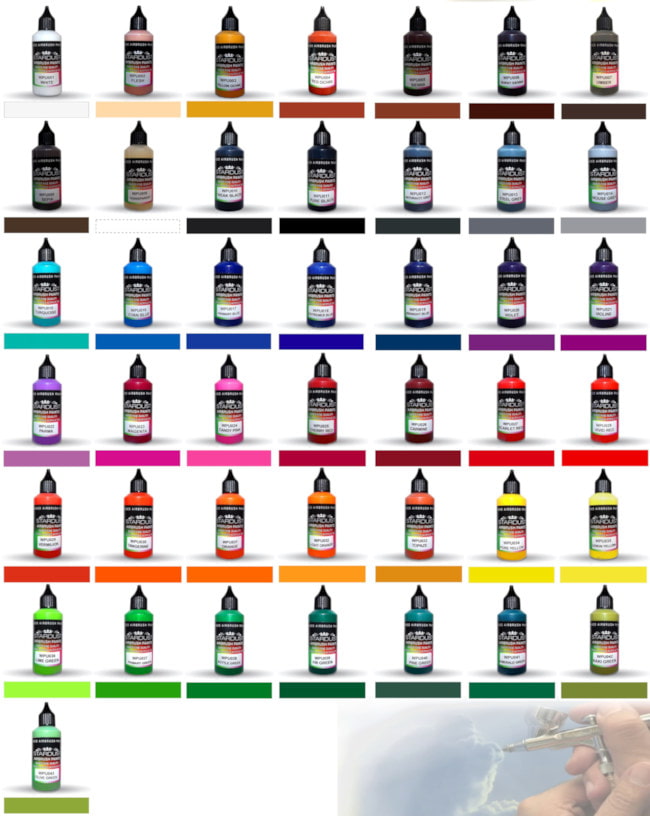
airbrush paint

which combine all the following qualities: ultra-fast drying, grips all substrates, extreme finesse, very high strength even without varnishing, total compatibility, high pigment concentration, without solvents, great flexibility, very affordable prices …

Bodypainting, tanning (tanning),  temporary  tatoo

These are products classified cosmetics, intended to be applied to the skin. They are therefore free of all dangerous substances or allergens, they contain mainly natural or food dyes, and can be removed with water and soap even after drying.

This is the case of the excellent paintings for Bodypainting Senjo® brand
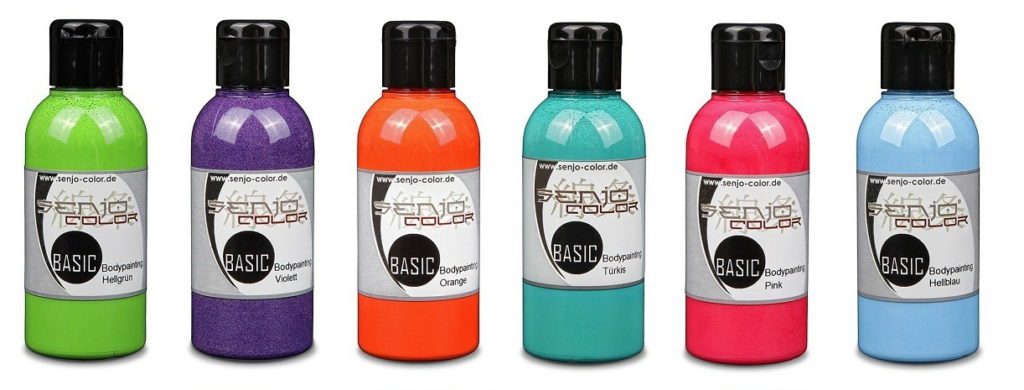
airbrush paint

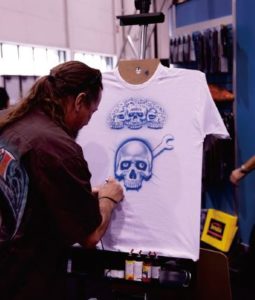
Paintings on T-Shirt and leathers

airbrush

These are paints that must be both flexible, resistant to friction and also washing (detergents, water, temperature). It is therefore necessary to obtain good adhesion and excellent resistance.

This is the case for artistic Stardust acrylic paints that are ultra-resistant to leaching, even at high temperatures, and are indestructible on a variety of substrates, such as natural or synthetic fibers.
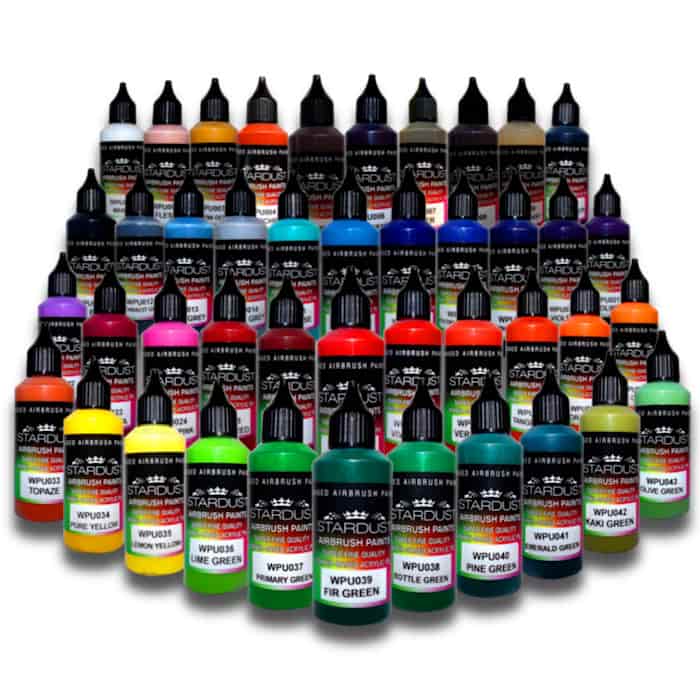
airbrush paint

Pastry

These are edible and therefore food products, derived from natural dyes (caramel, beets, etc.) or synthetic.
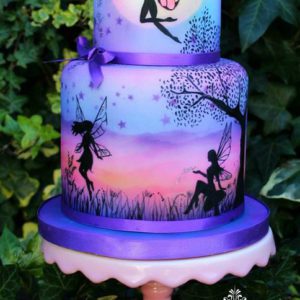
airbrush

What are the quality criteria for a good airbrush paint?

– do not contain solvents (allows you to work without a mask, without constraints or installations)

– For the drawing, the range must decline hues both opaque and / or transparent.
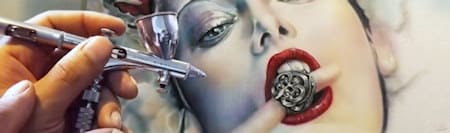
airbrush– low prices and small packages proposed, for drawing or custom
– fast drying on the support (allows to work and cover quickly with the different layers)
– ready-to-use product without the need for further dilution

– allow spraying with the smallest nozzles and the production of ultra-fine lines.
– High concentration of pigment and high tinting power (can be used to cover in one pass or one stroke without the need to go through several layers)
– low water content / high solids content (no excessive wetting of the paper)
– do not dry too quickly on the needle or dirty the nozzle
– to form a dry film not thick, for the bodywork and the work multi-layers, and easy to sand
– compatibility with other solvent products for bodywork (primers, varnish, degreaser)

Airbrush custom: Compatibility with other products

The following questions must be asked:

What other products will I use below and above my painting?
Are they compatible, is there a risk of reaction?

On many medium quality acrylic airbrush paints, and sold as products for bodywork and model making, if we risk applying a real quality varnish with solvents (polyurethane type) is the disaster, with the paint who faints, blisters, or whatever.
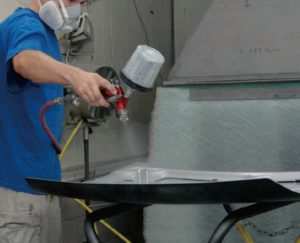
airbrush

The basic rules to avoid defects are:
– ensure a good drying of each layer (sufficient curing, and total evaporation of water or solvents)
– do not mix professional products and consumer products “cheap”
– When in doubt, when painting acrylic paints and solvent paints, always paint one or two thin veils “to see” and to fix.

On which support do I apply and the grip will be good?

Very few paints make it possible to paint directly on a raw support, such as metals or plastics.
If you want to get a good grip of the paint, and not see all his work come off after two weeks, then we must use primaries for airbrushes, or paintings that hang “really” on all media.

And what about solvent-based paints for airbrush?

They are called “solvent-based airbrush paints” because of their nature and composition, different from aqueous acrylics, although in truth water is also a solvent. Like water paints, they dry and harden by evaporation.
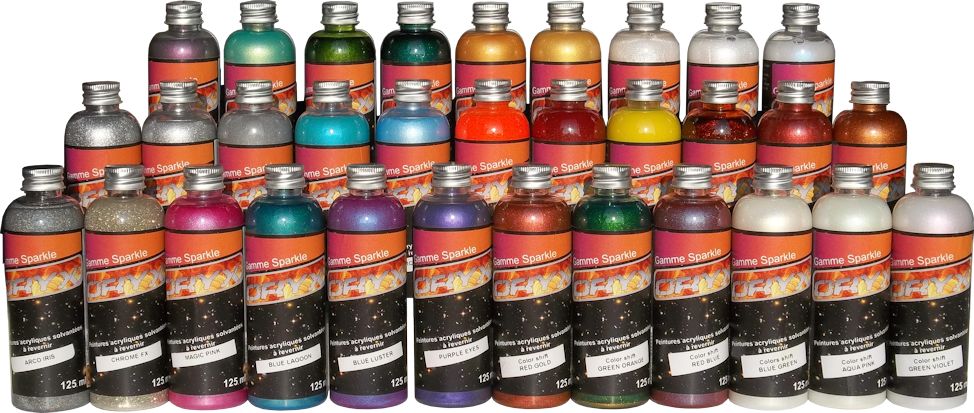
airbrush paint

But many professionals prefer them for many reasons:
Solvents evaporate faster, whatever the temperature. They allow finer paints, highly dilutable, with an unmatched fine line for drawing freehand airbrush, and also a low fouling of the interior of airbrushes, they do not clog.
The dry layers are easy to hide, sand, work, with less unevenness when masking. The paints can be dissolved easily even after drying unlike water paints.

In return, they require a professional workshop or at least a sufficient air extraction and often the wearing of a mask.


Vallejo Acrylic airbrush paint

Graphic Solvent-based airbrush paint

Sparkle Solvent-based airbrush paint

Model paint – Hikari

Stardust pro airbrush paint

Schminke airbrush paint