Mirror paint – NeoChrome, an innovation for the mirror industry

Mirror paint – NeoChrome, an innovation for the mirror industry

Similar to silvering, NeoChrome is a paint capable of creating a mirror on the surface of a glass pane.

Neochrome is made with a rare, non-toxic metal, and has a light reflection index similar to that of silver (Ag).

Application

The glass must first be cleaned of all contaminants. A mild water-based cleaner gives excellent results, as does isopropyl alcohol.

It is possible to use cerium oxide to polish the glass by removing micro-scratches and eliminating limescale deposits.

Mirror paint is best applied by spraying.

Two or three very thin coats on the glass provide opacity and a mirror effect.

The Art of Mirror: Unveiling the Production of Mirrored Furniture

The fine layer of paint evaporates quickly, leaving behind a metallic film less than 1μm thick.

After that, an opaque backing coat must be applied.

The yield is significant (10 m² / L).

The high light reflection index allows treatment of surfaces such as headlight reflectors.

NeoChrome is highly resistant to corrosion and UV, unlike silver.

Its ease and speed of application, along with its lower cost compared to silver, represent a true innovation for the mirror industry.

Application is also possible on materials other than glass, on the external face of opaque substrates.

StardustColors and its commitment to reforestation

StardustColors and its commitment to reforestation

StardustColors is a French company specializing in the manufacture and distribution of innovative paints, recognized for its expertise and environmental commitment*. Based in the south of France, it offers a wide range of special effects paints..

For several years, our team has been committed to converting as many of its offerings as possible to innovative formulations without organic solvents. By 2025, this represents 50% of our production and a new building constructed in 2021 is exclusively dedicated to water-based paints. Beyond its expertise in special effects, StardustColors stands out for a cause that is deeply close to its heart: reforestation.

Aware of the importance of forests for the preservation of biodiversity and the protection of animal and insect species, StardustColors has launched a bold initiative: planting a tree for each order placed**.

Every order from StardustColors directly contributes to the restoration of forest ecosystems around the world. This approach reflects the company’s deep commitment to a sustainable future, transforming each transaction into a concrete gesture for the planet.

By supporting reforestation projects, StardustColors participates in CO2 sequestration, soil protection and the creation of habitats for wildlife, while raising awareness among its customers about the importance of preserving our environment.

Our partner @Tree-Nation

To bring this initiative to life, StardustColors has partnered with Tree-Nation, an international platform dedicated to reforestation and the fight against climate change. Tree-Nation enables the planting of trees in various projects around the world, providing tools to track the environmental impact of each tree planted.

Through this partnership, StardustColors ensures that every order contributes to carefully selected reforestation projects, maximizing social, economic and environmental benefits for local communities and the planet.

The message from the Kogi Indians:

Guardians of the Sierra Nevada in Colombia call for respect for Mother Earth, considered sacred and alive. They denounce the destruction caused by modernity, such as deforestation and pollution, which threaten the planetary balance. They invite humanity, their “little brothers,” to reconnect with nature to preserve biodiversity and prevent collective extinction. Their message advocates harmony, solidarity, and responsibility towards the environment.


“Nature is watching you”:

Koko, a gorilla who was taught sign language, shared a poignant message for humanity in a video. She expressed her love for nature and humans, while lamenting human actions in the face of the destruction of the planet.

Koko delivered this message to humans before she passed away at the age of 46: “Nature is watching you,” and signed her name: “I am nature, Koko loves the Earth, humans are stupid, Koko is sad, save the planet.” Her urgent appeal urges us to protect the environment before it is too late.

* Support for animal welfare associations (@groingroin)
**Stardustcolors is committed to planting a tree for all orders of at least €50 including tax.

Guitar painting: how to personalize your guitar?

Guitar painting: how to personalize your guitar?

3 ideas for tuning your guitar with special effect paint!
It is possible to personalize the painting of a car, a motorcycle, a helmet… But then, why not the painting of a guitar? What could be better than the surface of a guitar to apply a special and unusual paint?

This can be a phosphorescent paint, a fluorescent paint that becomes luminous under UV lamps, a chrome paint, or even a prismatic paint giving rainbow reflections.

Today we will present to you 3 customization ideas with effect paints for a guitar:

Guitar Tuning: how to paint a guitar?

The preparation :
Whether it is bare, raw wood, or even an old painted background, I advise you to apply a thick, covering primer, which can fill in all the micro-defects and create a perfect, smooth background. , ready to receive any effect paint.
For this, there is the filling primer in a pot or in a two-component aerosol.
These primers are available in several colors, including black which you will use to create guitar tuning ideas 2 and 3.
Sanding with P500 hydro abrasive paper.

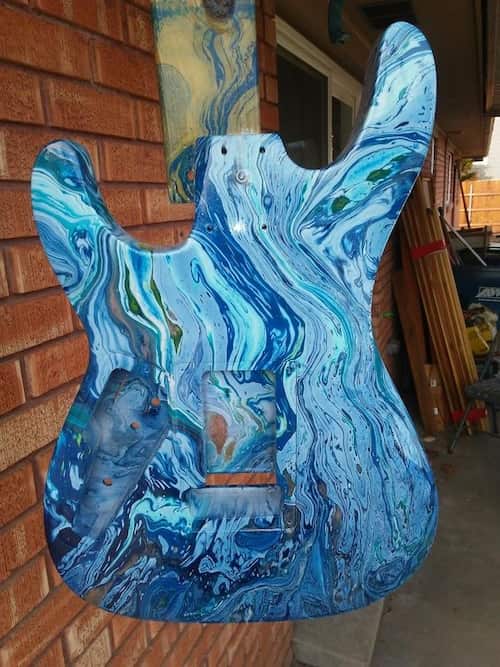
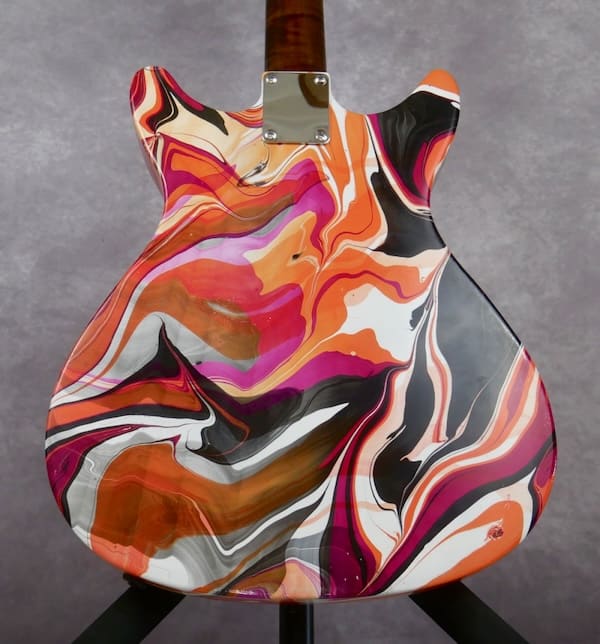
DIPPING: guitar paint

It is in a way a Hydro printing or Hydro transfer technique, but carried out not with transfer films, but with transfer paints.
Start by making a hard base (2C primer) with the color of your choice.
Place the chosen colors on the surface of the water in a tray large enough to contain the body of the guitar. Use an interesting color combination, such as orange, purple and green with a few touches of black.

Dipping colors are specially made not to dissolve in water and to cling directly to the surface of the object being dipped.
It is possible to distort the position of colors on the water surface using a rod.

The guitar is therefore printed with your decor. All that will remain is to varnish with as many layers of varnish as is necessary to level and create a perfectly smooth and shiny surface.

artist : @burlsart

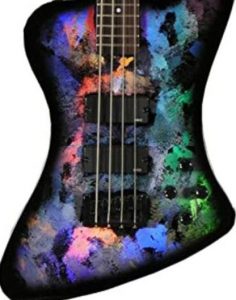
2/ Pearly and multicolored speckled effect

To achieve this beautiful effect, which produces bright, shimmering colors, you will need a hard (2C primer) and black base, perfectly black.
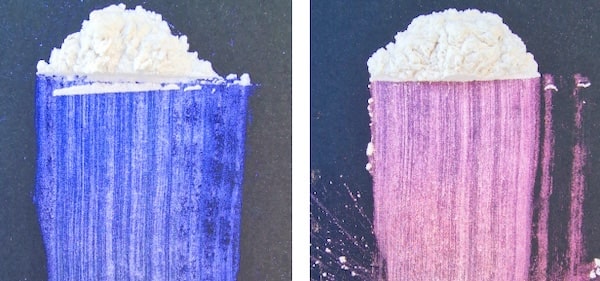
You can then take interfering pearls, which are available here in eight colors
And you can mix them in a little bit of transparent binder available here in small format.
Makes a liquid paste with the mother-of-pearl and the binder, which will allow you to dab with a piece of plastic or a sponge on the surface of the guitar. The pearls appear colorful on this black background. Of course, it is possible to use other background colors or even color gradients. The effects of the interfering pearls are very interesting on other background colors.

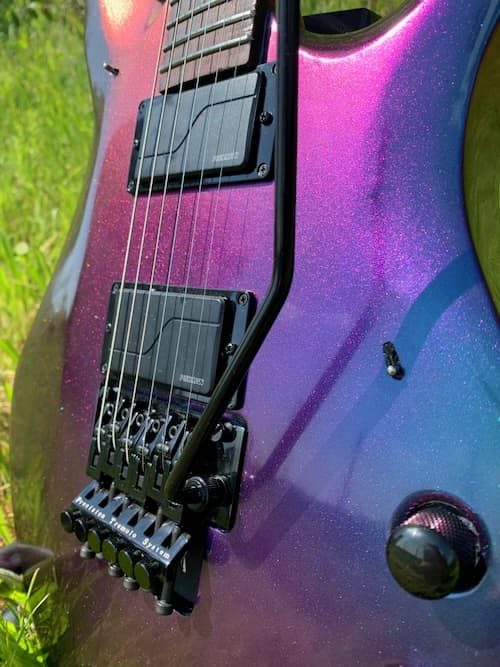
3/ The Chameleon Colorshift effect on a guitar

Here are some impressive colors that have the ability to capture attention and attract all eyes! These colors are particularly bright and intense in comparison to other metallic or pearl colors. And they have the particularity of changing appearance depending on the angle of view. So, you never really know what color they are!

It doesn’t matter if you don’t have a spray gun, you can apply them with an aerosol because they are available in the 38 colors of Stardustcolors, both in a pot or in an aerosol.
This is probably one of the most effective effects but also the easiest to achieve:
on the black background sanded with P500, you must apply thin layers, and repeat these thin layers until the black background disappears. Then we can varnish

There is a large choice of colors, with some shades changing up to two colors and even up to 8 colors depending on the viewing angle.

Being a PLAMO builder: GUNDAM-GUNPLA plastic painting and modeling

Being a PLAMO builder: GUNDAM-GUNPLA plastic painting and modeling

Stardustcolors introduced you to modeling on PVC toys (SOFUBI), modeling on radio-controlled models (LEXAN), modeling of miniatures and figurines, and today here is another family of modeling: GUNPLA or GUNDAM modeling. Here too, paints are used to personalize the parts of miniature robots.

Several types of paints can be used for the world of GUNDAM:
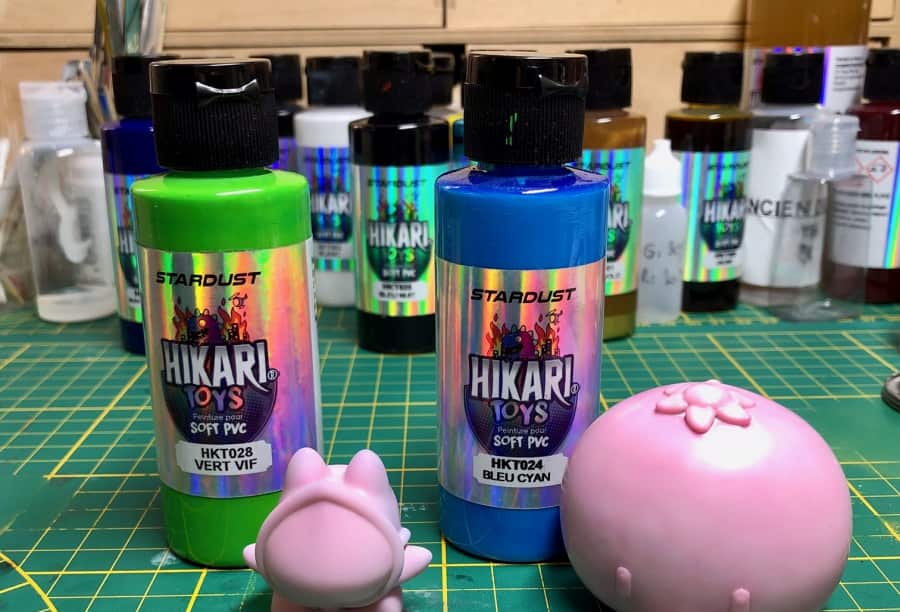
► Solvent-based airbrush paints for PVC: HIKARI Toys range
► Water-based acrylic airbrush paints: Stardust Pro range
► water-based acrylic airbrush paints for plastics: HIKARI RC range


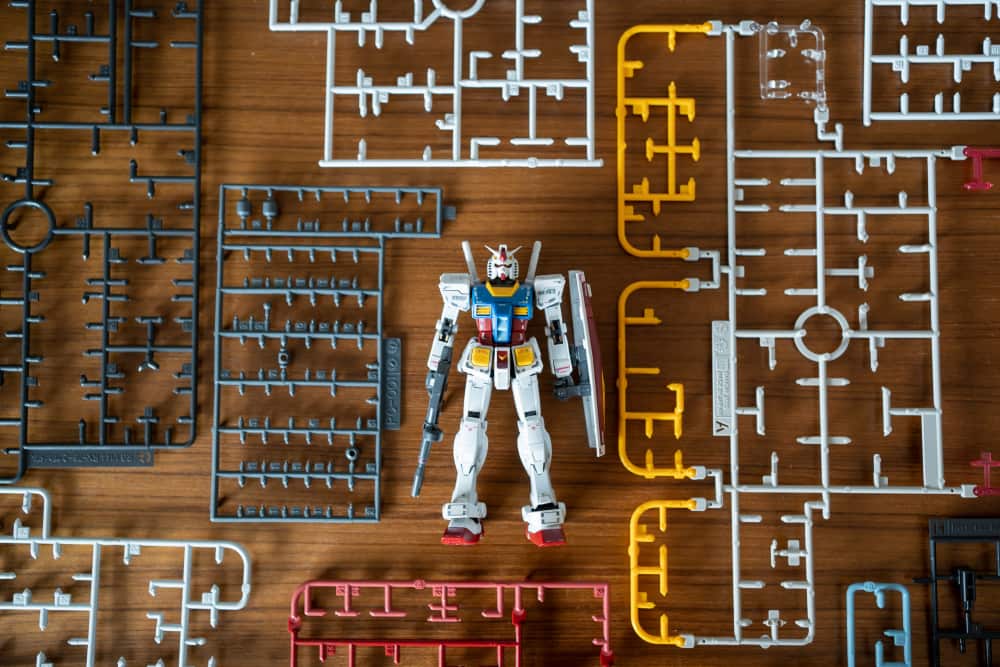
First of all, what is PLAMO? a Weapon of War? No no……The term PLAMO is a contractive term of Plastic Model. This refers to plastic models to be removed, for which you do not need glue or paint to have a finished result.

This hobby became popular with the “anime Mobil Suit Gundam” in 1979, which gave rise to a variant of GUNPLA. This notably designs the GUNDAM plamos. Then there is an abuse of language, because we say “gunpla” for all plamos…… “I fight regularly on that…. » explains André ( @aivon_lepgm ), specialist in PLAMO modeling
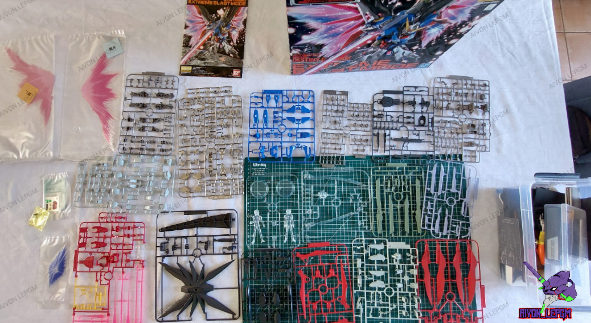
For the assembly of the different GUNDAM modeling figures, there is a notice with the number of the parts and each letter of each sprue.

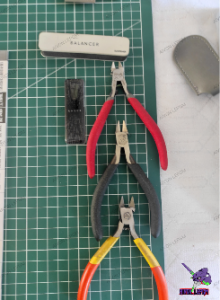
For assembly, a pair of precision tweezers, a glass file, do the job from the start. You should avoid low-end equipment anyway!
In the photo above, we can see a Dspiae pliers (red), a Tamiya pliers (black) and a no name pliers. There is also a Shave Plus file from Gunprimer. (It’s high-end.)

Afterwards, when it comes to cutting and editing, just take a look at YT where there are already so many videos on this…
As for the final result, we have the choice, either leave it as the kit provides at the end, with the stickers and other decals, or paint them. And to do this, there are a whole bunch of paints, my choice is Stardustcolors, a French brand. (I made my two YT and Instagram videos on it under the nickname Aivon_Lepgm.)

Interview with André, PLAMO modeling specialist

► André, do you have an idea of how many enthusiasts of the practice of GUNPLA/PLAMO are identified in France and around the world? What is the country where this art is most widespread?
Wow, a difficult answer, I even think that there are no official figures in this hobby. In the sense that there is no federation (there are associations) or anything else for the census. But I know from sources that Bandai has sold more than 500 million copies worldwide.
It is no surprise that the Asian continent is the must have. They are the ones who have the greatest potential, a custom expert with us is the equivalent of a beginner with them (that’s another dimension there). Japan wins the prize in sales, limit, this country alone accounts for the sales of the rest of the globe!

►What is a Nakamas?
Ahahah, I always say in my videos “hello nakamas”, this comes from my manga universe, and in particular One piece: or a nakama, is a crew member who has become more than that, who is part of the “family “. Otherwise it comes from Japanese: means colleague, compatriot, companion, or comrade.
► What is the material that different plastic Gundam models are generally made of? What type of plastic exactly?
The middle of the plamo is made of plastic, and in particular ABS and polystyrene ,
►Are you making Plamo today using 3D printing?
I just make the supports for my plamos, but you can find a lot of parts on different sites for that. But maybe one day yes, if I’m missing a part or for a big custom why not.
► In the field of GUNPLA paint, do we use solvent paints or Hydro paints when we want to personalize parts?
It depends on the builder, because some will only look at solvent-based paints, because their quality is still superior to “hydro”, but much more harmful. And on the contrary, some prefer hydro, for the ease of use, cleaning, and the odorless side.
I’m a fan of both, I don’t have a preference on that. Because both offer equivalent choices.
►For finishing paintings on GUNPLA, is glossy varnish or matte varnish preferred?
It all depends on the finish, we tend to varnish in gloss before applying panel line (enamel juice to accentuate the lines), to facilitate application and protect the parts (because the bandai plastic can crack with the uses panel line. Basically, it all depends on what the Builder wants to do.
►What shades do you prefer to personalize your GUNPLA models?
I like the chameleon effects, but that’s my side: “I love fast and furious Tokyo drift” (ahahaha). I like all the shades, I’m not very picky about it, the advantage of our hobby is this enormous freedom to do what you want quite easily, without a lot of space, and with the paints that ‘we want. I really liked the paints I used from Stardustcolors, I find that the ease of use saves us time. And that is not negligible.

Adhesive Masking Tips and Techniques

Adhesive Masking Tips and Techniques

Here is a blog article dedicated to one of the main techniques of custom painting on vehicles: applying adhesive to create masks.
Each multicolor painting project is the subject of a strategy, a plan carefully thought out in advance.

Here are the main consumables needed
Paper masking tape 24/48
Thin adhesive and flexible PVC lines 1.5 / 3 / 6 / 9 mm
Repositionable transparent adhesive film (30/60 cm)
Hikari Liquid Mask
Scalpel

Through 3 examples of production, with increasing complexity, we will see which was the technique used to achieve the final result (further down on this page)

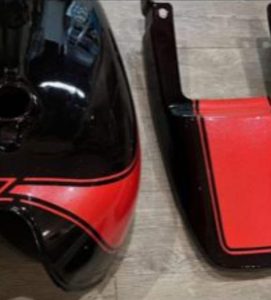
1 ► Two-tone decor with red line and pearly black background

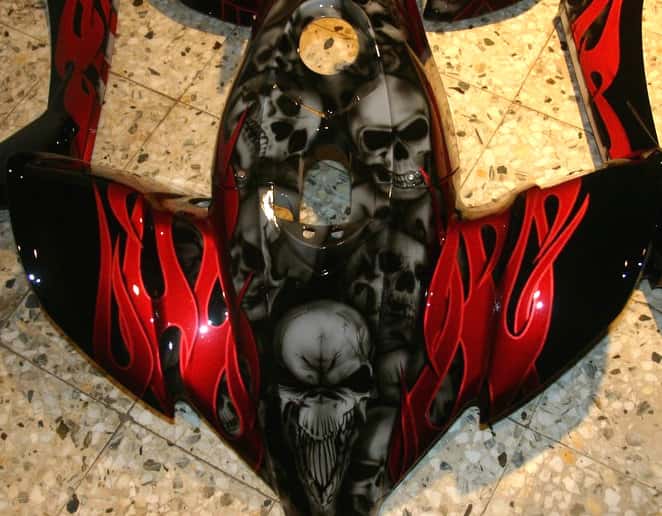
2 ► Flamming tricolor and Candy red

3 ► Flamming Red Candy and Freehand Decor

When creating layers and colors, there are 2 main rules:
→ Guaranteed adhesion between each layer (Painting must be completely dry then sanded with P500 paper before being covered with masking adhesives and paint)

→ Simplicity and logic (It is often the shortest path that must be favored. Above all, it is important to apply only one color per masking, so as not to create “staircases” and so not to show different color layers when removing the adhesives)

Tips and Advice
→ It may happen that you want to make curves at very acute angles with the flexible adhesive PVC lines. Unfortunately it is common for these fine adhesive lines to come off: did you know that by passing a flame or the heat of a heat gun very quickly over the surface of the line, it is possible to freeze its position and prevent it from warped or peeled off?

→ If you want to avoid the formation of a staircase due to the thickness of the border of a layer of color, there is a very effective method: with the airbrush or paint gun, direct the spray jet at the center of the masking, always avoiding painting directly on the edge of the adhesive. Try !

Example 1: Create a two-tone decor with a line and a pearl effect

How to achieve this decor in the simplest way?

Step 1 ► Apply a bench or light gray background or primer
Step 2 ► Paint the complete room red
Step 3 ► Let dry then sand with P500
Step 4 ► Apply a thin adhesive line and mask the area in red
Step 5 ► Paint the entire room black
Step 6 ► Remove Maskings
Step 7 ► Apply varnish with 5g of red diamond mother-of-pearl

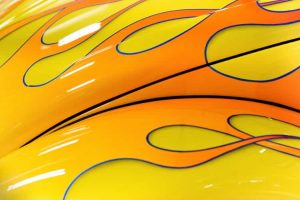
Same case with this painting:

It is possible to draw the lines with a pinstriping brush
but it will be much simpler to:
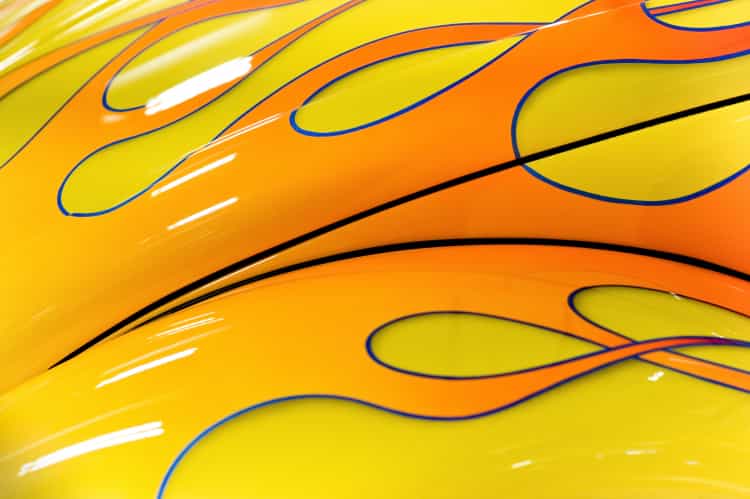
Step A ► Paint a Blue Background
Step B ► Apply the adhesive lines
Step C ► Paint an all-over yellow paint
Step D ► Hide external areas
Step E ► Apply paint or Candy orange to the interior
Step F ► Remove adhesive lines then varnish

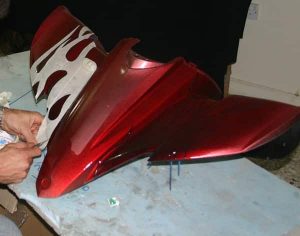
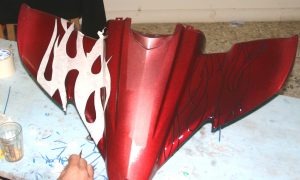
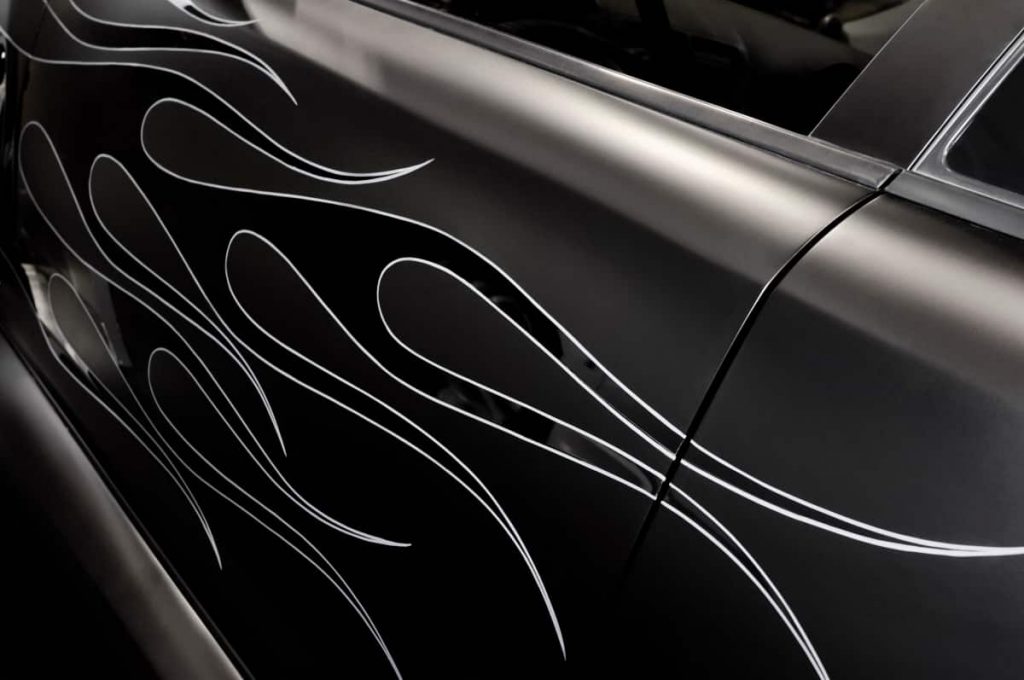
Example 2: painting a stylized tricolor Flamming

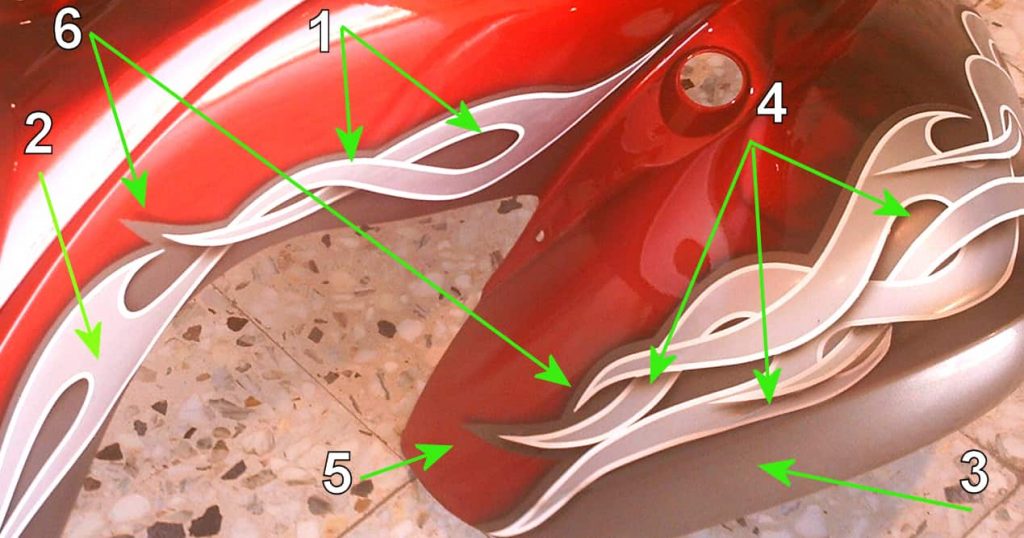
This custom painting consists of a metallic Candy red background, with a stylized “Flamming” decoration on the edges.

How to make the white lines?
In what order should you proceed to achieve the best result, as quickly and simply as possible?
Notice that “shading”, which gives an effect of depth, has been done to different areas of the flames.

Step A ► Paint a pure white background (paint or primer). Drying then sanding with P500.
Step B ► Create the Flamming decoration by applying the thin 3mm adhesive lines.
Step C ► Paint the light gray color (2). Drying then sanding with a gray abrasive sponge.
Step D ► Hide the inside of the flames with paper masking tape. Cut with a scalpel at the fine lines, then unhide the outer area of the flames.
Step E ► Apply the dark gray paint (3) to a strip of approximately 20 cm.
Step F ► Create the shadows with pure black using an airbrush, after removing some of the adhesive from the light gray flaming.
Step G ► Remove all adhesive masking. Perform light sanding with a gray abrasive sponge.*
Step H ► Using thin adhesive lines and paper masking tape, hide the entire part of the tricolor Flamming.
Step I ► Paint the area “Candy” red (5) Starting with a coat of aluminum paint then a few coats of “Candy” red*.
Step J ► Using an airbrush, spray a light, subtle shadow following the contours of the masking.
Step K ► After removing all adhesives, apply coats of clear gloss varnish.

* As mentioned previously at the start of the article, it is not recommended to apply several colors on a single mask, because when you remove the masks, 2 problems appear: these are a significant thickness, and the different layers of color visible on the slice. In this exceptional case, it is necessary to sand down this excess thickness then reapply the masking adhesives, and create the shade which will even out and hide the sanded aluminum and “Candy” layers**

Example 3 ► Flamming Red Candy and Freehand Decor

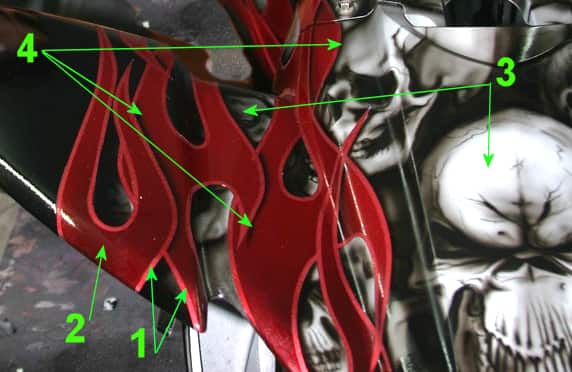
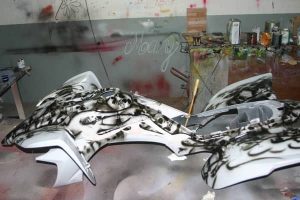
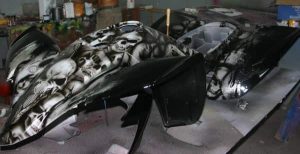
Here is a personalized painting which still uses the Flamming technique with superposition of layers. As with all painting jobs with layers and superimposed colors, the painter executes a plan prepared in advance, after having imagined all the possibilities.

Step A: Create a red Candy paint (1), with a metallic base and a “Candy” red varnish. Complete drying then sanding with P500.
Step B: Applying 3mm thin adhesive lines
Step C: Application of 1 or 2 additional layers of Candy red (2) + black in a light gradient.
Step D: Mask the Flamming with wide adhesive tape then cut with a scalpel.Step E: Application of light gray paint (3) everywhere. Drying and sanding with an abrasive sponge
Step F: Drawing the skulls with airbrush and black color.
Step G: Creating shadows (4) On the decoration of the skulls to create an effect of depth, and also on certain areas of the flames after partial removal of the adhesives
Step H: Removal of all adhesives, and varnishing.


A golden tip

When you make complicated decorations and the adhesive lines intersect, it is not surprising to find defects when you remove the adhesives: liquid or sprayed paint naturally seeps everywhere and especially in the gaps at the crossroads of adhesives.

It is of course possible to press with the tip of your nail on the crossings to reduce the possibility of paint infiltration.

One of the most foolproof techniques is to spray clear binder on any areas suspected of being “weak spots,” where paint can seep through.

It is possible to use solvent-based transparent binder or Hydro transparent binder

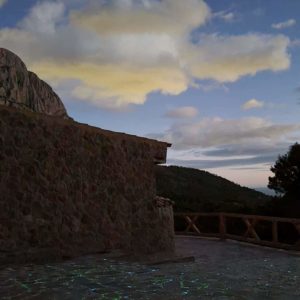
Make a phosphorescent outdoor floor with phosphorescent stones, pebbles and gravel

Make a phosphorescent outdoor floor with phosphorescent stones, pebbles and gravel

It’s very easy and the achievement is within everyone’s reach.
Above all, make sure that the area where you plan to embed these small phosphorescent stones is sufficiently dark during the night. If you live in a residential or urban area, with night lighting, then you can forget about this project, because the phosphorescence requires sufficient darkness to be clearly visible.

If, on the contrary, you have a house in the mountains or in the forest, then at night you will be able to see all these small luminous pebbles shining, until dawn.

It is only on a full night, when the luminosity is too high, that you will not be able to observe the phosphorescence.

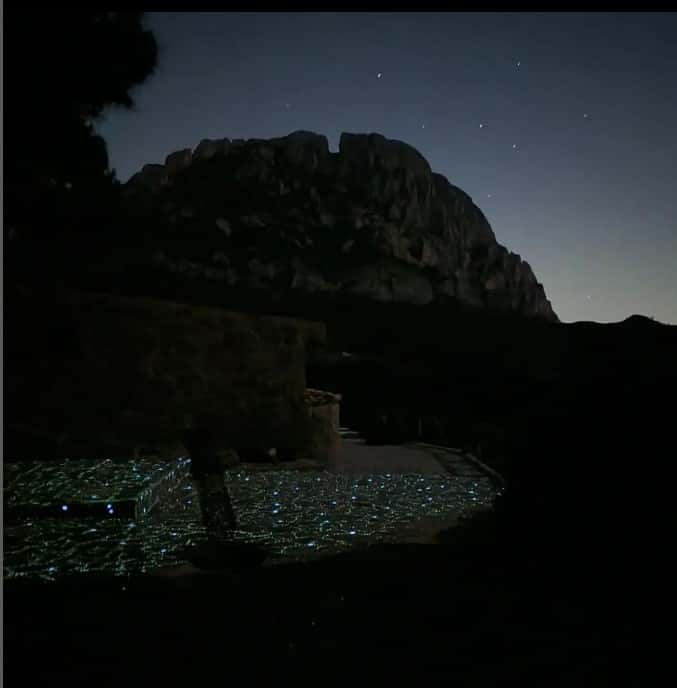
On the contrary, on a dark night, you will have the impression of walking in the starry sky, when you walk on this floor encrusted with luminescent stones.

Glow-in-the-dark pebbles, how do they work ?

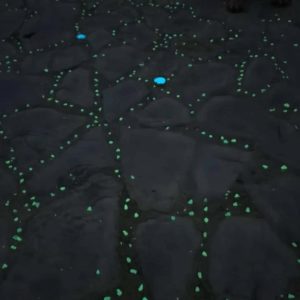
These small stones, gravel, fragments, pebbles contain synthetic and non-hazardous pigments, which are able to react and store ambient light. This energy is immediately converted into phosphorescence, which glows slowly and for a long time :

The release of the energy thus accumulated is done “drop by drop”, and can last up to more than 10 hours of time.

How to set up these phosphorescent stones
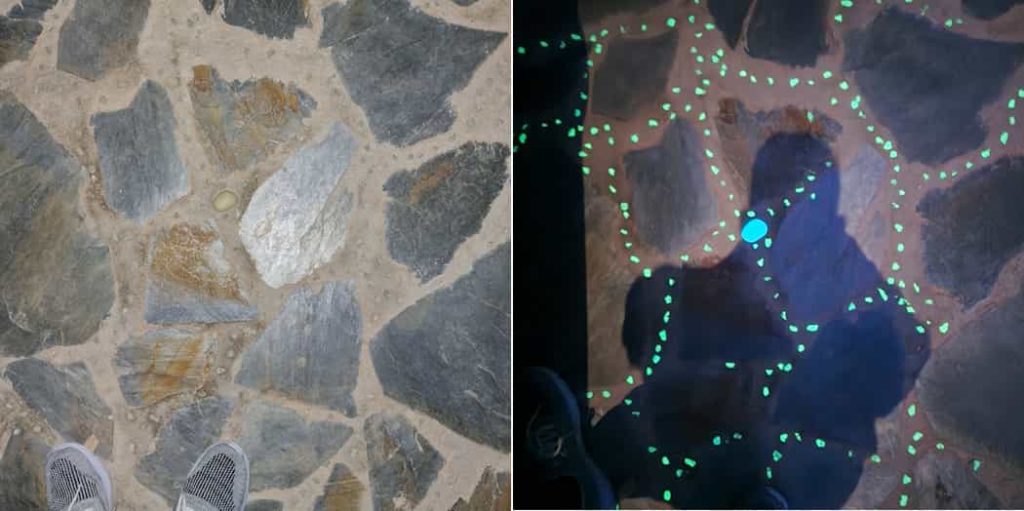
We advise you to embed them in concrete, mortar, plaster or cement when it is still fresh. The stone or gravel must be encrusted at least 2/3 of its thickness, in order to remain well fixed over time, and to resist trampling, or even bad weather, such as rain or frost.

When you want to incorporate these small phosphorescent gravels in an already existing construction, then there remains the solution of transparent or colored silicone glue.

It takes about 1 kg of these stones or its fragments to cover up to 3 m². Finally, it all depends on the concentration you want for your decor on the phosphorescent floor.

The different performance levels of luminescent gravels and pebbles
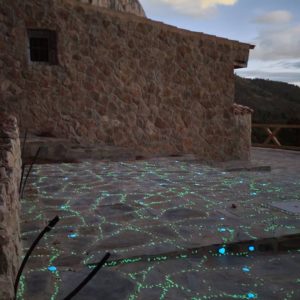
Stones and pebbles are often brighter and their phosphorescence lasts longer at night, compared to gravels.

You also have to take into account the color: by far, the green phosphorescent color is the most efficient, both in its luminous intensity and in the duration of its effect.

Often these materials are offered in 3 main emission colors: Green, Turquoise and Blue.

The company ARCO IRIS SAS, (site phosphorescentpaint.co.uk) offers up to 4 colors, with even purple phosphorescent stones.

The diurnal or nocturnal aspect
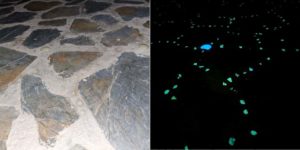
The materials have a slightly colorless, whitish, sometimes greenish appearance during the day.

We speak of “emitted color” to refer to the color of the light produced by the stone in the dark. It is indeed a luminous color which then emerges from this colorless stone during the day.

Resistance and composition

These stones and pebbles are relatively resistant, especially the gravels which are composed of glass (silica).

As for the stones, which are produced from plastics of the PS type, they can yellow slightly with the years, however the phosphorescence as for it, is almost eternal: that is to say that it does not drop in intensity with years.

Where to buy these stones here in England ?

The specialist in this field is ARCO IRIS, producer since 2010 : site phosphorescentpaint.co.uk


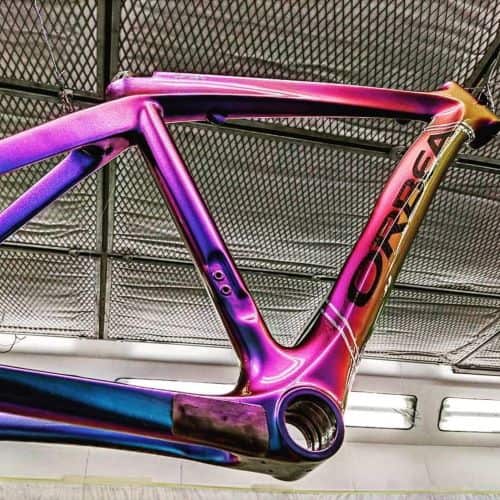
The new Stardust Spray Bike paint in the bike world

The new Stardust Spray Bike paint in the bike world

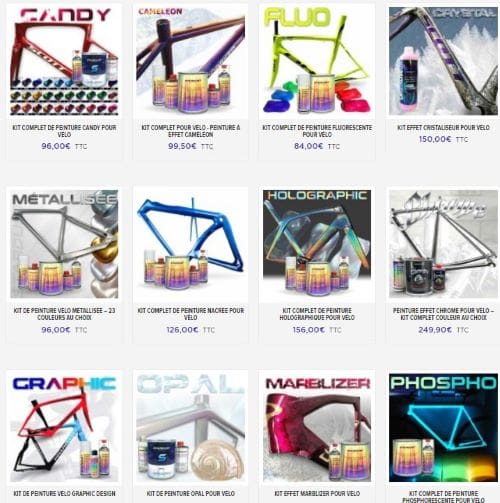
Stardust bike is the new range of bike paints in spray format.

Long awaited by many bike customization enthusiasts, the bike paints Stardust Bike line includes all the basic bike paints (primer, basecoat, color, and clearcoat), as well as the fabulous special effect colors.

bike paint stardust spray bike

Previously available in can format, for professional spray painters, specialists in the decoration and customization of bike frames, the amazing Stardust Spray Bike paints from StardustColors, are now available for the most part, in 400 ml spray version, with as target market, individuals and cycling enthusiasts wishing to give a new look to their bike.

stardust spray bike paint

Ral & Pantone colors free colors to choose from, and custom made
Candy effect transparent, very bright, and sparkling colors (collection of 25 shades)
Chameleon effect multi-color paints, changing according to the point of view (36 shades)
Fluorescent effect Ultra vivid colors (12 shades)
Crystallized effect Crystallization decoration and depth effect, with choice of color
Metallic effect Pure metallic and body colors
Pearl effect Iridescent colors with intense colors
Holographic effect Rainbow prismatic paint effects
Chrome effect Imitation of chrome metals with mirror effect
Crackle Effect Produces cracks with a contrast color + black
Phosphorescent effect Luminescent paint in the dark
Marble effect Illusion of texture, with colored iridescence effect
Opalescent effect imitation of multicolored and natural white pearls
Graphic colors color spray paint kits to make custom decorations


Make your own bike paint, with STARDUST® BIKE spray cans


stardust bike paint


At a professional bike paint shop, you can expect to pay anywhere from €300 to €600 for a complete frame painting, depending on the complexity of the design and the type of paint.

Some chameleon or holographic paints reach several hundred euros per liter.

With a STARDUST Spray Bike kit, the average cost is 120 to 200 €. The cost corresponds to professional quality products, not available in “consumer” stores.

Now, with Stardust Bike spray paint kits, anyone can repaint their bike, with a professional look. The spray paints make it possible to achieve the same level of finish as that achieved with a spray gun.

A range of primers for the specific surfaces of carbon and aluminum frames is available.
A range of varnishes with hardener is also available in STARDUST Spray Bike.

How to create a car body paint with matt or satin areas?

How to create a car body paint with matt or satin areas?

How to create a car body paint with matt or satin areas?

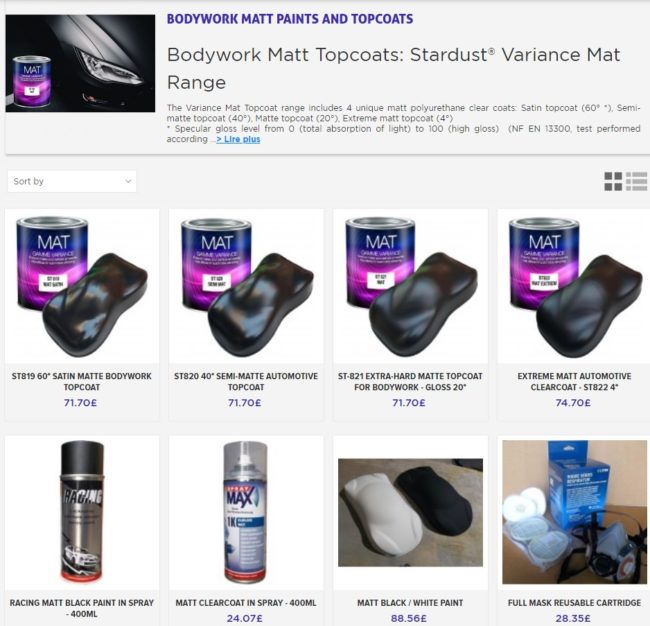
When creating a custom paint, for example on a car bodywork, a motorcycle fairing, or on a bike frame, there’s a very interesting effect which is the association of a matte surface with a glossy surface.

Juxtaposing a beautiful matte topcoat with a gloss clear coat gives a fantastic aspect, but it raises technical difficulties related to implementation and some questions:

– What to do first? The gloss topcoat, or the matt clear coat?
– How do you hide and sand certain areas?
– How not to leave any white marks caused by sanding

StardustColors, with the help of Bryan la tinta for the application, teaches you the trick to create a matt and gloss topcoat:

1 – First, it is necessary to apply the topcoat in the classic way, with a gloss bodywork clearcoat, to the entire painted work. This will form the glossy areas, which will be masked off thanks to the masking tape

2 – Apply then the masking tape to hide the areas that must remain glossy.
For fine lines, especially for very tight curves, we can use a lighter to soften the line.

3 – You can now use the matt clear coat. How to achieve a good adhesion?
Do not sand. If it’s done with an abrasive sponge or paper, it will leave white marks under the adhesives, and this will produce a very poor appearance once the masking tapes are removed.

4 – Make a quick and superficial flaming to obtain good adhesion on the substrate.
After flaming, apply a very fine pass of matt topcoat within 60 seconds.

5 – Matt clear coat: it is important to apply only a very thin coat, to avoid a “stair” effect, and also to obtain a good adhesion.
Also, it is recommended not to load the edges of the adhesives with product but instead, simply apply a thin pass around the masking adhesives. This will create a smooth and seamless finish.

6 – Remove the masking tapes, then let the matt topcoat dry completely.
Using a sticky pad, clean and scrub to soften the low edges


What painting for an airbrush?

What painting for an airbrush?

There are many brands of paintings, different types of paintings, but also different qualities.

There are also different professions using the airbrush. So let’s take a look at all this, and see how to choose and what paint to use for an airbrush.

In truth the choice of airbrush painting is very simple:

First, how do you use the airbrush?

airbrush

Each application has a type of airbrush paint :

Artistic or decorative airbrush paint :

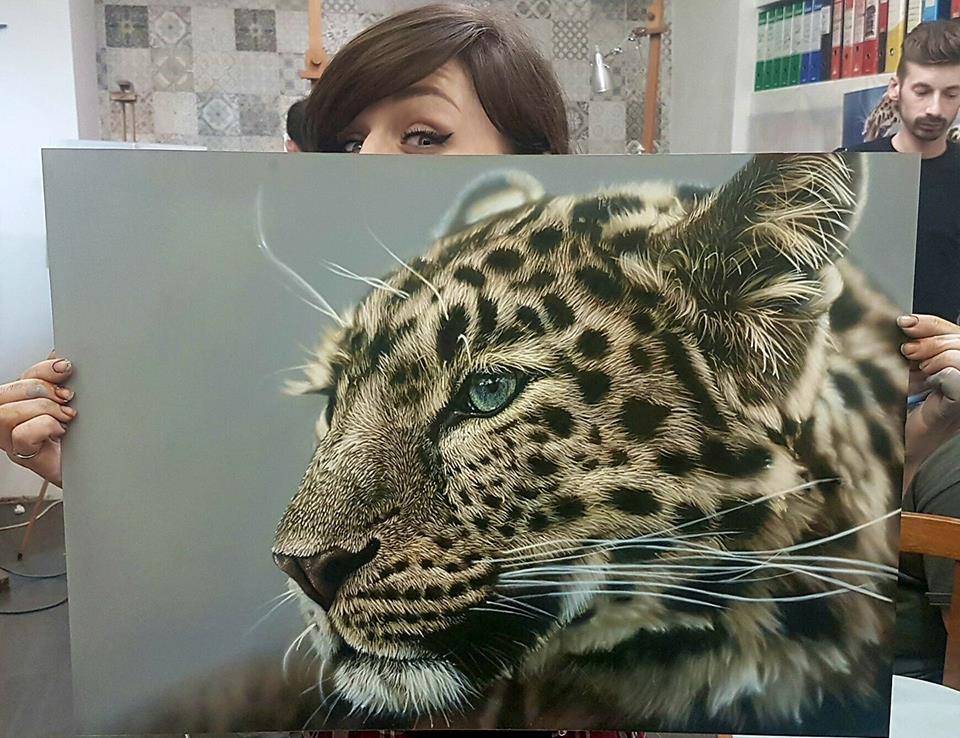
Essentially paints and water-based inks, very fluid with a range of graphic colors exclusively, from the classic palette of Fine Arts.

These are paintings made for drawing on paper (min 250g / m²), art board, on interior painted wall … They are ideal to realize portraits, landscapes, animals, frescoes, trompe l’oeil, … and not suitable for other applications. The fluidity, the smoothness and the destination of these products necessarily implies products that are not very resistant once dry, very thin, and sometimes not resistant to UV.

They are often available in very small bottles.

Airbrush paint
« artwork from Alina Tarasenko »

Custom paint, miniature, radio controlled and hobby:

These are waterborne acrylic paints for car bodies or fairings, necessarily more resistant because they can be exposed to the sun (resistant colors), abrasion, fuels, solvents of the primaries and body polishes.

They are a little less liquid, and once dry, they form a thicker film. They have the main advantage of being odorless and solvent-free, perfect for protecting the environment and the applicator.

airbrush paint

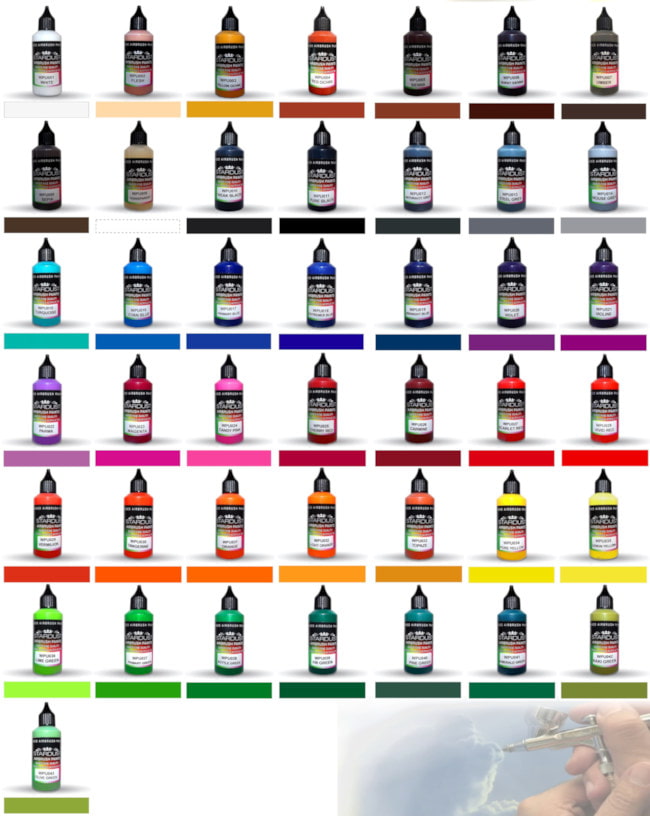
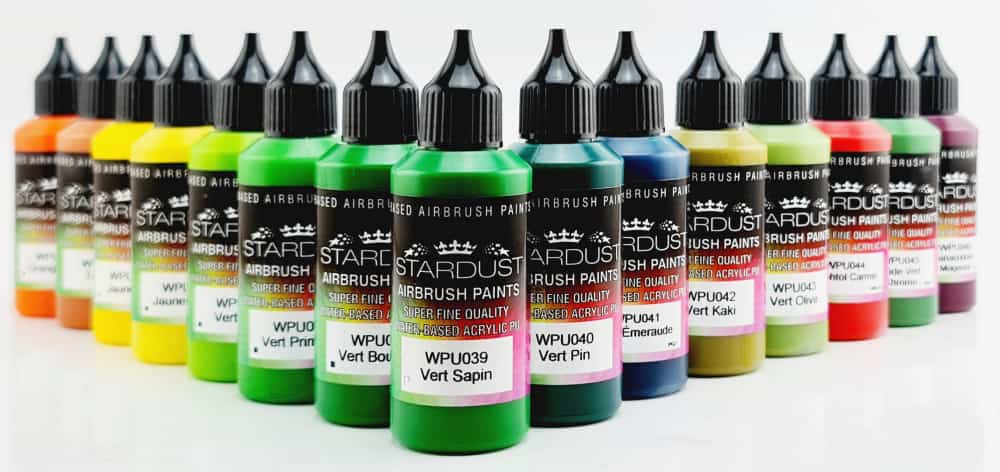
These are ranges of paints with a wide range of colors but also effects, such as metallic, fluorescent, pearlescent, candy and all their related products (varnish, thinner, degreaser, …) They are found in bottles of 17ml to 125ml

Warning! There is a great difference in quality from one brand to another, and between the “low-end” paintings usually offered for miniatures, hobby or radio-controlled gear on one side, and the high quality paintings presented “Custom Airbrush”, for the customization of bodies or helmets.

All the famous brands of airbrush paint have embarked on the creation of a bodywork range, after the arrival of the first waterborne car paint. The problem is that the first body water paints represent a good progress of course, but they were not very developed (difficult to sand, slow drying, bad wear over time, fouling of airbrushes, ..), and some big brands have not renewed their products …

Over the last two years, this field has benefited from major innovations directly from the world of professional automotive painting, with the arrival of new-generation body-water paints, as effective as the traditional solvent-based paints and even sometimes better!

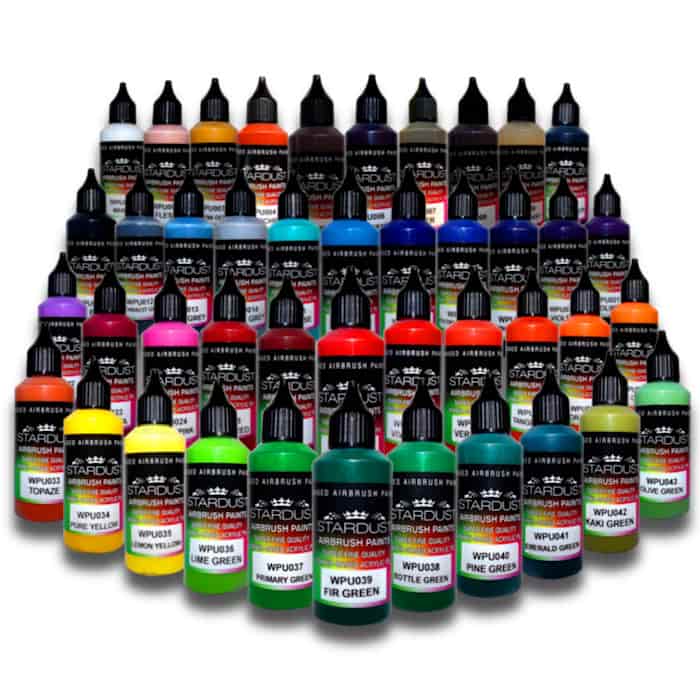
This is well illustrated with the new Stardust airbrush paints, acrylic / polyurethane hybrids.

airbrush paint

which combine all the following qualities: ultra-fast drying, grips all substrates, extreme finesse, very high strength even without varnishing, total compatibility, high pigment concentration, without solvents, great flexibility, very affordable prices …

Bodypainting, tanning (tanning),  temporary  tatoo

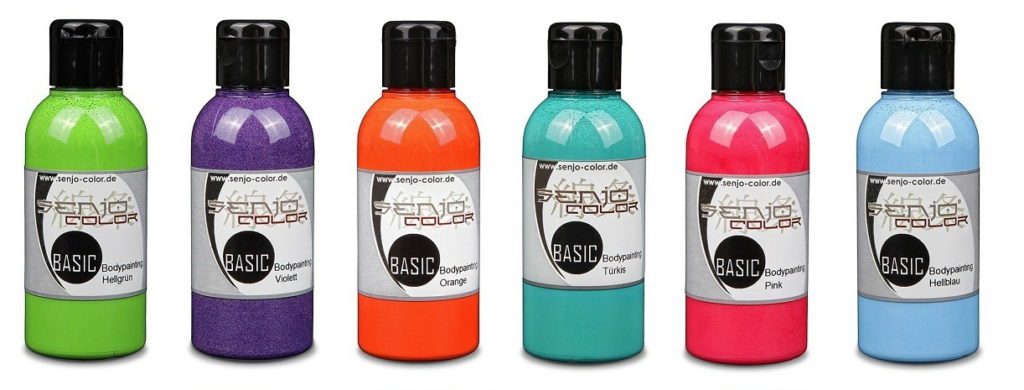
These are products classified cosmetics, intended to be applied to the skin. They are therefore free of all dangerous substances or allergens, they contain mainly natural or food dyes, and can be removed with water and soap even after drying.

This is the case of the excellent paintings for Bodypainting Senjo® brand

airbrush paint

Paintings on T-Shirt and leathers

airbrush

These are paints that must be both flexible, resistant to friction and also washing (detergents, water, temperature). It is therefore necessary to obtain good adhesion and excellent resistance.

This is the case for artistic Stardust acrylic paints that are ultra-resistant to leaching, even at high temperatures, and are indestructible on a variety of substrates, such as natural or synthetic fibers.
airbrush paint

Pastry

These are edible and therefore food products, derived from natural dyes (caramel, beets, etc.) or synthetic.

airbrush

What are the quality criteria for a good airbrush paint?

– do not contain solvents (allows you to work without a mask, without constraints or installations)

– For the drawing, the range must decline hues both opaque and / or transparent.

airbrush– low prices and small packages proposed, for drawing or custom
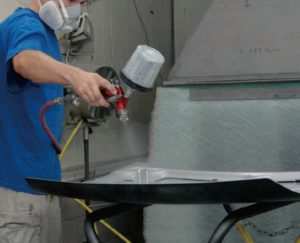
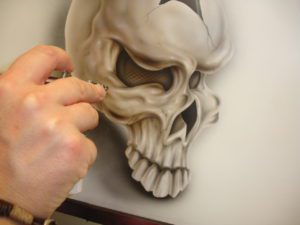
– fast drying on the support (allows to work and cover quickly with the different layers)
– ready-to-use product without the need for further dilution

– allow spraying with the smallest nozzles and the production of ultra-fine lines.
– High concentration of pigment and high tinting power (can be used to cover in one pass or one stroke without the need to go through several layers)
– low water content / high solids content (no excessive wetting of the paper)
– do not dry too quickly on the needle or dirty the nozzle
– to form a dry film not thick, for the bodywork and the work multi-layers, and easy to sand
– compatibility with other solvent products for bodywork (primers, varnish, degreaser)

Airbrush custom: Compatibility with other products

The following questions must be asked:

What other products will I use below and above my painting?
Are they compatible, is there a risk of reaction?

On many medium quality acrylic airbrush paints, and sold as products for bodywork and model making, if we risk applying a real quality varnish with solvents (polyurethane type) is the disaster, with the paint who faints, blisters, or whatever.

airbrush

The basic rules to avoid defects are:
– ensure a good drying of each layer (sufficient curing, and total evaporation of water or solvents)
– do not mix professional products and consumer products “cheap”
– When in doubt, when painting acrylic paints and solvent paints, always paint one or two thin veils “to see” and to fix.

On which support do I apply and the grip will be good?

Very few paints make it possible to paint directly on a raw support, such as metals or plastics.
If you want to get a good grip of the paint, and not see all his work come off after two weeks, then we must use primaries for airbrushes, or paintings that hang “really” on all media.

And what about solvent-based paints for airbrush?

They are called “solvent-based airbrush paints” because of their nature and composition, different from aqueous acrylics, although in truth water is also a solvent. Like water paints, they dry and harden by evaporation.

airbrush paint

But many professionals prefer them for many reasons:
Solvents evaporate faster, whatever the temperature. They allow finer paints, highly dilutable, with an unmatched fine line for drawing freehand airbrush, and also a low fouling of the interior of airbrushes, they do not clog.
The dry layers are easy to hide, sand, work, with less unevenness when masking. The paints can be dissolved easily even after drying unlike water paints.

In return, they require a professional workshop or at least a sufficient air extraction and often the wearing of a mask.


Vallejo Acrylic airbrush paint

Graphic Solvent-based airbrush paint

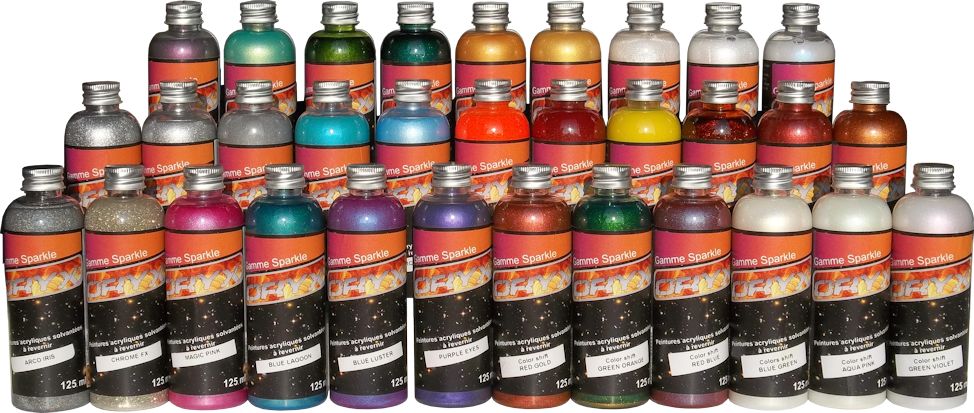
Sparkle Solvent-based airbrush paint

Model paint – Hikari

Stardust pro airbrush paint

Schminke airbrush paint


Bodywork Topcoat, Polishing and Buffing Techniques

Bodywork Topcoat, Polishing and Buffing Techniques

Polishing and buffing are techniques that can perfect, increase, or restore the gloss from car or motorcycle topcoats.
These same techniques are applicable on topcoated surfaces in the furniture and interior design sectors.
It’s a gradual process that uses polishing from coarse polish to ultrafine polish, which corresponds to the terms of “sanding/polishing/buffing”

Usefulness:
– For fresh coats of clear coats, but perfectly through-dry, if you want to remove the defects.
– To eliminate defects such as “orange peel” or lack of shine.
– For old clear coats with micro-scratches on the superficial layer of the topcoat.

1 – Sanding/polishing

1500

When the clear coat is very damaged, or has orange peel, remove the clear coat top layer.

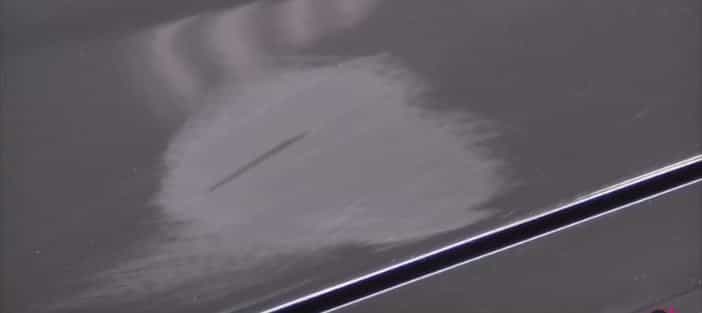
rayure sur vernis autobefore
Apres polissage. after

This is performed with sanding, manually or using a sanding machine, with a 1500 grit (we do not recommend going below 1200)

vernis après ponçage au 1500

Topcoat application after 1500-grit sanding

You can use for this:
– our 1500-grit abrasive papers
– our 1500-grit abrasive discs with a flexible tray
dry, or wet

Never cross the topcoat layer, especially on the edges.

Between each stage, clean the sanding and polishing residues with a clean microfibre cloth!

3000

To remove the micro scratches from sanding with 1500-grit, sand then with 3000-grit, dry or wet.
several products for this:
– our 3000-grit abrasive papers
– our 3000-grit abrasive discs
– our Mirka 3000 and 4000-grit disks

ponçage à l'eau

Wet sanding

2 – Polishing

Then move to the polishing phase, which allows to further refine the surface condition at an extra level.
The polishing is performed in at least 2 steps.
Polishing can be done directly without going through step 1 if the clear coat is in good condition.
In this case, you should never polish without thorough cleaning and decontamination of the surface first!
> For this we use
Degreasing Isopropyl Alcohol Solution
Clay bar

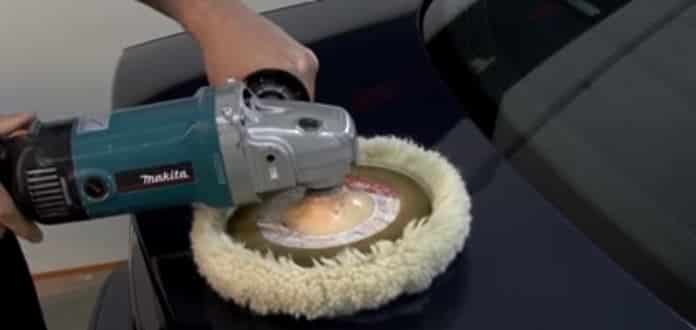
Polisseuse

Polishing machine

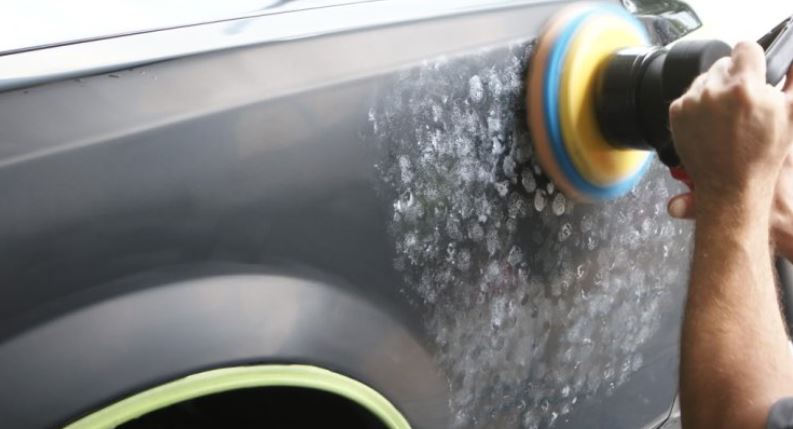
An electric polisher is usually used, by exerting a little pressure with the fingers on the rotary axis, and continuing until the polishing paste is dried.
Do not use too much polishing compound!

Hard foam pad and wool

Here are the equipment that will be installed on the polisher and used to rough the polishing
– all types of hard foam pads (white or orange)
natural wool trays
These materials will “cut” the polishing scratches

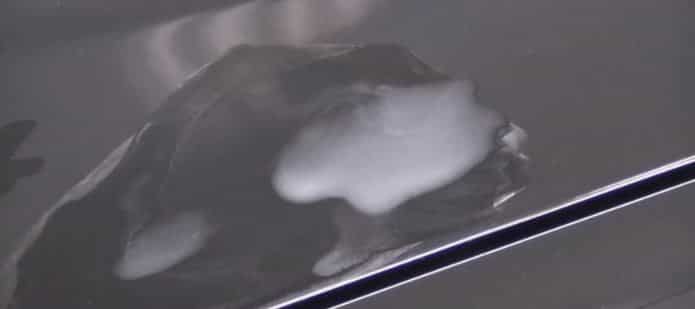
A “compound” or a polishing paste must be used: apply 5 drops of product on the disc. Then pass over the disc for different uses of the bodywork to spread evenly the product

Apply the polishing compound, spread and polish

appliquer le compound de lustrage repartir et polir

Work in 0.5m to 1m² section maximum, to allow the product to work properly.
You can wet slightly to lubricate with a sprayer, although it is not mandatory to do so.
Polish first slowly then increase the speed to 1000 – 1500 rpm
Work from left to right by drawing a grid, then from top to bottom.

Our Mirka® Polarshine 10 is a versatile high efficiency product ideal for all stages of polishing.

Final polishing with black soft foam pad

For the final gloss, choose a soft foam pad, especially for black bodywork paints.
The softest foams are usually blue and black.
Still with Polarshine 10, apply 5 drops of products on the foam, spread on the surface and polish at 1500-2000rpm.
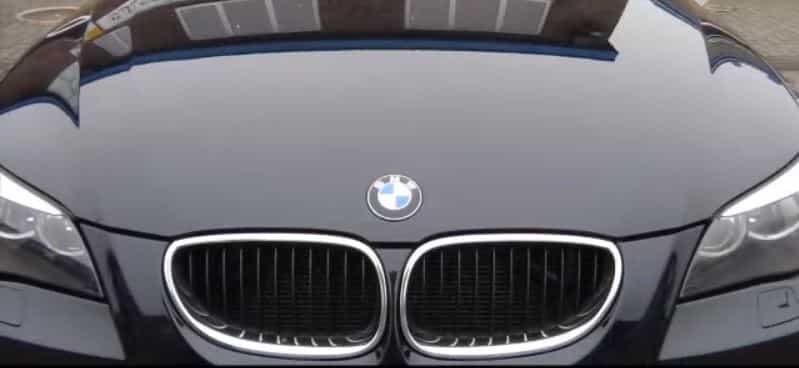
Clean with a microfiber cloth: your topcoat is great!

vernis brillant polilustré

Polished-buffered gloss topcoat

Polishing wax

Wax application is not mandatory. A professional wax such as Mirka’s NanoWax can be used to create a protective layer.
This layer of wax will be removed after the first wash.

How to choose a buffing and polishing foam
What is the difference between hard and soft foam pads?
The hard foam pad will penetrate deeper into the topcoat and abrade the surface.
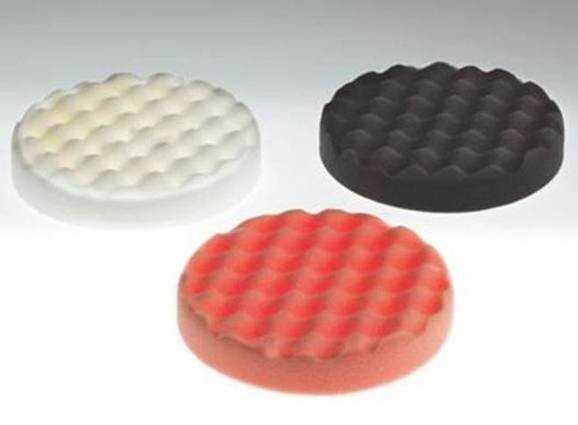
Manufacturers usually use the same colour codes: Yellow, white, orange, for hard foams and black for soft polishing foams.

What is the difference between a lambswool tray and a foam pad?
Only use lambswool for rough buffing and polishing. Wool has more abrasive properties than soft foams It is the equivalent of a hard foam.
Contrary to common perception, the heating power of a wool is much lower than that of a foam: the heat produced by a foam makes your topcoat shine.

What is the difference between a soft foam or waffle foam pad?
The waffle foam pad produces less heating. It’s designed for final polishing. Its use is rather special and it’s recommended only to experienced applicators.

Mousses Gauffrées - Waffles