Techniques for modifying chameleon paints and mixing them with Candy inks

Techniques for modifying chameleon paints and mixing them with Candy inks

There are several ways to modify a chameleon to produce a colour variant, whilst retaining that fascinating iridescent colour-changing effect.
Before explaining the various options for using a chameleon to create new colours, we need to explain that there are essentially two main families of chameleon:

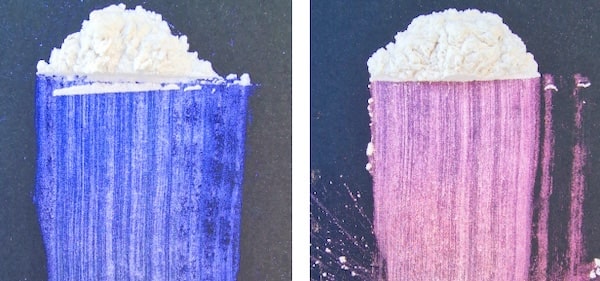
  • Classic-style chameleon paints, which are semi-opaque pearlescent particles. Like all pearlescent paints, they are not completely opaque; they consist of mother-of-pearl coated with iron oxide, which creates the appearance of a coloured powder that can be blue, red or copper-coloured.
  • Transparent-type chameleons: these are made from pearlescent particles that appear whitish but are, in fact, almost completely transparent. They consist of flat particles of synthetic mica coated with a thin layer of titanium oxide or silica. This allows light to pass through, revealing the underlying colour almost unchanged.
The first technique involves changing the background colour :
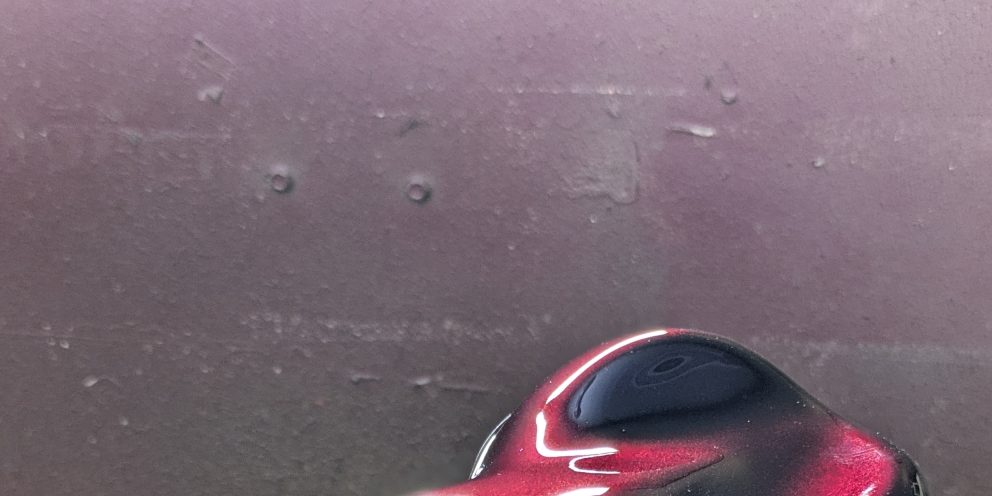
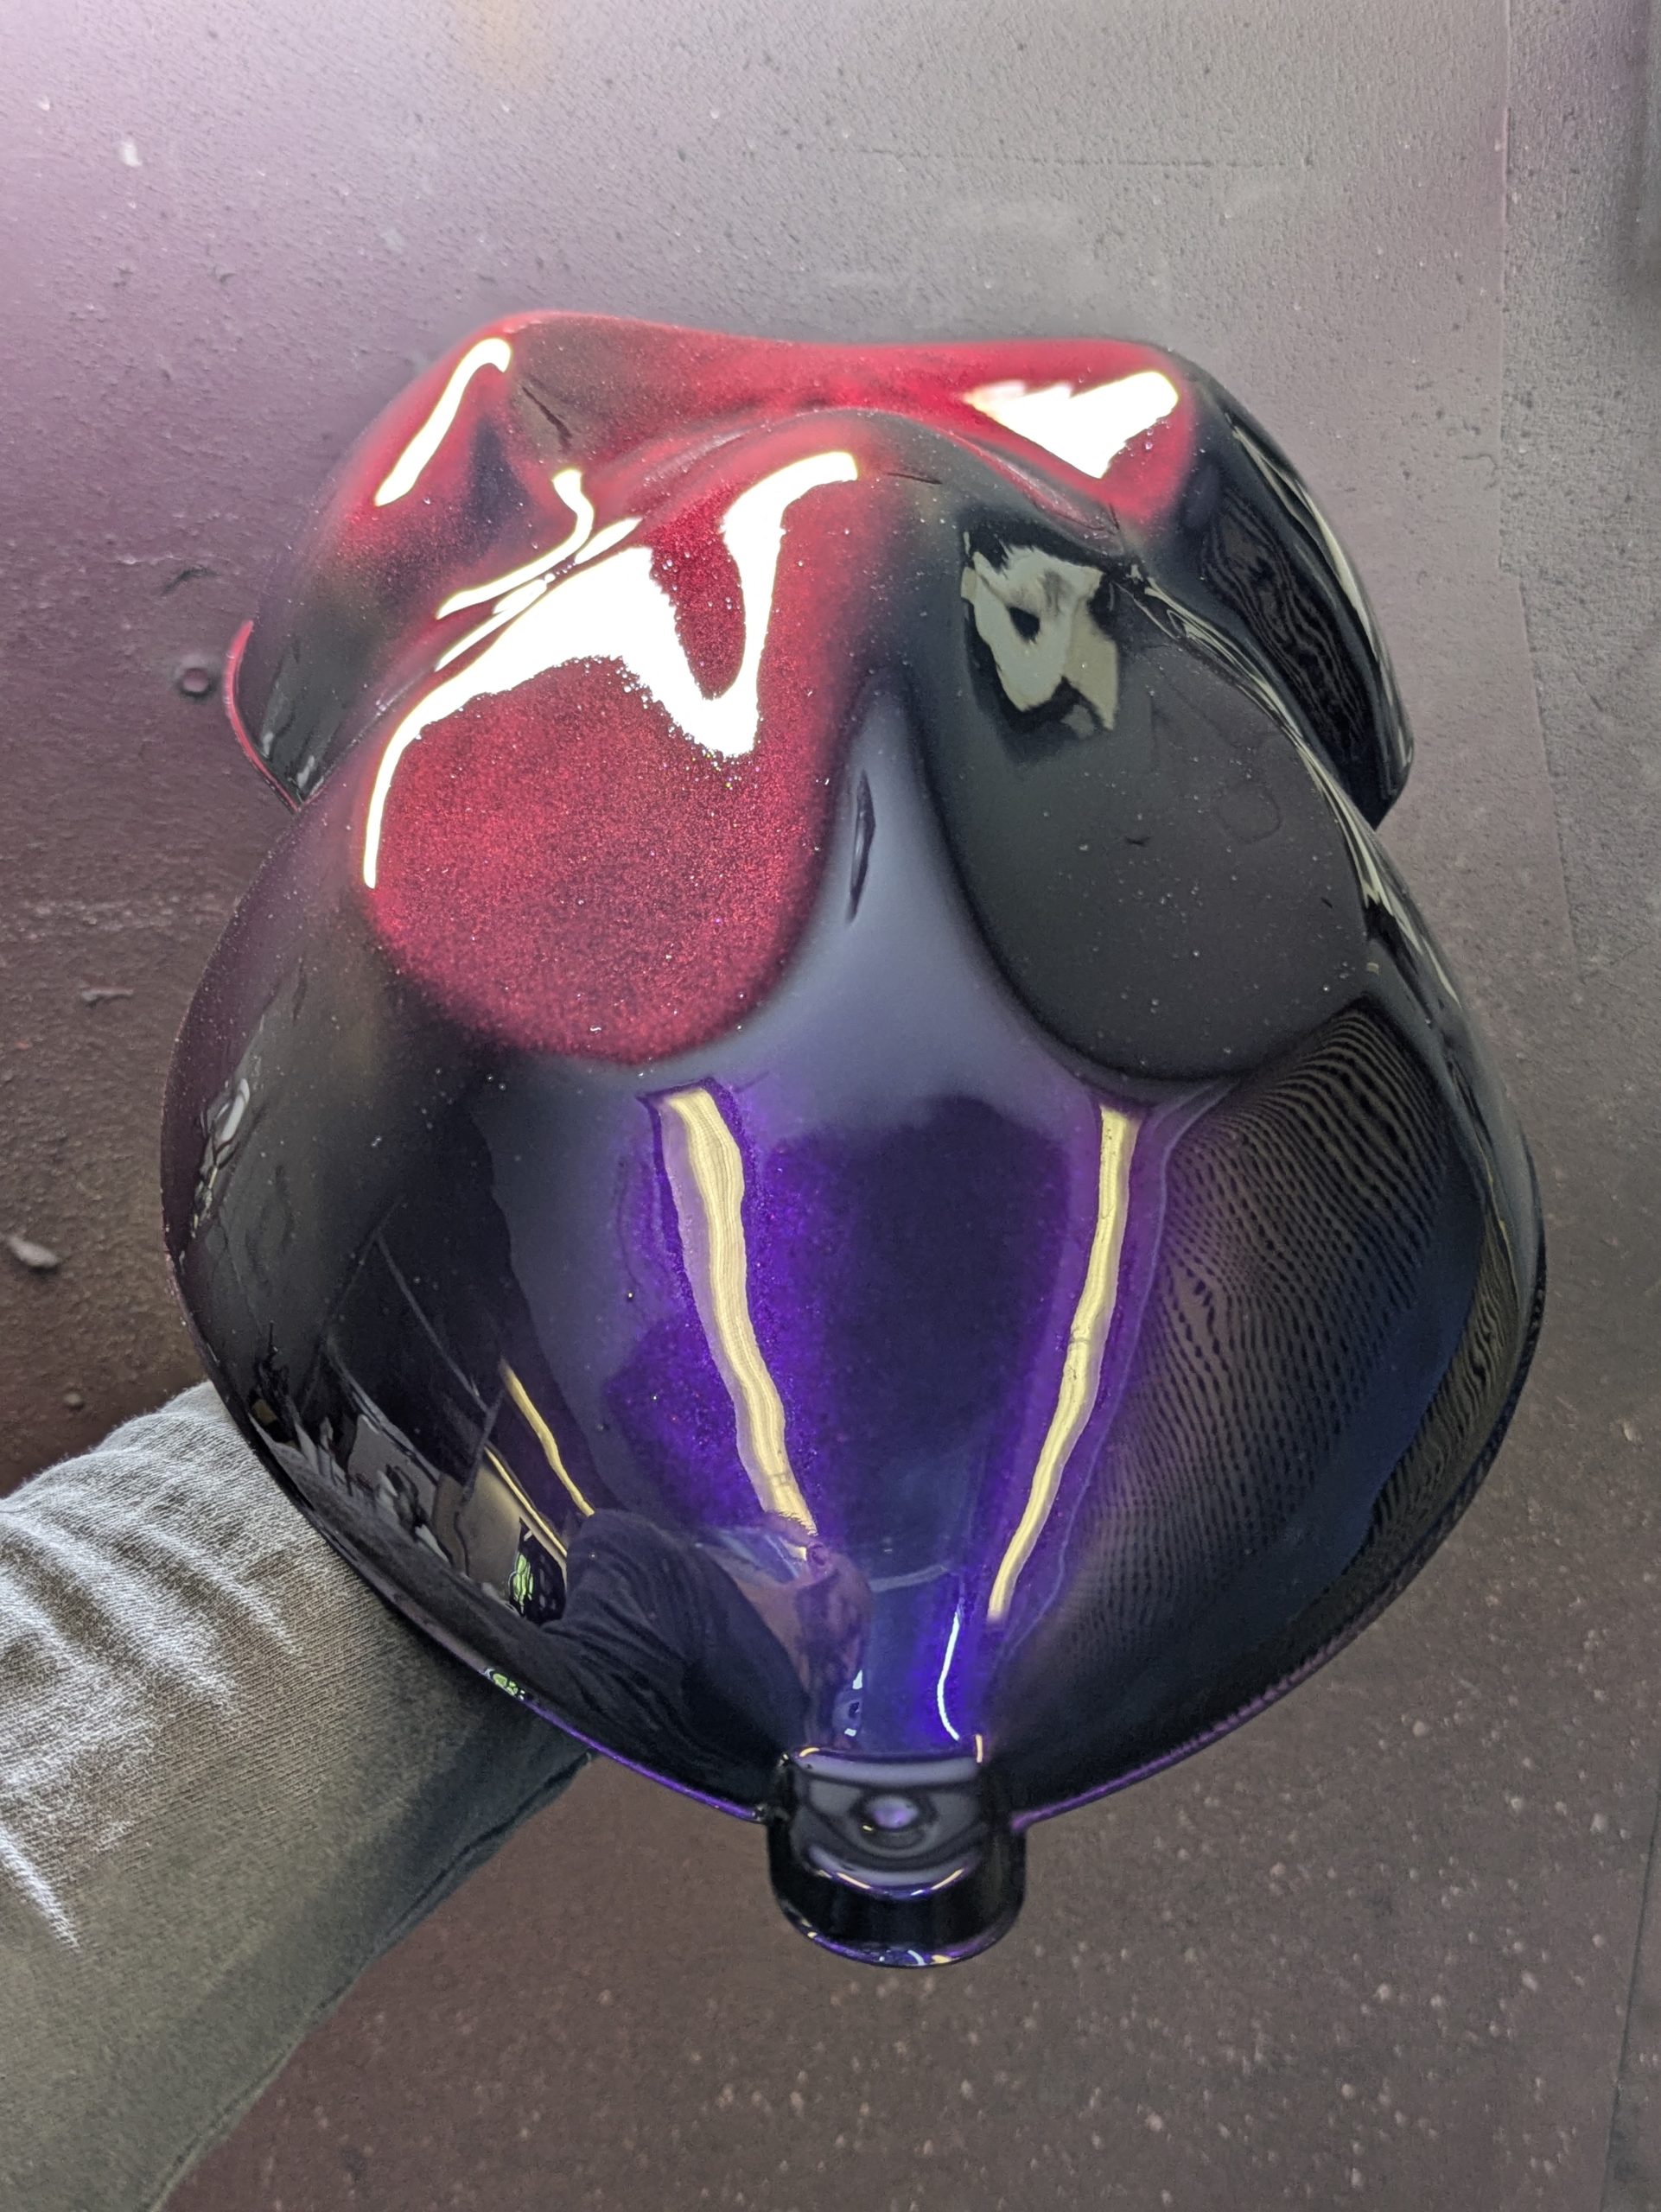
Usually, a chameleon paint must be applied over a black background to reveal the chameleon’s original colours. So try using different colours for the chameleon’s base coat and you’ll be able to see the variations compared to the standard application. The colours can be dark or light, and they must always be solid, opaque colours. Background shades can include bright red, navy blue, yellow, grey, or even a more complex colour.
The result will be much more varied with transparent-type paints, whilst opaque chameleon paints will reveal almost no change at all.

Mix Candy with a chameleon Stardust Colors

Second technique: add some Candy
Candy dyes are light-transmitting colourants that allow light to pass through, in contrast to opaque pigment dyes which block light. Candy dyes can be added to chameleon dyes to filter incoming and outgoing light and bring about a subtle or even radical change to the chameleon’s iridescent colour.
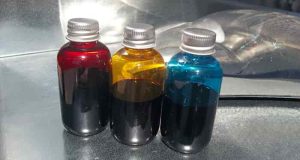
It should be noted that the more Candy ink you add, the more the colour change will fade. Candy should therefore be used sparingly.
You can choose a Candy shade similar to that of the chameleon to enhance the colour and intensity, or a contrasting shade to create effects of depth and more complex, subtle colours.

The third technique: mixing with other types of paint:
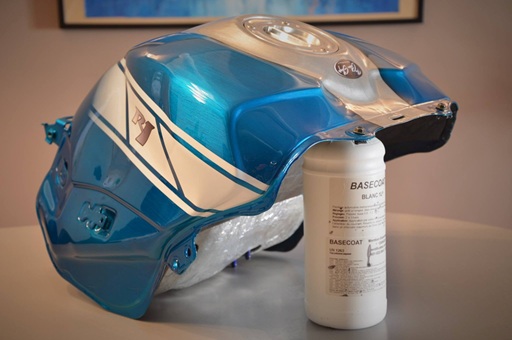
It is possible to mix chameleon paint with other particle-based paints, such as pearlescent or holographic paints, and even aluminium paints.
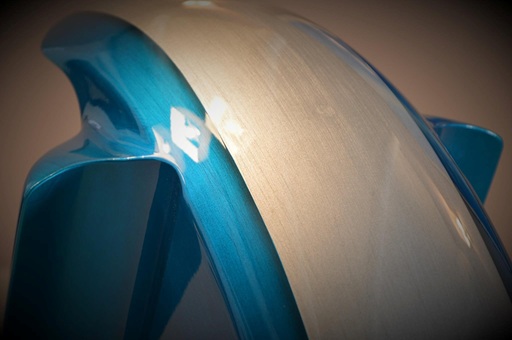
How to create a brushed metal effect in paint?

How to create a brushed metal effect in paint?

This technique is simple and accessible to everyone.
The following steps should be followed:

When I want to achieve a brushed metallic look, I like to start by working on the background:
On any surface that has been sanded and degreased, I apply a black primer.

This first step will ensure that subsequent coats adhere properly and is ideal for metallic paints.
Once your primer is dry (24 hours), I sand it with P500 dry sandpaper.

At this point, you are free to choose any metallic colour you like, depending on your taste and the colours available!
Anything is possible. For example, you can simulate brushed aluminium using the BC60 Micro Aluminium base, or brushed brass using the BC53 base.
I recommend choosing metallic colours with a fine grain, which will give a realistic metallic appearance.

Then I apply the dye and leave it to dry for at least 30 minutes.

It’s time to create your brushed metal paint effect.
Arm yourself with a medium-grit abrasive fibre.
Personally, I apply this fibre using only the weight of my hand, and by choosing the direction of my brushing, I create the brushing pattern.
Be sure to stick to your chosen brushing direction, with each pass going from edge to edge without stopping ‘in the middle of the piece’.
Do not press too hard, otherwise you risk removing too much metallic colour.
The idea is not to reveal the primer.

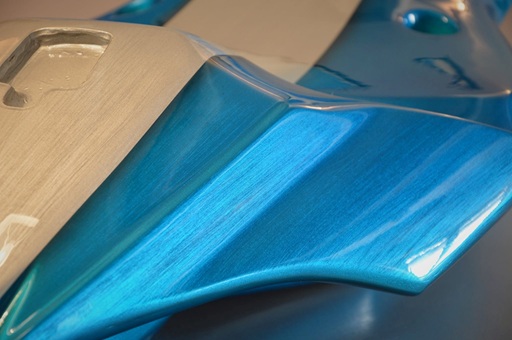
You have created ‘streaks’ in your metallic colour. Well done, you have achieved a brushed metal effect.

Still to be varnished with 2 options:

Guitar painting: how to personalize your guitar?

Guitar painting: how to personalize your guitar?

3 ideas for tuning your guitar with special effect paint!
It is possible to personalize the painting of a car, a motorcycle, a helmet… But then, why not the painting of a guitar? What could be better than the surface of a guitar to apply a special and unusual paint?

This can be a phosphorescent paint, a fluorescent paint that becomes luminous under UV lamps, a chrome paint, or even a prismatic paint giving rainbow reflections.

Today we will present to you 3 customization ideas with effect paints for a guitar:

Guitar Tuning: how to paint a guitar?

The preparation :
Whether it is bare, raw wood, or even an old painted background, I advise you to apply a thick, covering primer, which can fill in all the micro-defects and create a perfect, smooth background. , ready to receive any effect paint.
For this, there is the filling primer in a pot or in a two-component aerosol.
These primers are available in several colors, including black which you will use to create guitar tuning ideas 2 and 3.
Sanding with P500 hydro abrasive paper.

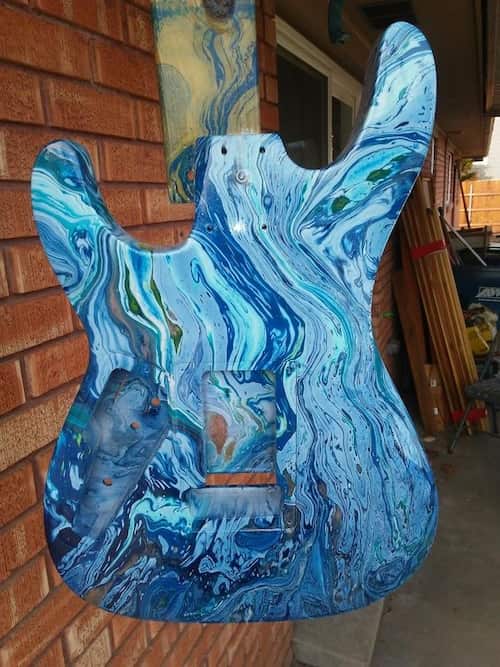
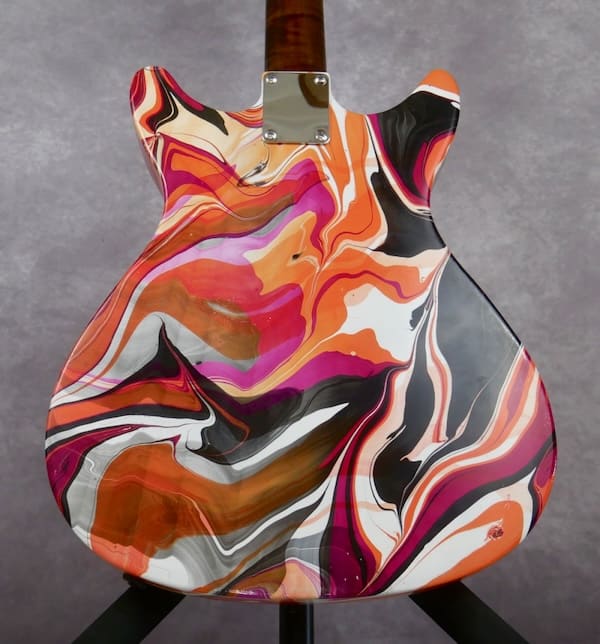
DIPPING: guitar paint

It is in a way a Hydro printing or Hydro transfer technique, but carried out not with transfer films, but with transfer paints.
Start by making a hard base (2C primer) with the color of your choice.
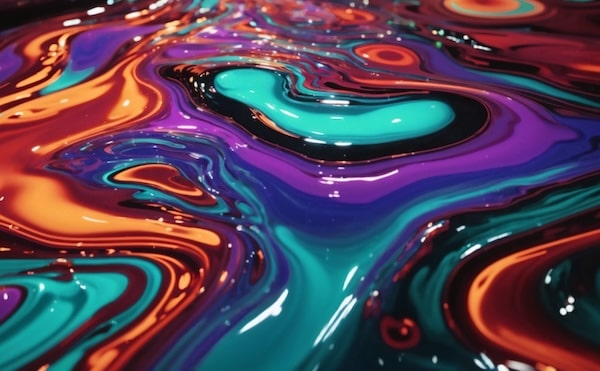
Place the chosen colors on the surface of the water in a tray large enough to contain the body of the guitar. Use an interesting color combination, such as orange, purple and green with a few touches of black.

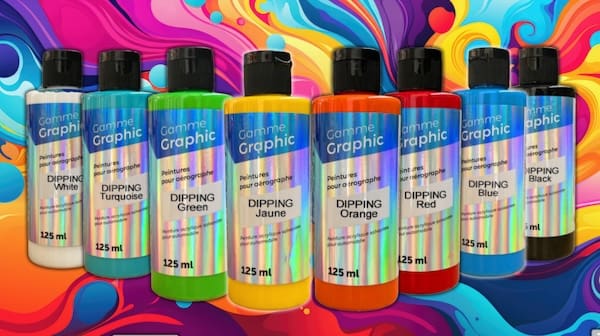
Dipping colors are specially made not to dissolve in water and to cling directly to the surface of the object being dipped.
It is possible to distort the position of colors on the water surface using a rod.

The guitar is therefore printed with your decor. All that will remain is to varnish with as many layers of varnish as is necessary to level and create a perfectly smooth and shiny surface.

artist : @burlsart

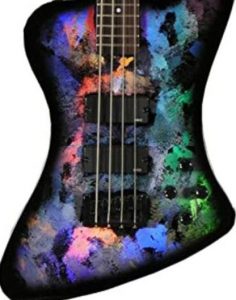
2/ Pearly and multicolored speckled effect

To achieve this beautiful effect, which produces bright, shimmering colors, you will need a hard (2C primer) and black base, perfectly black.
You can then take interfering pearls, which are available here in eight colors
And you can mix them in a little bit of transparent binder available here in small format.
Makes a liquid paste with the mother-of-pearl and the binder, which will allow you to dab with a piece of plastic or a sponge on the surface of the guitar. The pearls appear colorful on this black background. Of course, it is possible to use other background colors or even color gradients. The effects of the interfering pearls are very interesting on other background colors.

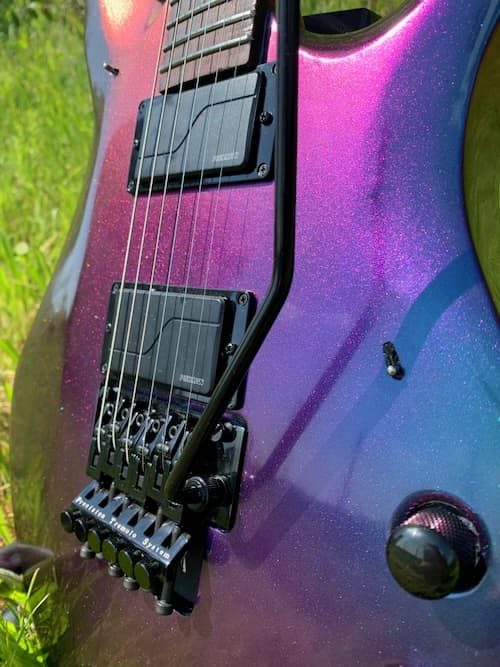
3/ The Chameleon Colorshift effect on a guitar

Here are some impressive colors that have the ability to capture attention and attract all eyes! These colors are particularly bright and intense in comparison to other metallic or pearl colors. And they have the particularity of changing appearance depending on the angle of view. So, you never really know what color they are!

It doesn’t matter if you don’t have a spray gun, you can apply them with an aerosol because they are available in the 38 colors of Stardustcolors, both in a pot or in an aerosol.
This is probably one of the most effective effects but also the easiest to achieve:
on the black background sanded with P500, you must apply thin layers, and repeat these thin layers until the black background disappears. Then we can varnish

There is a large choice of colors, with some shades changing up to two colors and even up to 8 colors depending on the viewing angle.

AIRBRUSHING PAINTS – SPARKLE RANGE

AIRBRUSHING PAINTS – SPARKLE RANGE

airbrush paint

Discover the colour from a new perspective !

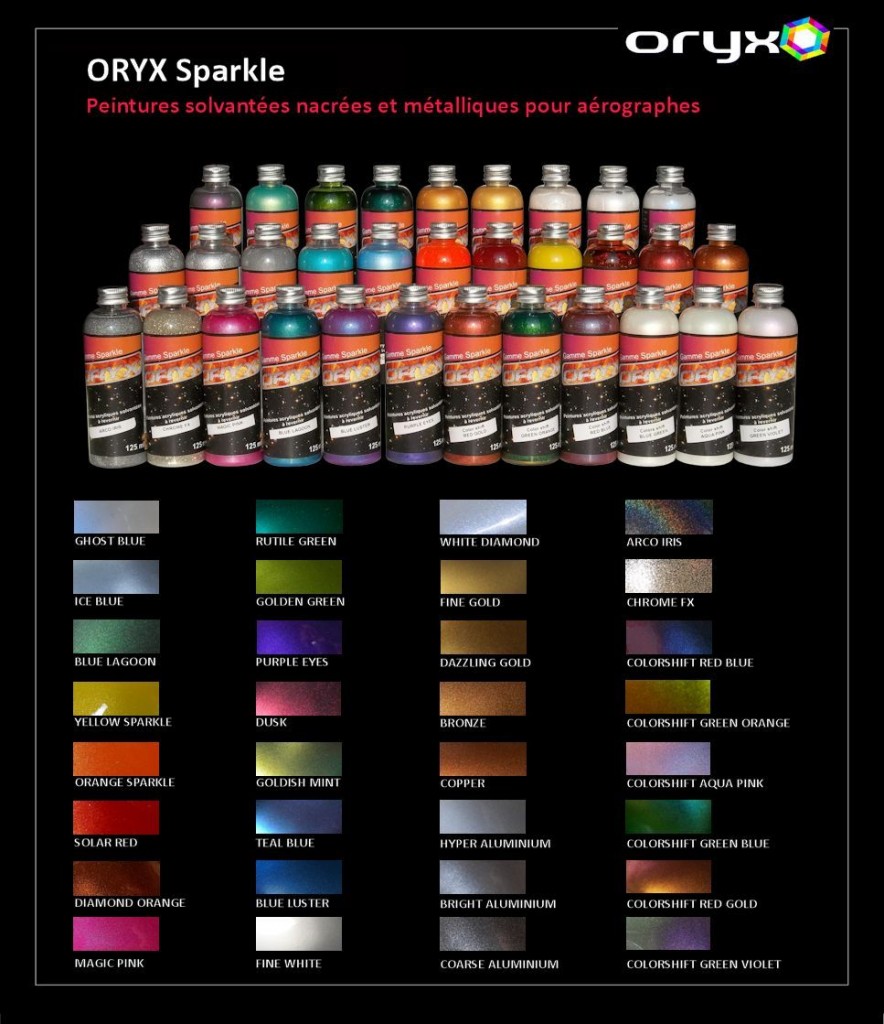
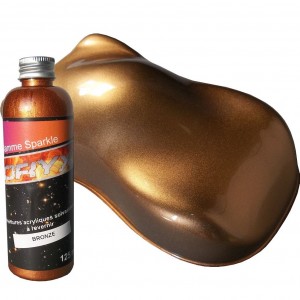
Stardustcolors presents its brand new range of airbrush paints : pearl, metallic and chameleons paints, available in 32 iridescent colors.

airbrush paint

Airbrush paint perlescent / Pearl finish

Ready to use and already thinned according to the thinning recommendation for an optimal application performance

To be applied easily and safely to all common substrates, as long as this one has been properly prepared and primed

– Top coat needed: It provides a glossy and protective film

Metallic finish

Simple to achieve for a vibrant effect

– Created by combining powdered metal and pigments, Solvent based 2K paints

– To be sprayed in repeated and thin passes rather than in thick coats

Chameleons

Colour shift effects, depending on the angles and light

Ready to use with any airbrush nozzle

– Use a clear coat with a good UV inhibitor to protect your perfect paint job

These paints, of the GRAPHIC brand, meet the highest quality standards in terms of manufacturing and ingredients.

Decorative paint effects for Airbrush

They can be used for car paint, or for modeling painting (Lexan, polyester fiber, etc..).

These pearl or metallic (micro glitter flakes) paints, produce a variety of colours and reflections, when observed in the shade or under direct light.

Specially designed for airbrushing or spray paint, their grain is very fine and their colours are intense and saturated.

The Sparkle range paints are very easy to use: Simply ensure to apply the paint over a black or white background.

One of our latest product : True fire effect

Motorcycle paint

Start airbrushing simple flames for rendering dramatic and realistic interpretations of actual fire burning down the surface of motorcycles paint, automobiles, boats and aircraft. Graphic templates can be provided to help you in your painting and save you precious time masking and drawing curves by hand.