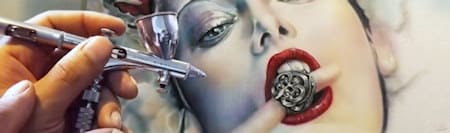
What painting for an airbrush?
There are many brands of paintings, different types of paintings, but also different qualities.
There are also different professions using the airbrush. So let’s take a look at all this, and see how to choose and what paint to use for an airbrush.
In truth the choice of airbrush painting is very simple:
First, how do you use the airbrush?
Each application has a type of airbrush paint :
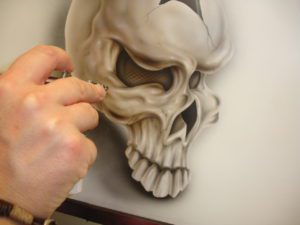
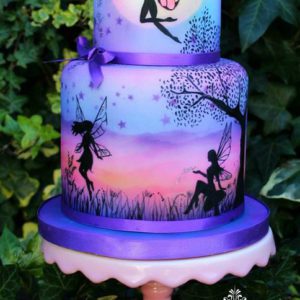
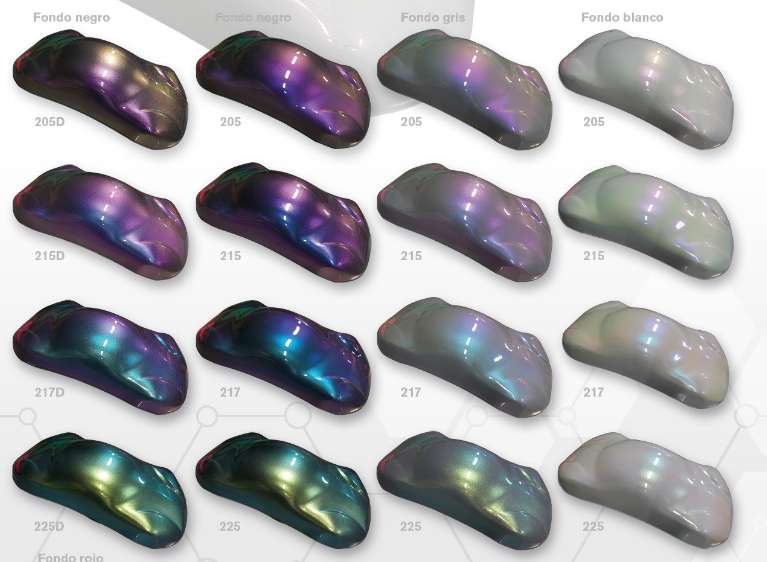
Artistic or decorative airbrush paint :
Essentially paints and water-based inks, very fluid with a range of graphic colors exclusively, from the classic palette of Fine Arts.
These are paintings made for drawing on paper (min 250g / m²), art board, on interior painted wall … They are ideal to realize portraits, landscapes, animals, frescoes, trompe l’oeil, … and not suitable for other applications. The fluidity, the smoothness and the destination of these products necessarily implies products that are not very resistant once dry, very thin, and sometimes not resistant to UV.
They are often available in very small bottles.
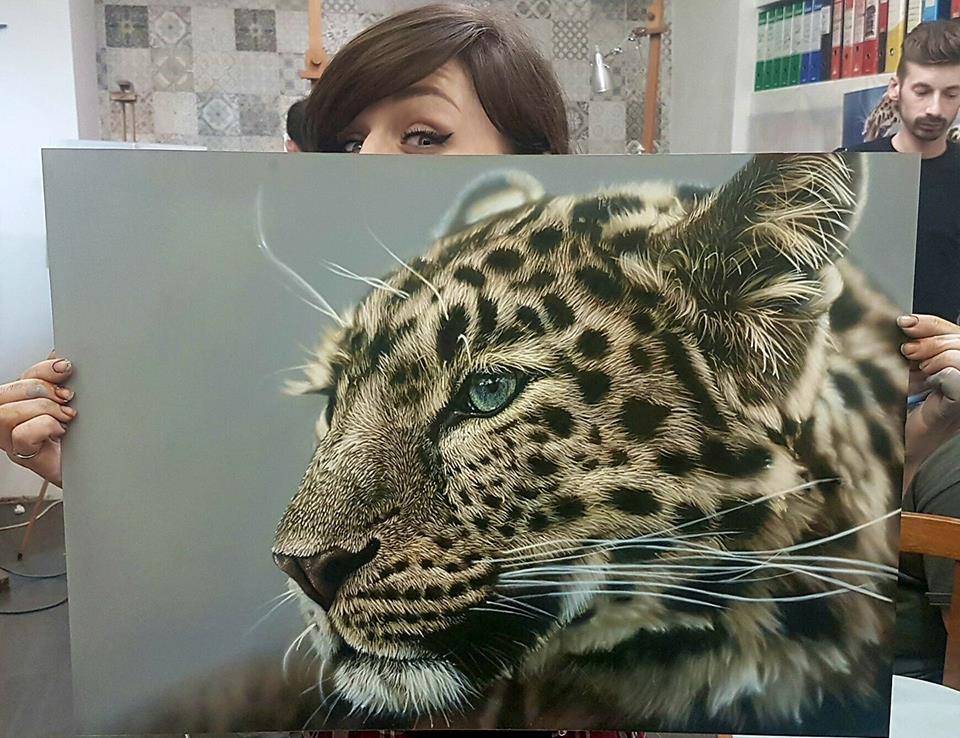
« artwork from Alina Tarasenko »
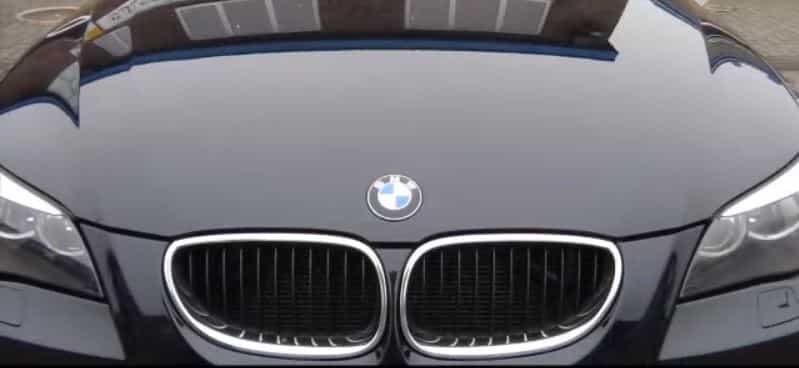
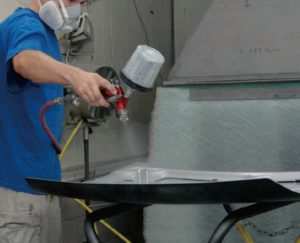
Custom paint, miniature, radio controlled and hobby:
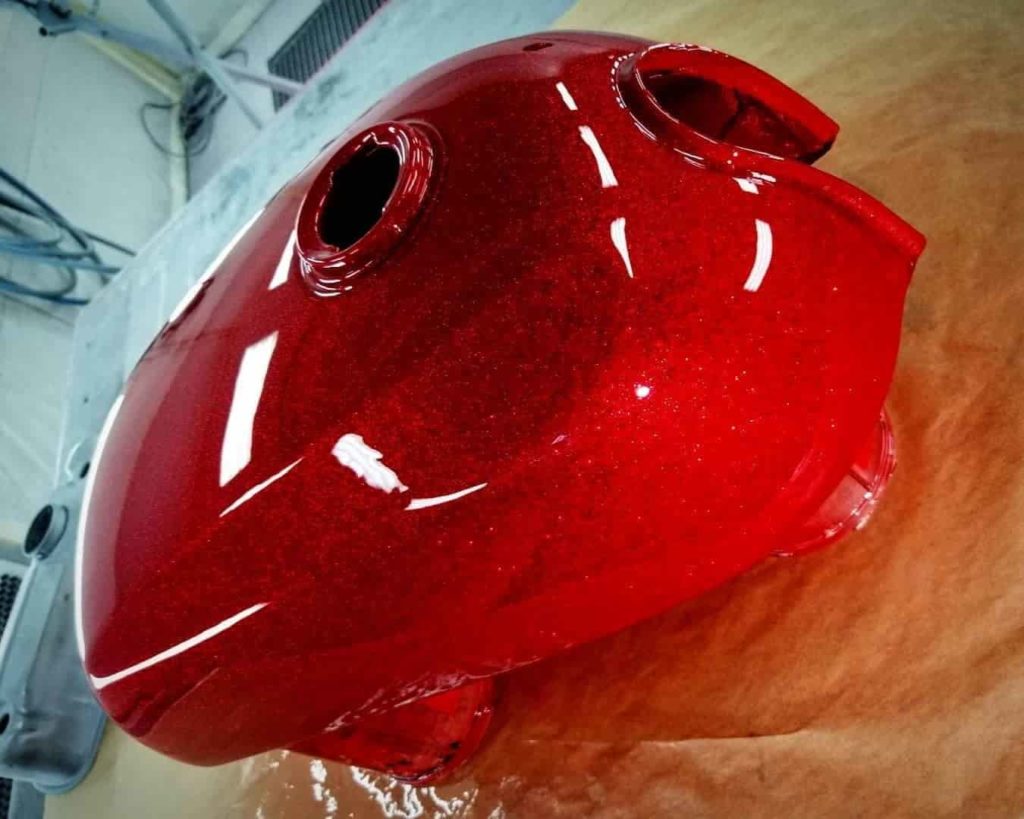
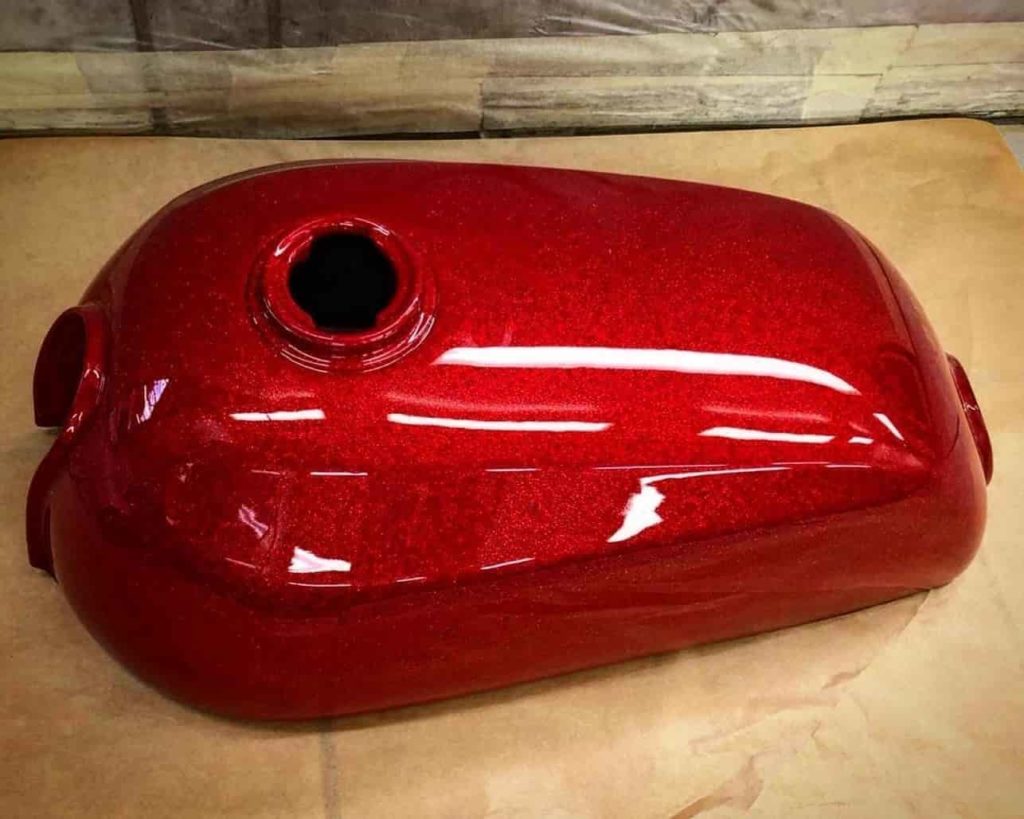
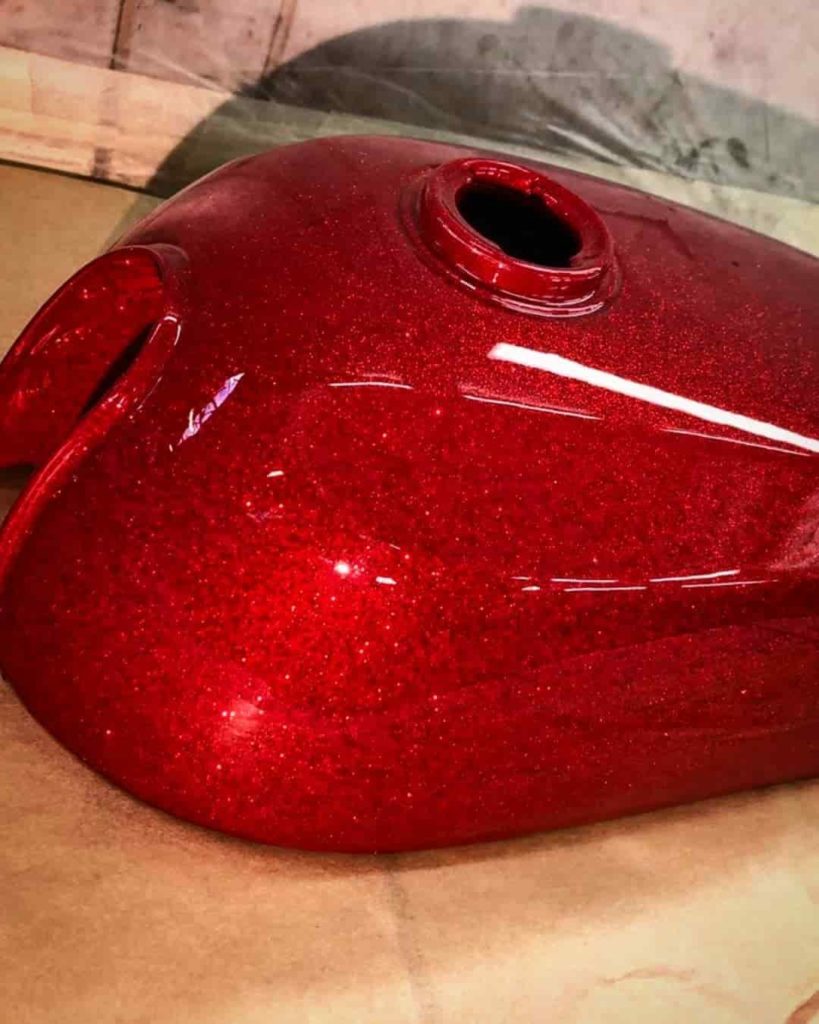
These are waterborne acrylic paints for car bodies or fairings, necessarily more resistant because they can be exposed to the sun (resistant colors), abrasion, fuels, solvents of the primaries and body polishes.
They are a little less liquid, and once dry, they form a thicker film. They have the main advantage of being odorless and solvent-free, perfect for protecting the environment and the applicator.
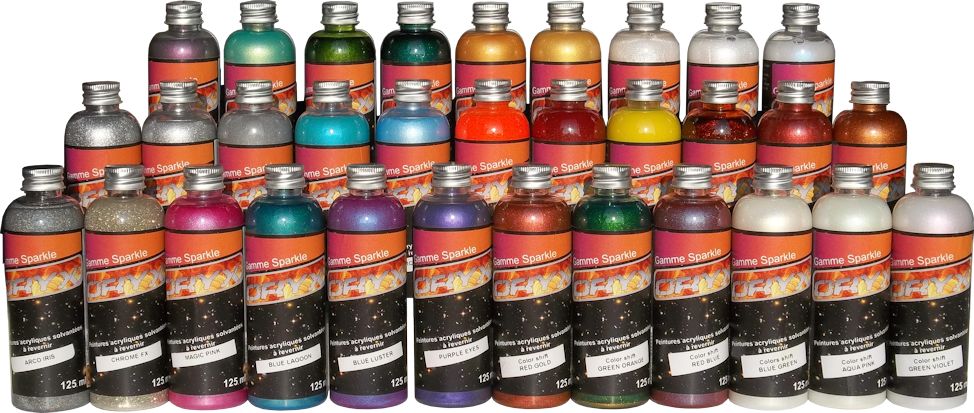
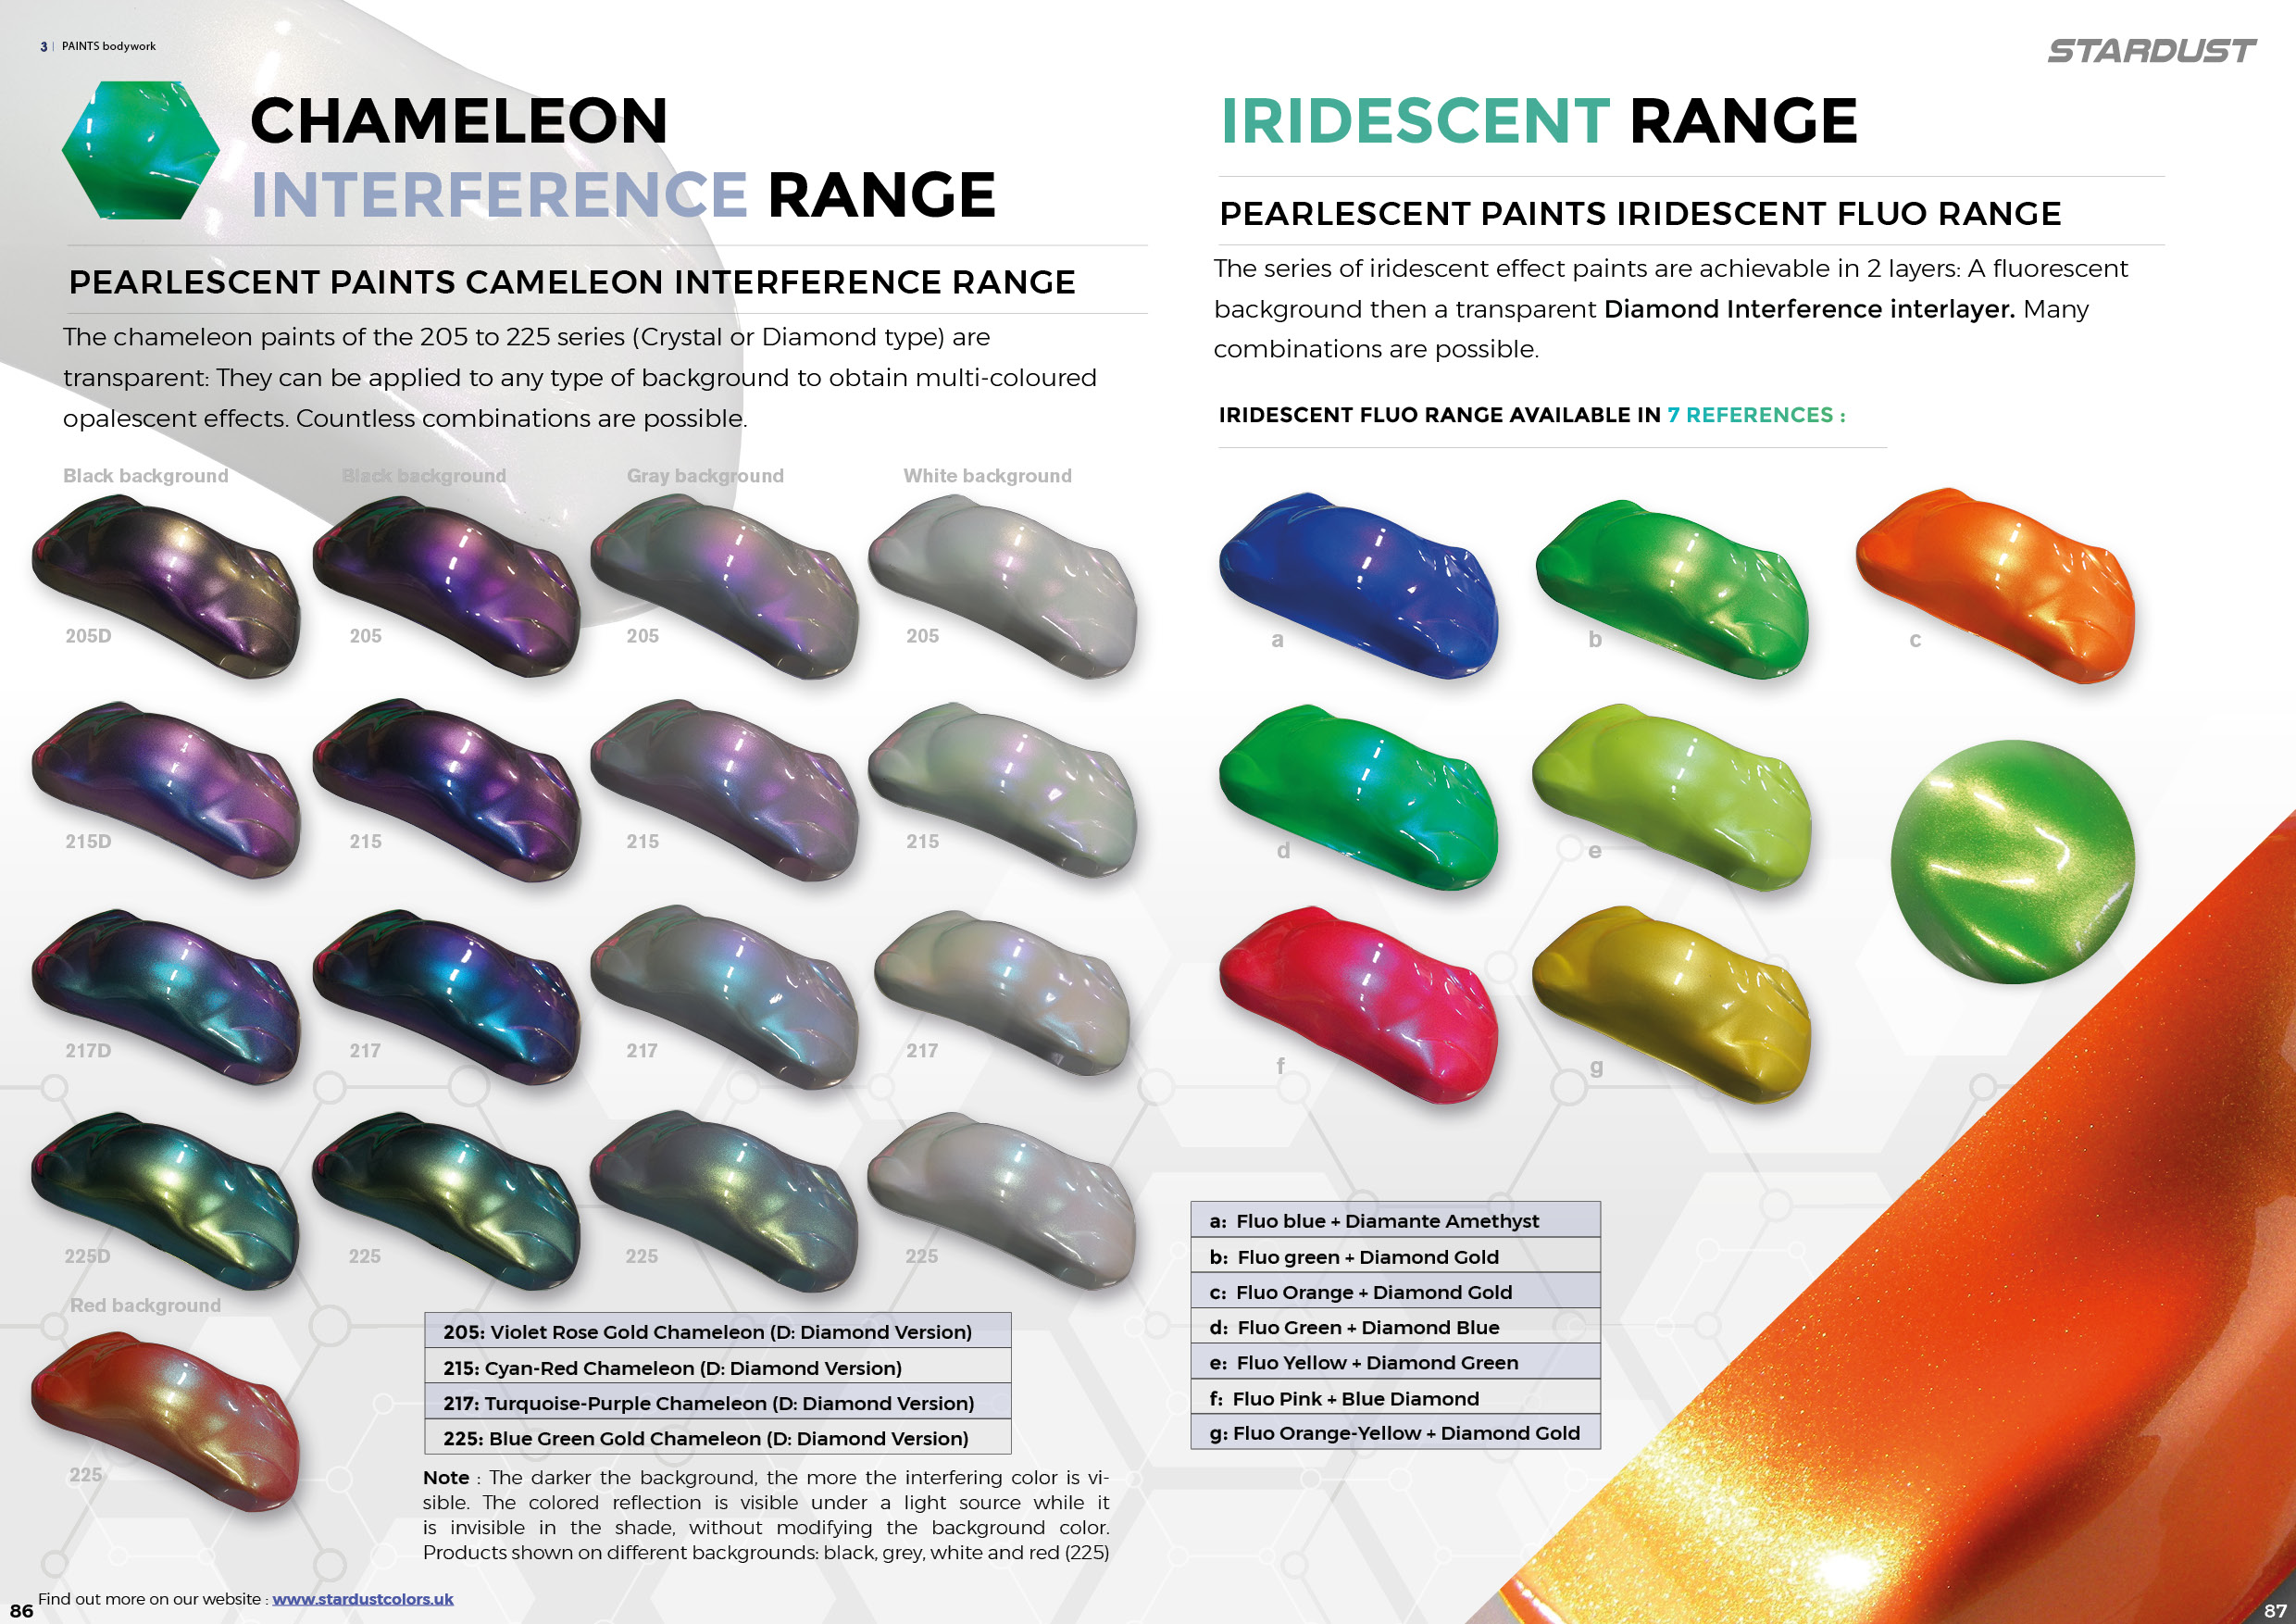
These are ranges of paints with a wide range of colors but also effects, such as metallic, fluorescent, pearlescent, candy and all their related products (varnish, thinner, degreaser, …) They are found in bottles of 17ml to 125ml
Warning! There is a great difference in quality from one brand to another, and between the “low-end” paintings usually offered for miniatures, hobby or radio-controlled gear on one side, and the high quality paintings presented “Custom Airbrush”, for the customization of bodies or helmets.
All the famous brands of airbrush paint have embarked on the creation of a bodywork range, after the arrival of the first waterborne car paint. The problem is that the first body water paints represent a good progress of course, but they were not very developed (difficult to sand, slow drying, bad wear over time, fouling of airbrushes, ..), and some big brands have not renewed their products …
Over the last two years, this field has benefited from major innovations directly from the world of professional automotive painting, with the arrival of new-generation body-water paints, as effective as the traditional solvent-based paints and even sometimes better!
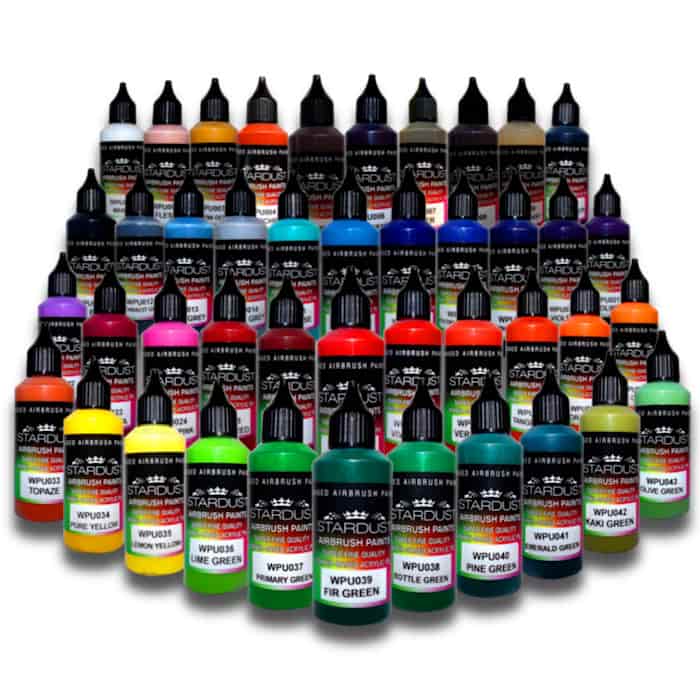
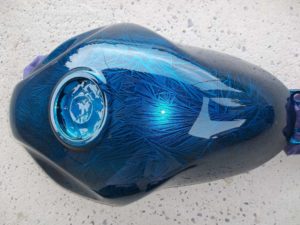
This is well illustrated with the new Stardust airbrush paints, acrylic / polyurethane hybrids.
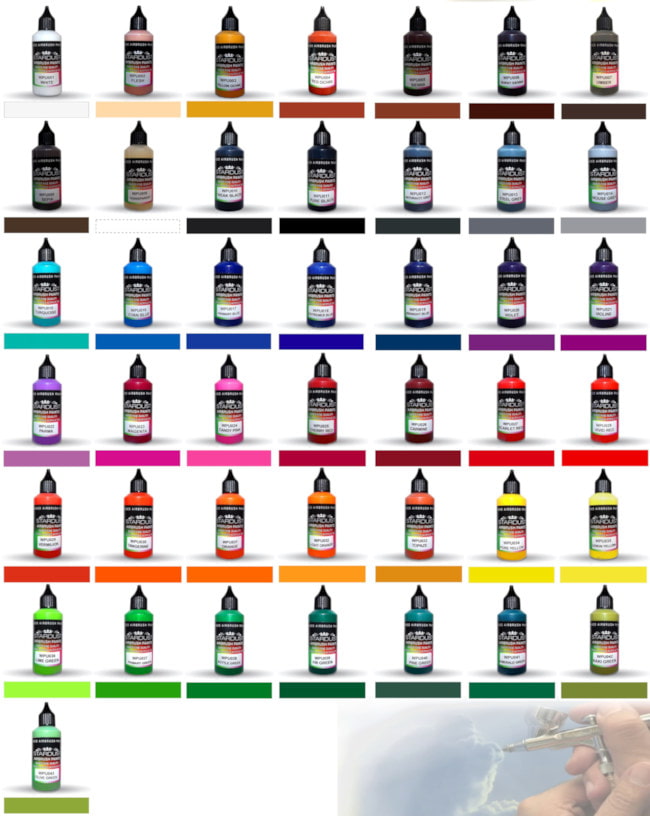
which combine all the following qualities: ultra-fast drying, grips all substrates, extreme finesse, very high strength even without varnishing, total compatibility, high pigment concentration, without solvents, great flexibility, very affordable prices …
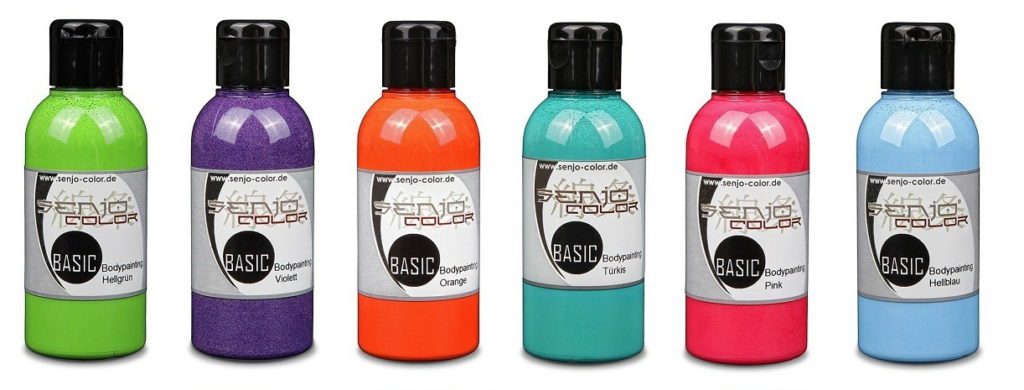
Bodypainting, tanning (tanning), temporary tatoo
These are products classified cosmetics, intended to be applied to the skin. They are therefore free of all dangerous substances or allergens, they contain mainly natural or food dyes, and can be removed with water and soap even after drying.
This is the case of the excellent paintings for Bodypainting Senjo® brand
Paintings on T-Shirt and leathers
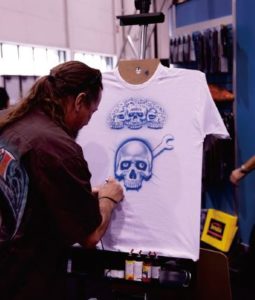
These are paints that must be both flexible, resistant to friction and also washing (detergents, water, temperature). It is therefore necessary to obtain good adhesion and excellent resistance.
This is the case for artistic Stardust acrylic paints that are ultra-resistant to leaching, even at high temperatures, and are indestructible on a variety of substrates, such as natural or synthetic fibers.
Pastry
These are edible and therefore food products, derived from natural dyes (caramel, beets, etc.) or synthetic.
What are the quality criteria for a good airbrush paint?
– do not contain solvents (allows you to work without a mask, without constraints or installations)
– For the drawing, the range must decline hues both opaque and / or transparent.
 – low prices and small packages proposed, for drawing or custom
– fast drying on the support (allows to work and cover quickly with the different layers)
– ready-to-use product without the need for further dilution
– allow spraying with the smallest nozzles and the production of ultra-fine lines.
– High concentration of pigment and high tinting power (can be used to cover in one pass or one stroke without the need to go through several layers)
– low water content / high solids content (no excessive wetting of the paper)
– do not dry too quickly on the needle or dirty the nozzle
– to form a dry film not thick, for the bodywork and the work multi-layers, and easy to sand
– compatibility with other solvent products for bodywork (primers, varnish, degreaser)
Airbrush custom: Compatibility with other products
The following questions must be asked:
What other products will I use below and above my painting?
Are they compatible, is there a risk of reaction?
On many medium quality acrylic airbrush paints, and sold as products for bodywork and model making, if we risk applying a real quality varnish with solvents (polyurethane type) is the disaster, with the paint who faints, blisters, or whatever.
The basic rules to avoid defects are:
– ensure a good drying of each layer (sufficient curing, and total evaporation of water or solvents)
– do not mix professional products and consumer products “cheap”
– When in doubt, when painting acrylic paints and solvent paints, always paint one or two thin veils “to see” and to fix.
On which support do I apply and the grip will be good?
Very few paints make it possible to paint directly on a raw support, such as metals or plastics.
If you want to get a good grip of the paint, and not see all his work come off after two weeks, then we must use primaries for airbrushes, or paintings that hang “really” on all media.
And what about solvent-based paints for airbrush?
They are called “solvent-based airbrush paints” because of their nature and composition, different from aqueous acrylics, although in truth water is also a solvent. Like water paints, they dry and harden by evaporation.
But many professionals prefer them for many reasons:
Solvents evaporate faster, whatever the temperature. They allow finer paints, highly dilutable, with an unmatched fine line for drawing freehand airbrush, and also a low fouling of the interior of airbrushes, they do not clog.
The dry layers are easy to hide, sand, work, with less unevenness when masking. The paints can be dissolved easily even after drying unlike water paints.
In return, they require a professional workshop or at least a sufficient air extraction and often the wearing of a mask.
Vallejo Acrylic airbrush paint
Graphic Solvent-based airbrush paint
Sparkle Solvent-based airbrush paint
Model paint – Hikari
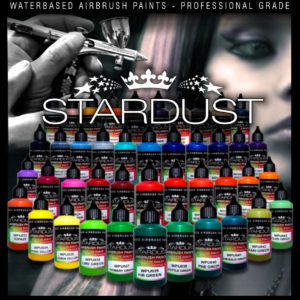
Stardust pro airbrush paint
Schminke airbrush paint

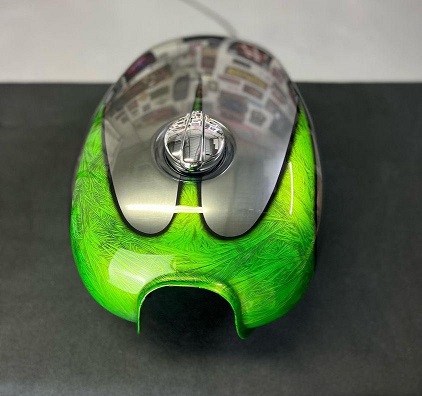
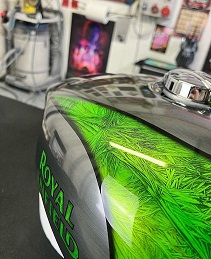
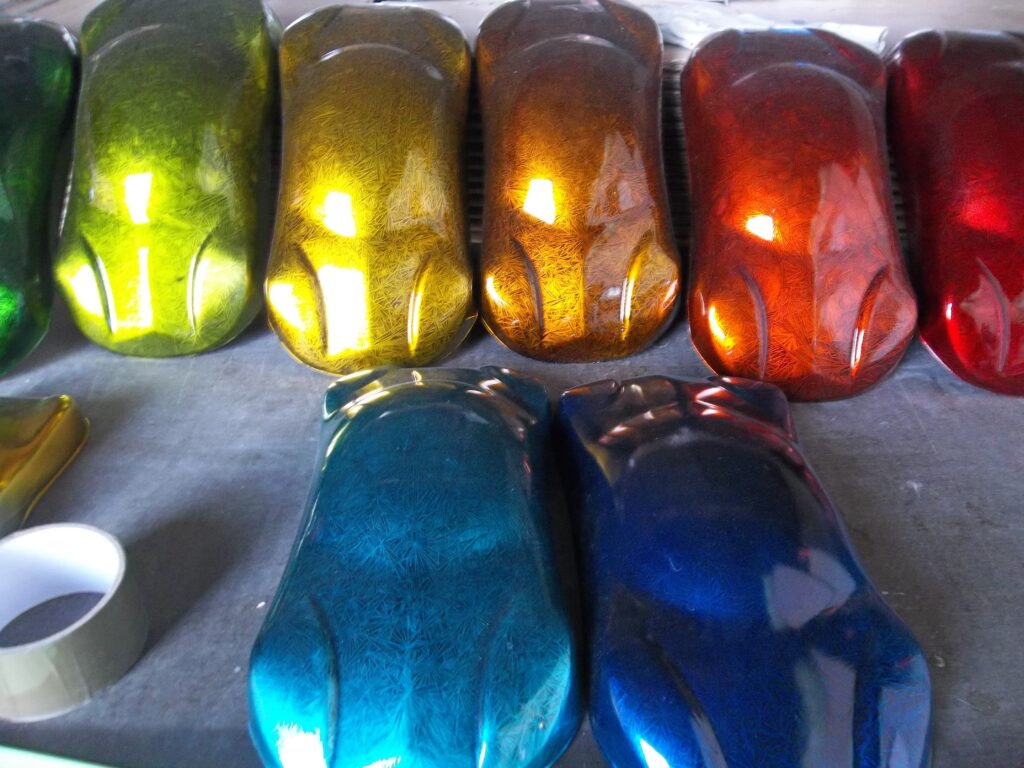


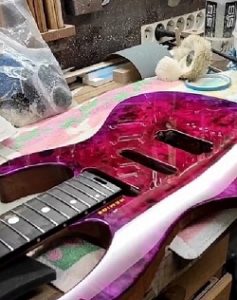
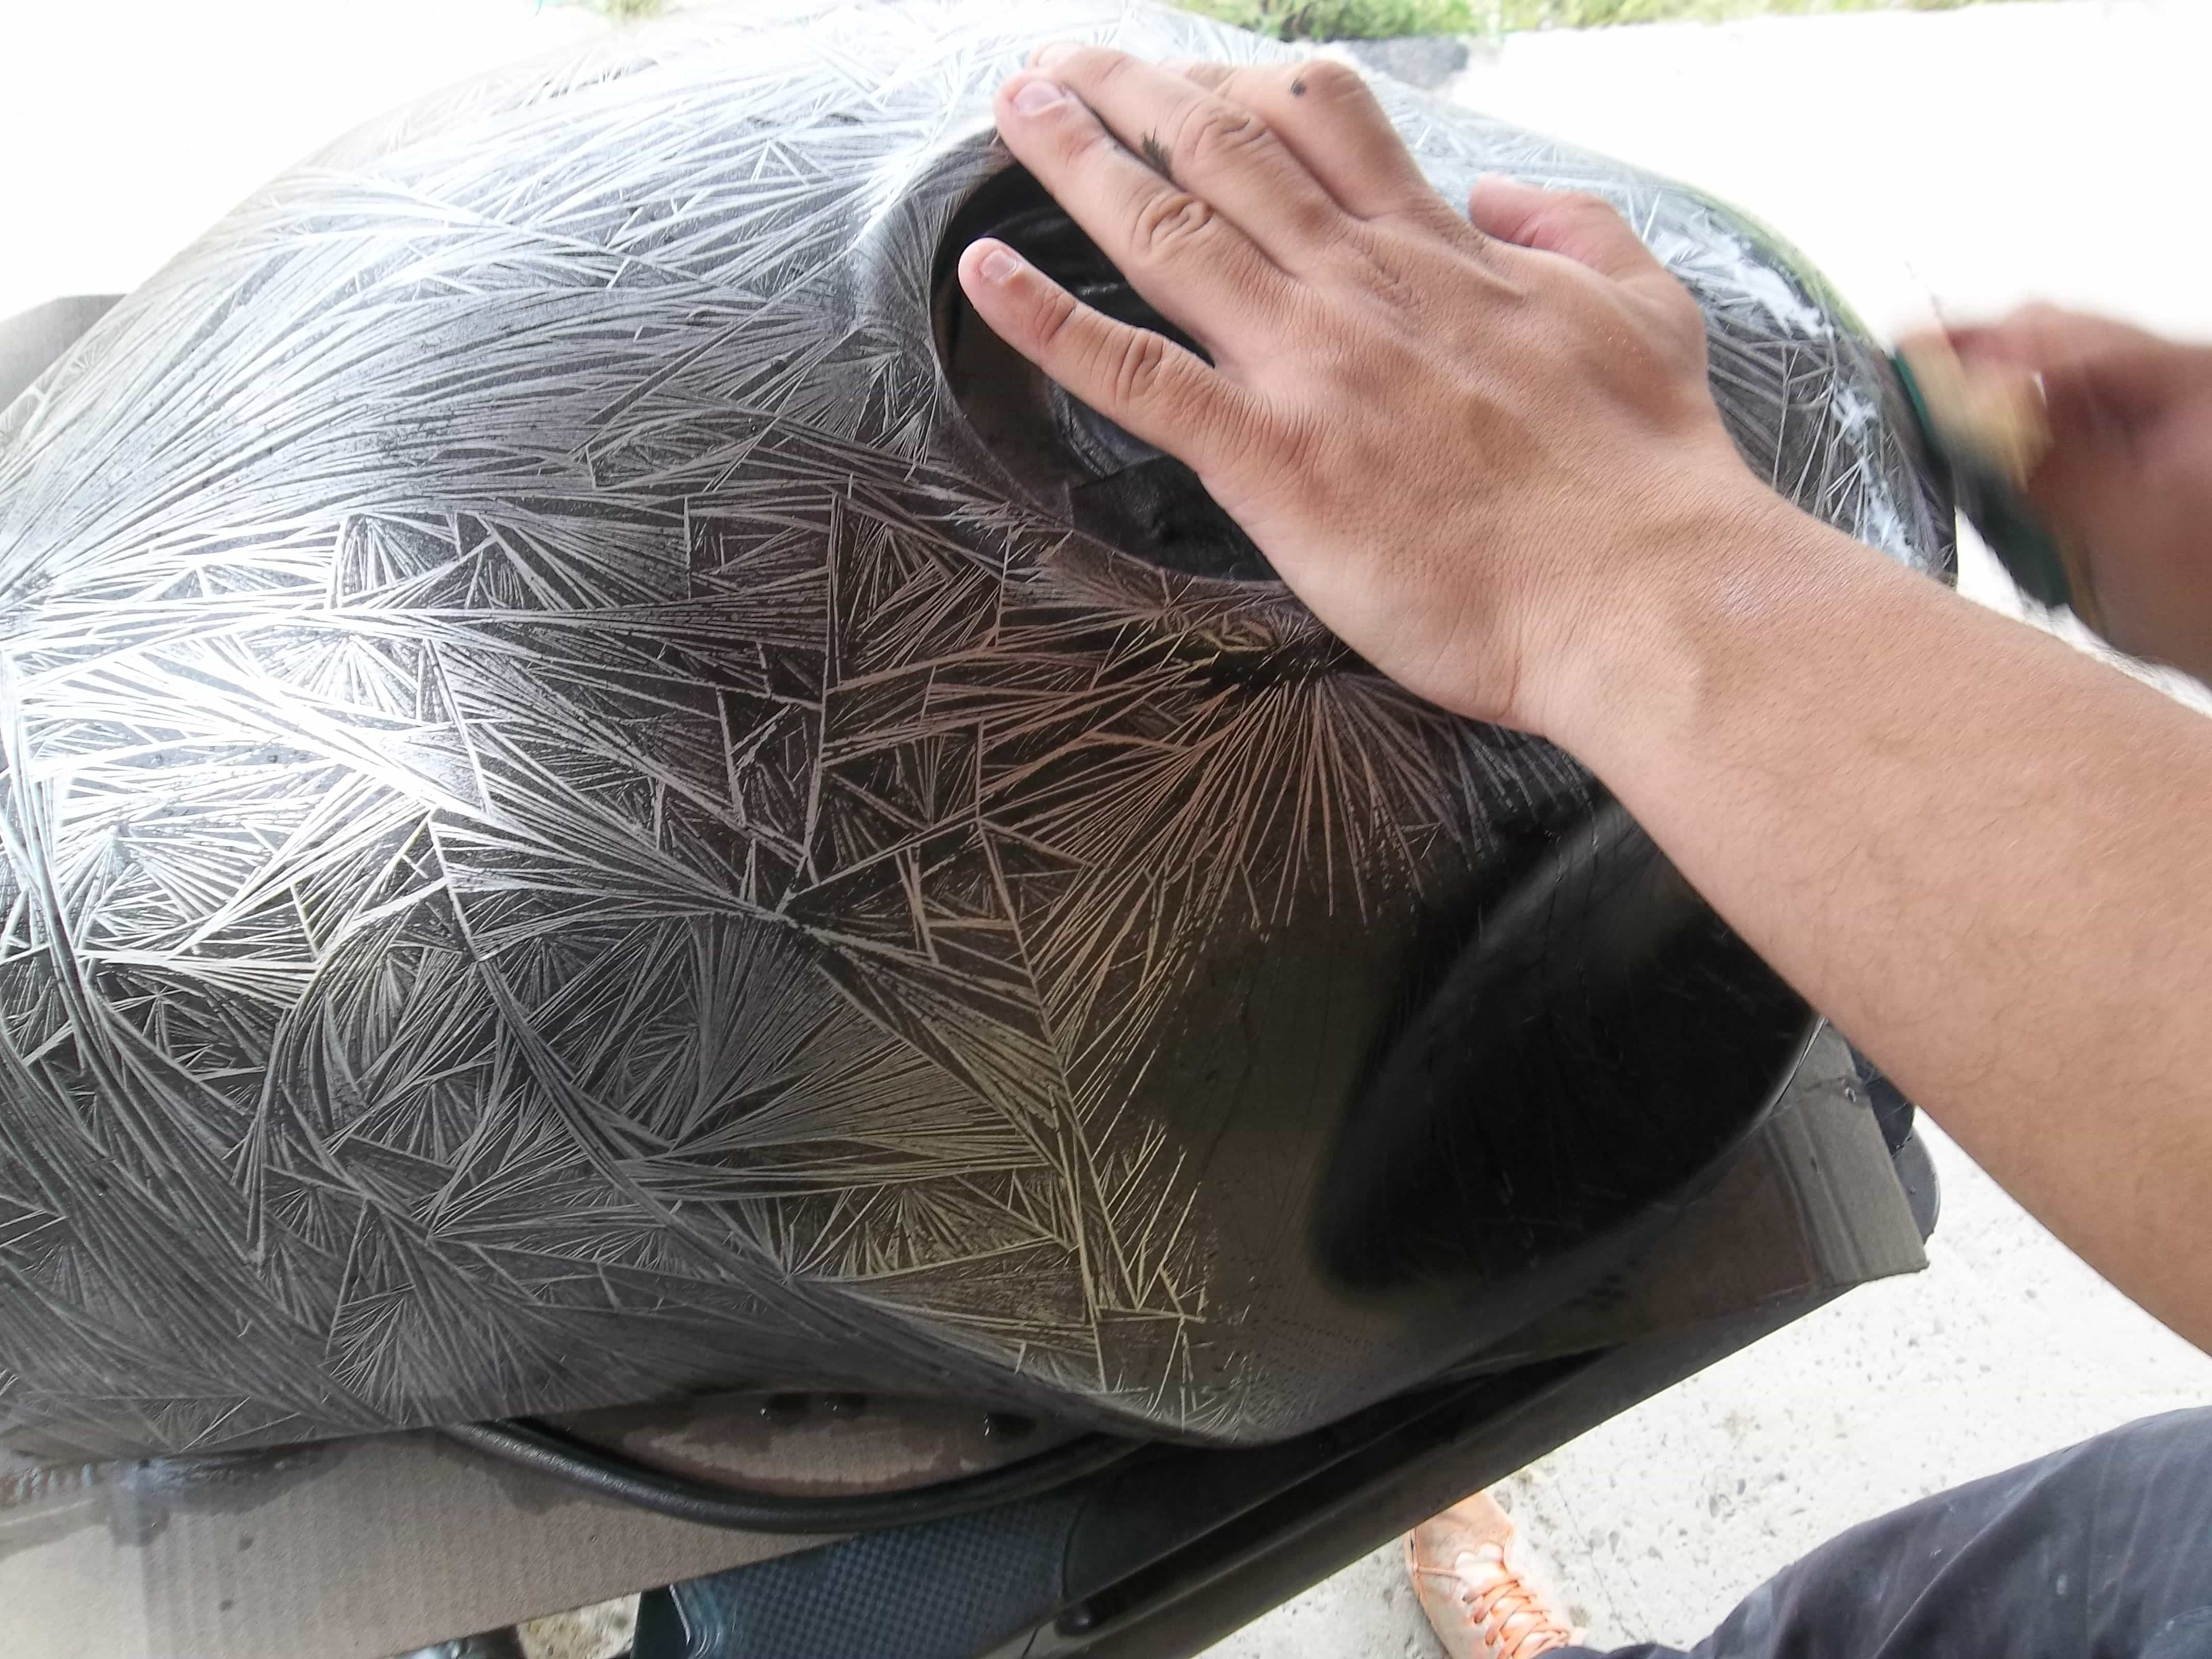
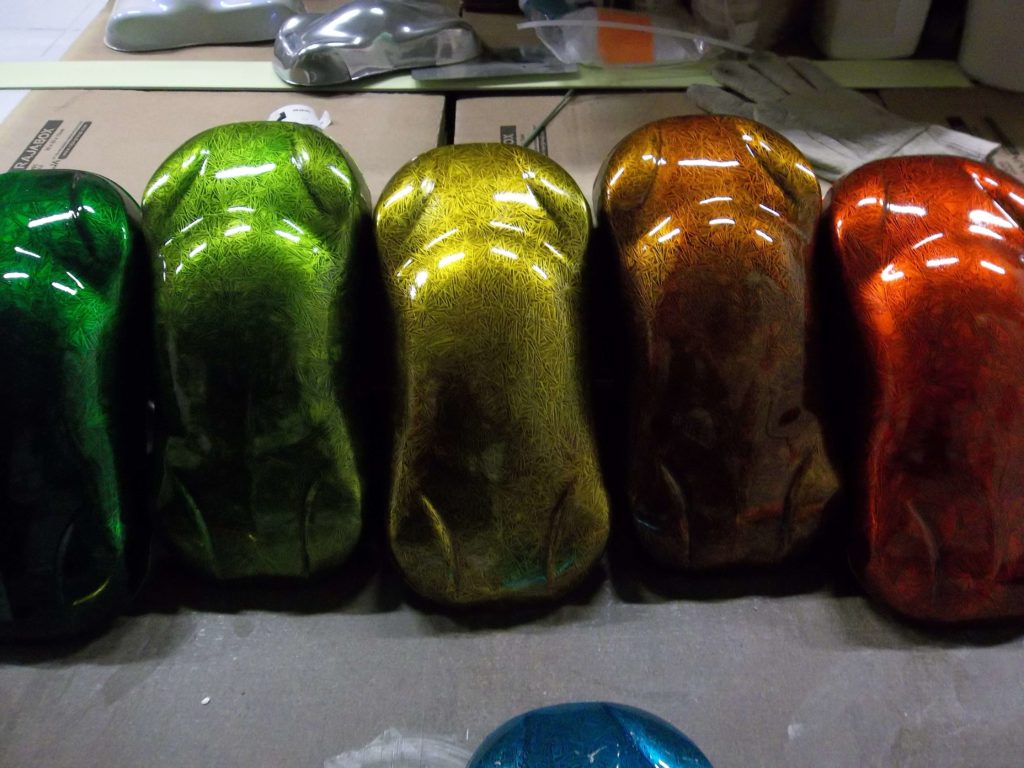 The Crystalizer is a completely exotic product among all existing products in the world of decorative paint or bodywork. It allows you to create a surface with patterns of crystals, and when combined with the
 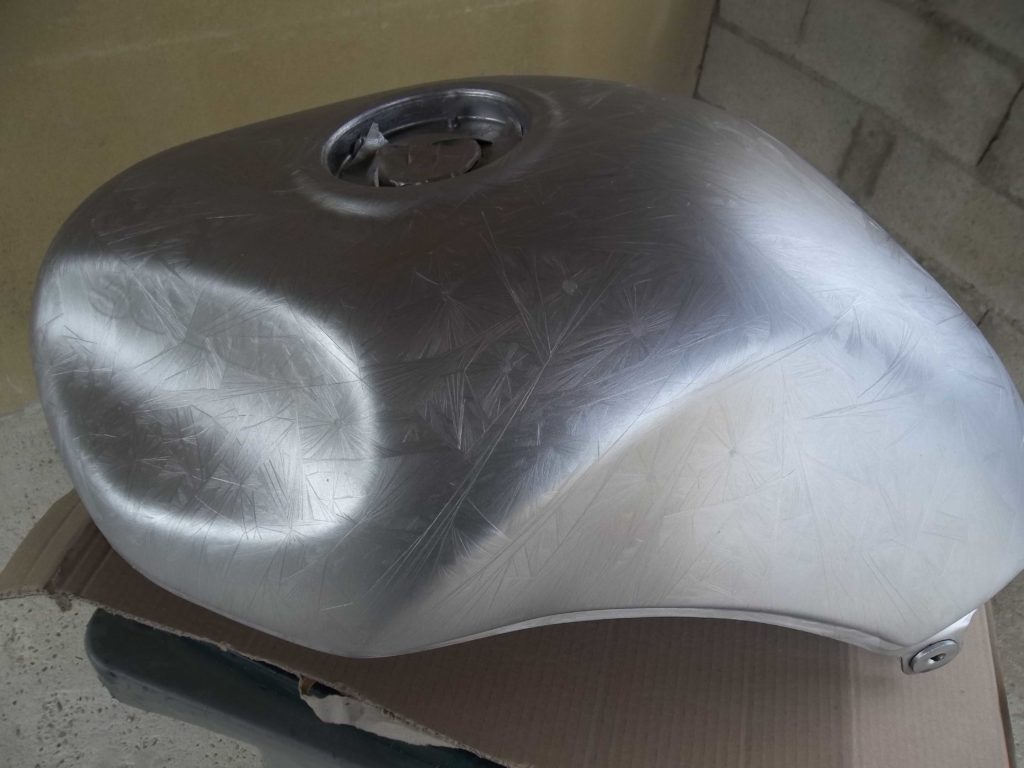 Setup for a Crystalizer effect succeeds
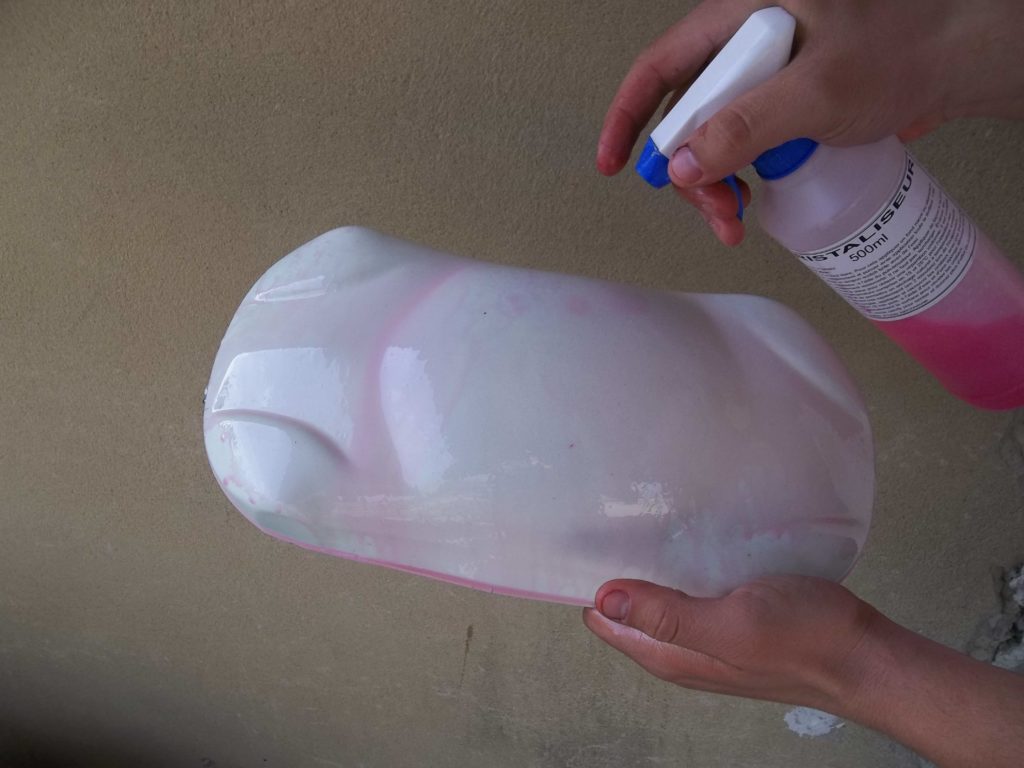 Application and drying
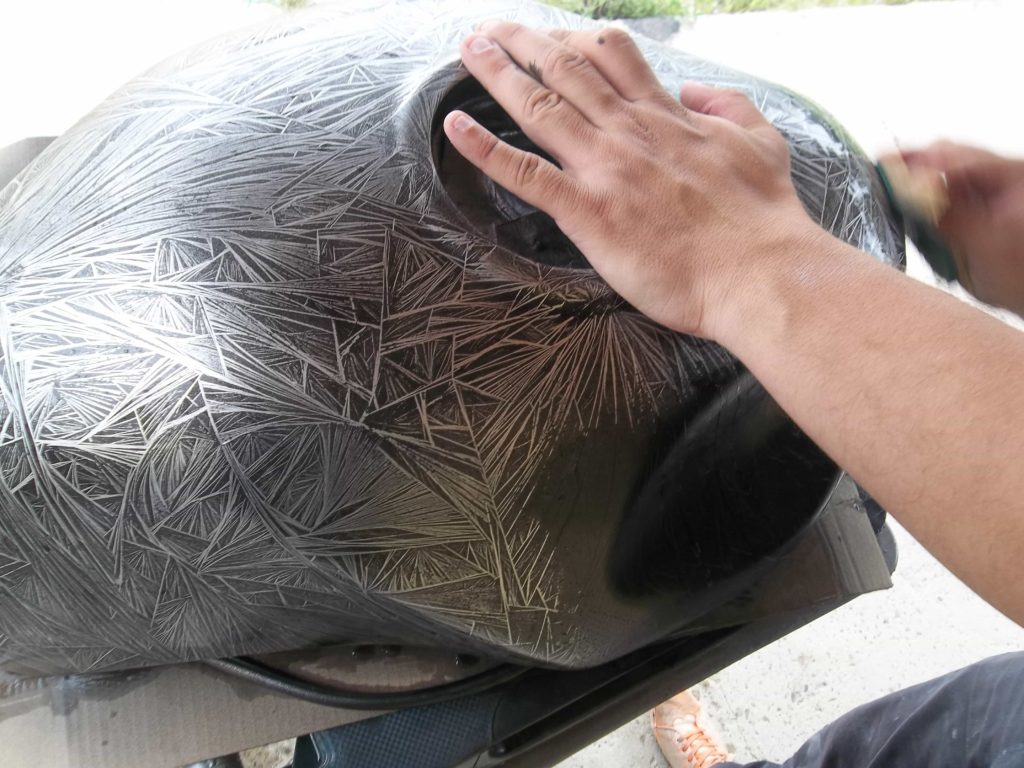 Shading
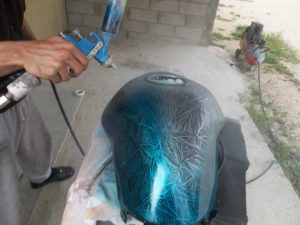 Coloring and clearcoat
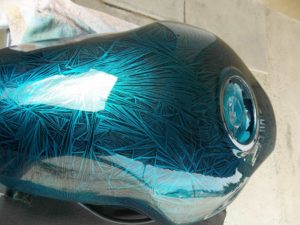

 There is a
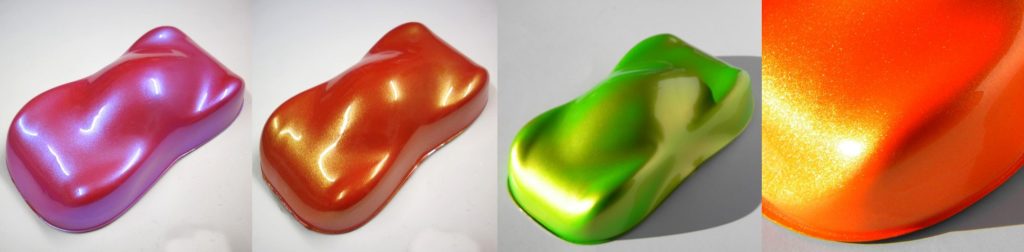
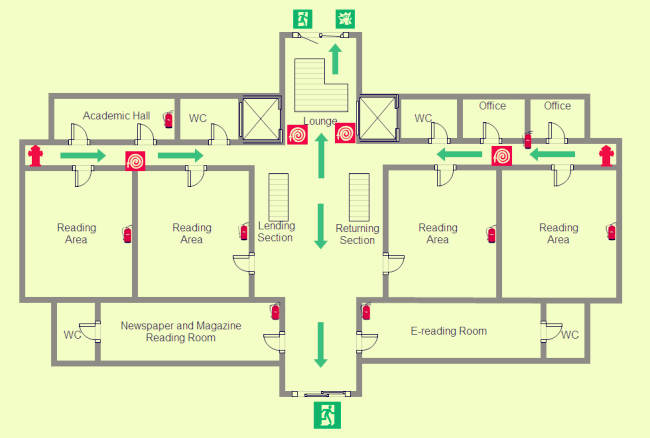
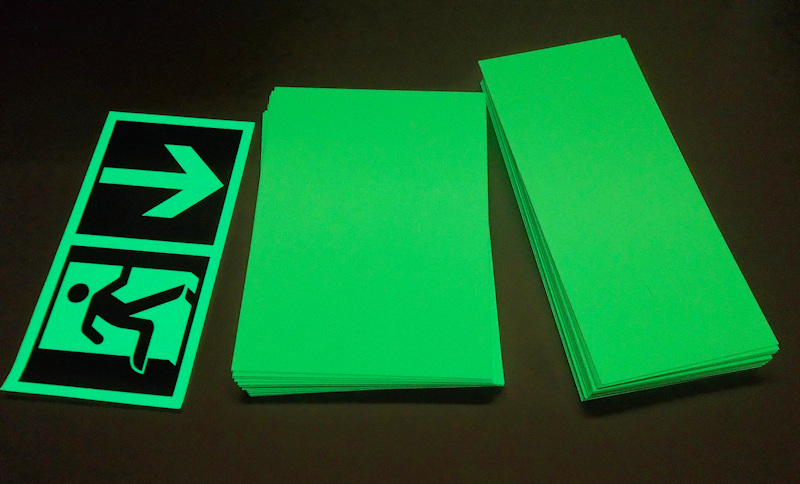 In establishments open to the public, such as gymnasiums, museums, hotels, ships but also in certain factories, it is required to install a Photoluminescent PVC evacuation plan in order to guide the occupants towards the exits in case of emergency and especially in the event of lighting cuts.
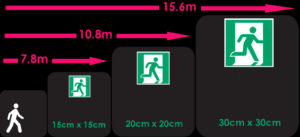 The different mediums
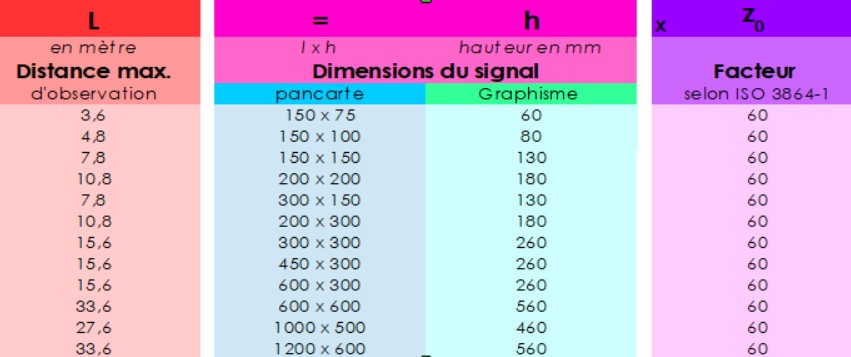
 The costs
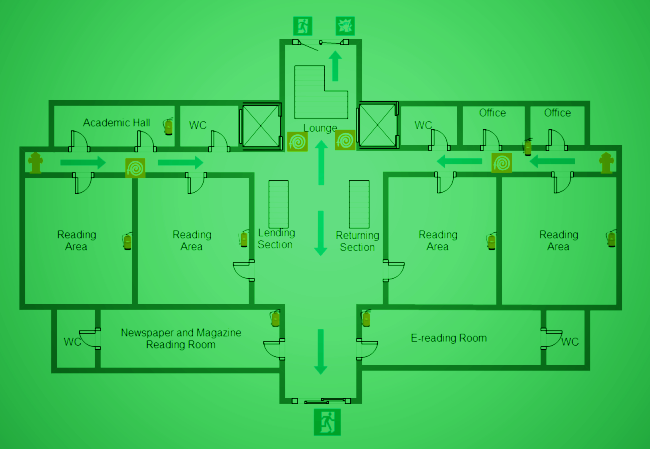 In addition to the price, which logically varies according to the size of the plan, there are also different costs for the material of the support :
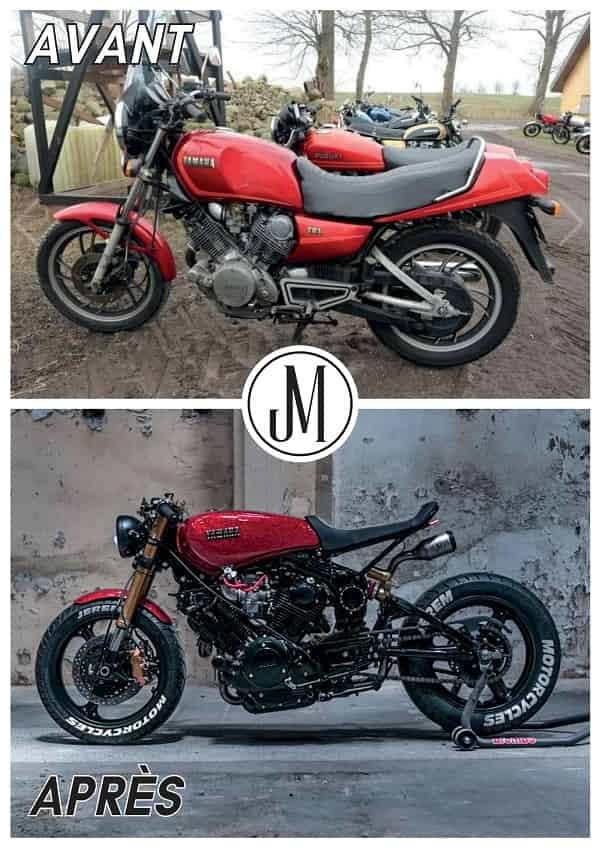
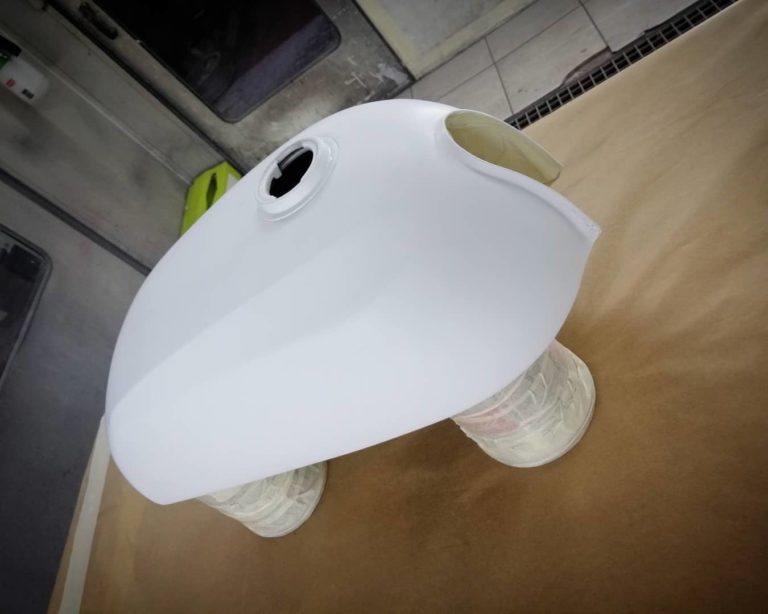
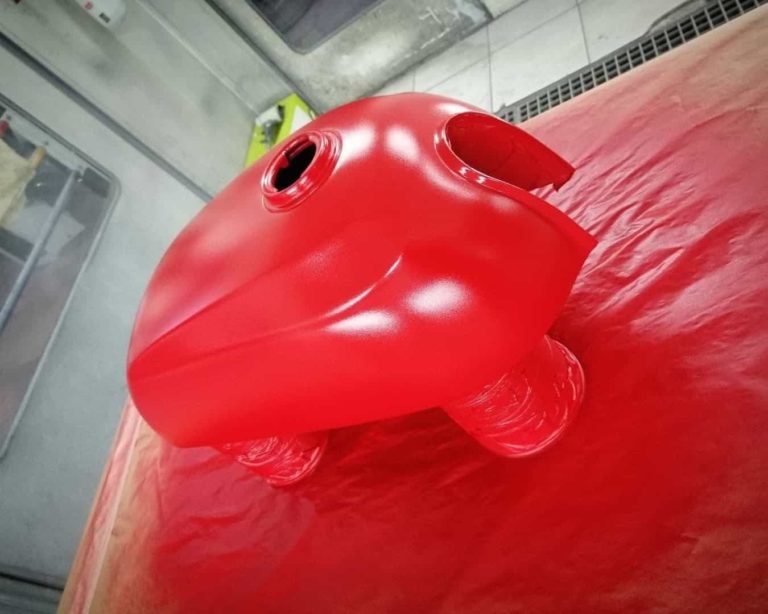

 before
 after
after