Being a PLAMO builder: GUNDAM-GUNPLA plastic painting and modeling
Stardustcolors introduced you to modeling on PVC toys (SOFUBI), modeling on radio-controlled models (LEXAN), modeling of miniatures and figurines, and today here is another family of modeling: GUNPLA or GUNDAM modeling. Here too, paints are used to personalize the parts of miniature robots.
Several types of paints can be used for the world of GUNDAM:
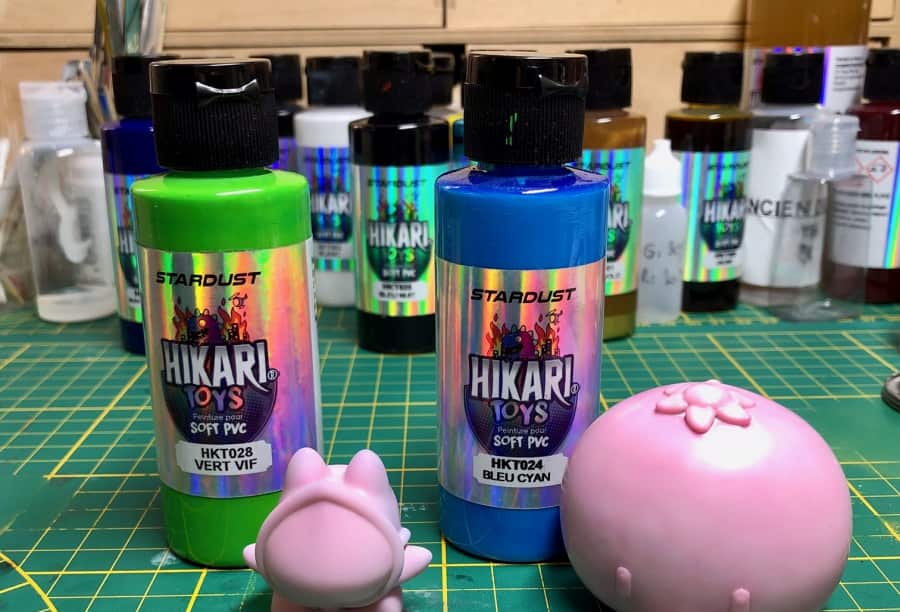
► Solvent-based airbrush paints for PVC: HIKARI Toys range
► Water-based acrylic airbrush paints: Stardust Pro range
► water-based acrylic airbrush paints for plastics: HIKARI RC range
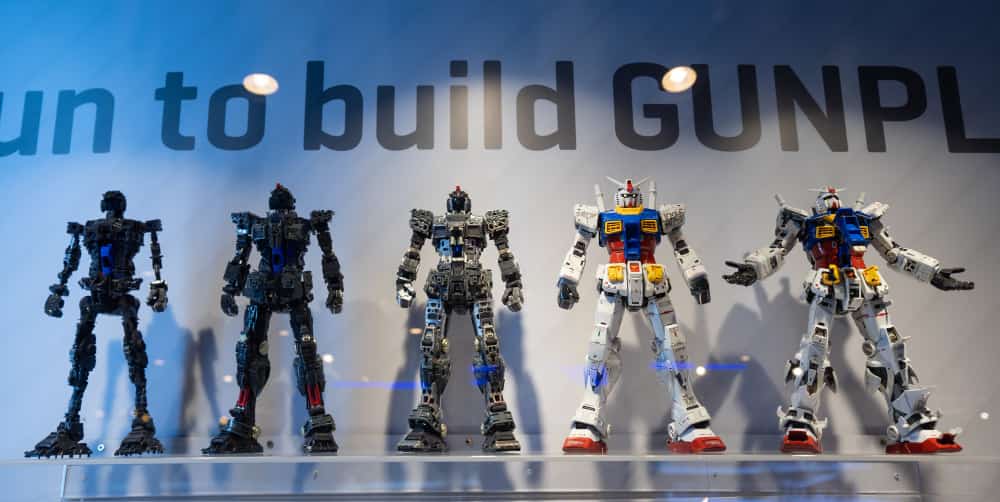
First of all, what is PLAMO? a Weapon of War? No no……The term PLAMO is a contractive term of Plastic Model. This refers to plastic models to be removed, for which you do not need glue or paint to have a finished result.
This hobby became popular with the “anime Mobil Suit Gundam” in 1979, which gave rise to a variant of GUNPLA. This notably designs the GUNDAM plamos. Then there is an abuse of language, because we say “gunpla” for all plamos…… “I fight regularly on that…. » explains André ( @aivon_lepgm ), specialist in PLAMO modeling
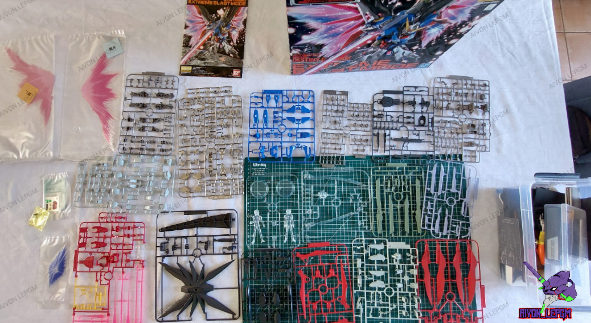
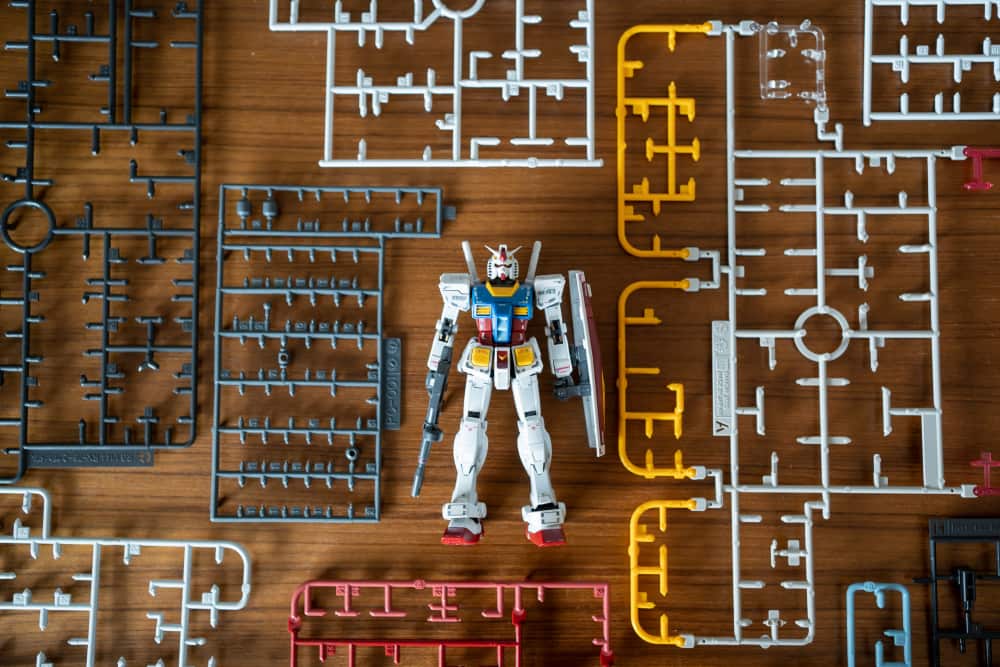
For the assembly of the different GUNDAM modeling figures, there is a notice with the number of the parts and each letter of each sprue.
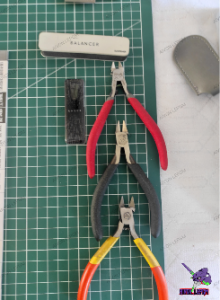 For assembly, a pair of precision tweezers, a glass file, do the job from the start. You should avoid low-end equipment anyway!
In the photo above, we can see a Dspiae pliers (red), a Tamiya pliers (black) and a no name pliers. There is also a Shave Plus file from Gunprimer. (It’s high-end.)
Afterwards, when it comes to cutting and editing, just take a look at YT where there are already so many videos on this…
As for the final result, we have the choice, either leave it as the kit provides at the end, with the stickers and other decals, or paint them. And to do this, there are a whole bunch of paints, my choice is Stardustcolors, a French brand. (I made my two YT and Instagram videos on it under the nickname Aivon_Lepgm.)
Interview with André, PLAMO modeling specialist
► André, do you have an idea of how many enthusiasts of the practice of GUNPLA/PLAMO are identified in France and around the world? What is the country where this art is most widespread?
Wow, a difficult answer, I even think that there are no official figures in this hobby. In the sense that there is no federation (there are associations) or anything else for the census. But I know from sources that Bandai has sold more than 500 million copies worldwide.
It is no surprise that the Asian continent is the must have. They are the ones who have the greatest potential, a custom expert with us is the equivalent of a beginner with them (that’s another dimension there). Japan wins the prize in sales, limit, this country alone accounts for the sales of the rest of the globe!
►What is a Nakamas?
Ahahah, I always say in my videos “hello nakamas”, this comes from my manga universe, and in particular One piece: or a nakama, is a crew member who has become more than that, who is part of the “family “. Otherwise it comes from Japanese: means colleague, compatriot, companion, or comrade.
► What is the material that different plastic Gundam models are generally made of? What type of plastic exactly?
The middle of the plamo is made of plastic, and in particular ABS and polystyrene ,
►Are you making Plamo today using 3D printing?
I just make the supports for my plamos, but you can find a lot of parts on different sites for that. But maybe one day yes, if I’m missing a part or for a big custom why not.
► In the field of GUNPLA paint, do we use solvent paints or Hydro paints when we want to personalize parts?
It depends on the builder, because some will only look at solvent-based paints, because their quality is still superior to “hydro”, but much more harmful. And on the contrary, some prefer hydro, for the ease of use, cleaning, and the odorless side.
I’m a fan of both, I don’t have a preference on that. Because both offer equivalent choices.
►For finishing paintings on GUNPLA, is glossy varnish or matte varnish preferred?
It all depends on the finish, we tend to varnish in gloss before applying panel line (enamel juice to accentuate the lines), to facilitate application and protect the parts (because the bandai plastic can crack with the uses panel line. Basically, it all depends on what the Builder wants to do.
►What shades do you prefer to personalize your GUNPLA models?
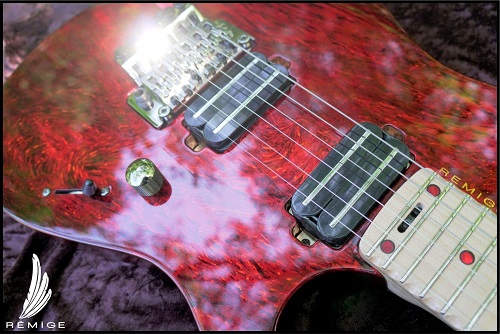
I like the chameleon effects, but that’s my side: “I love fast and furious Tokyo drift” (ahahaha). I like all the shades, I’m not very picky about it, the advantage of our hobby is this enormous freedom to do what you want quite easily, without a lot of space, and with the paints that ‘we want. I really liked the paints I used from Stardustcolors, I find that the ease of use saves us time. And that is not negligible.


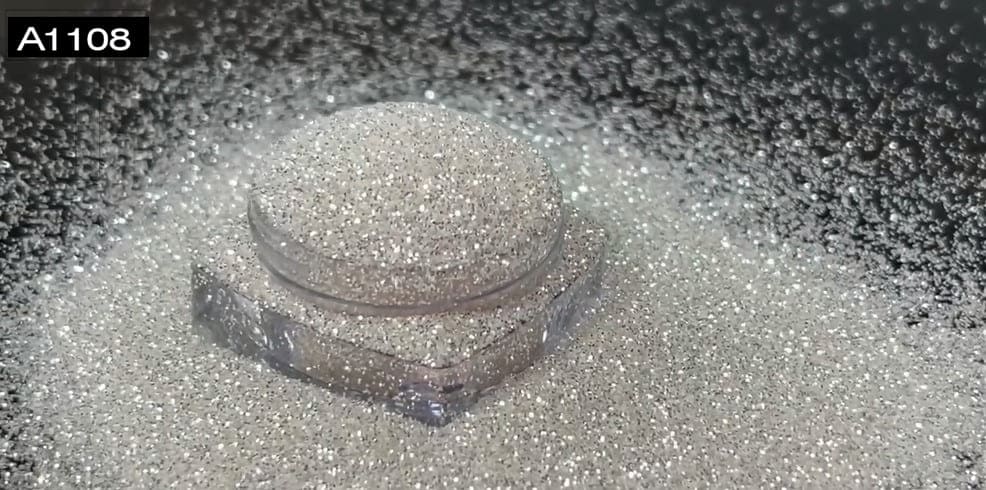

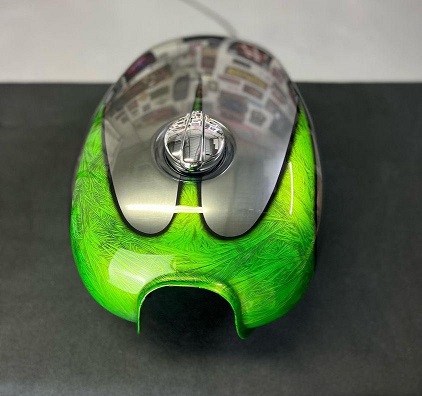
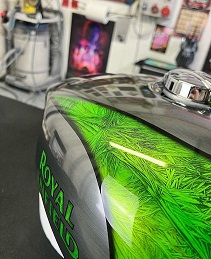


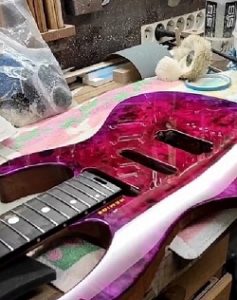
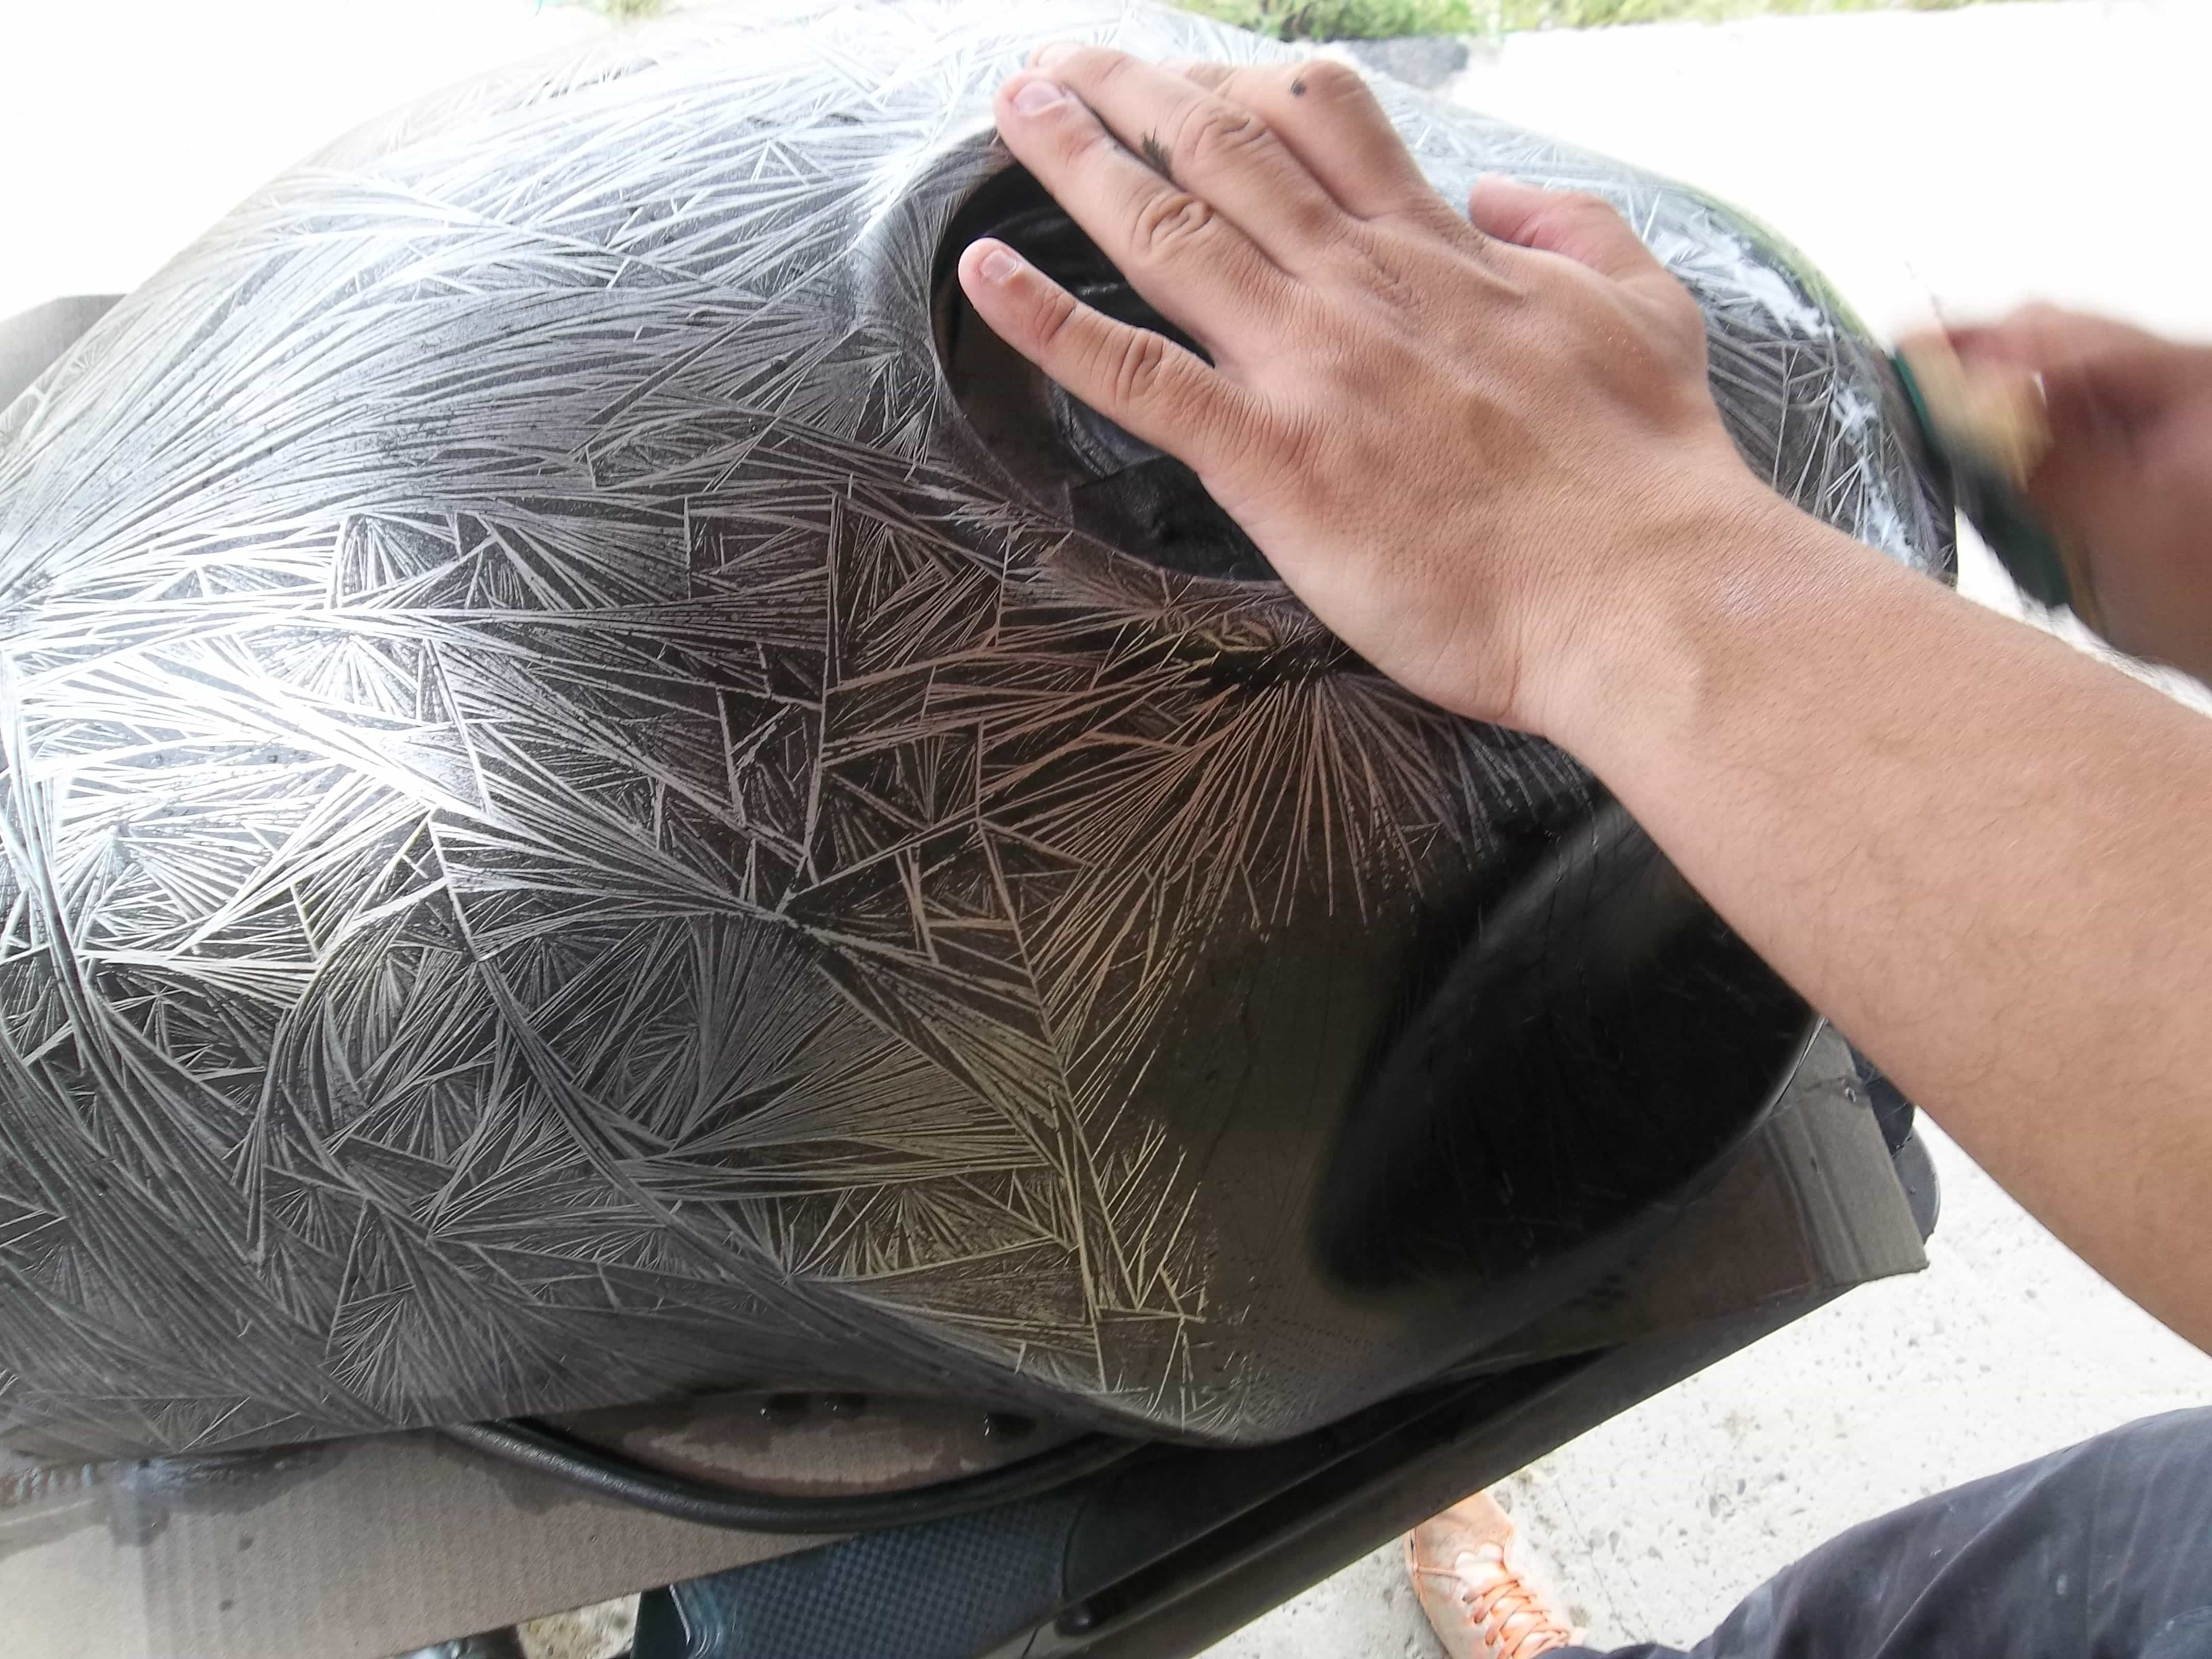
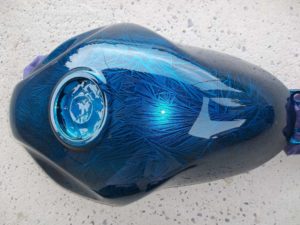
 The Crystalizer is a completely exotic product among all existing products in the world of decorative paint or bodywork. It allows you to create a surface with patterns of crystals, and when combined with the
 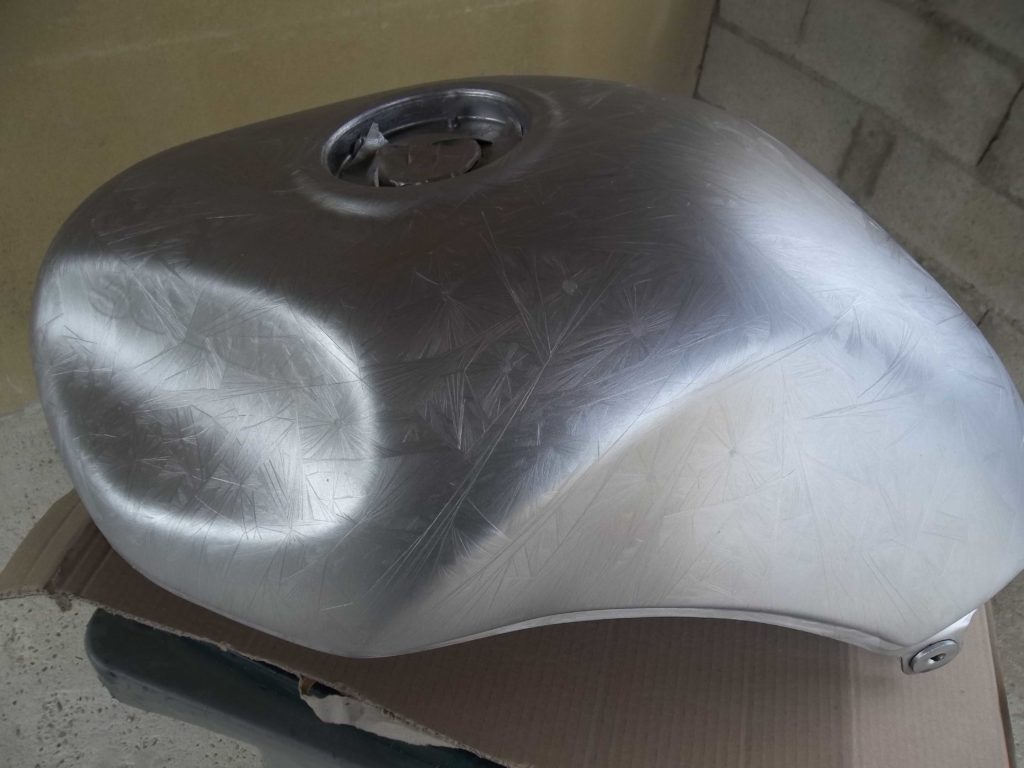 Setup for a Crystalizer effect succeeds
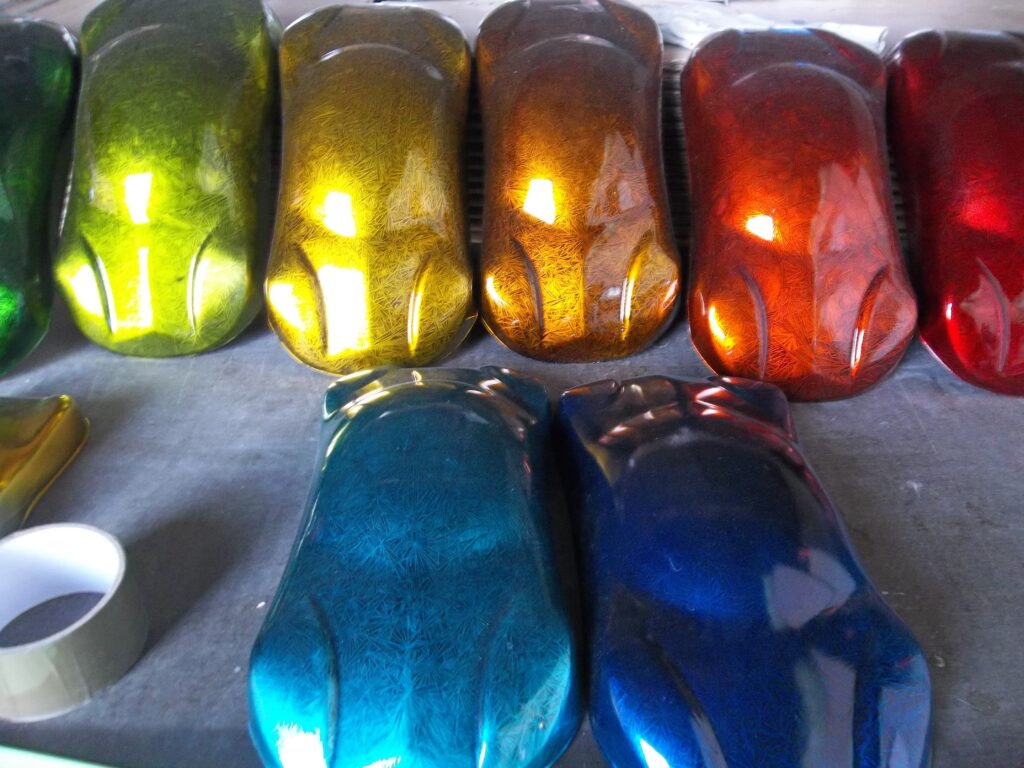
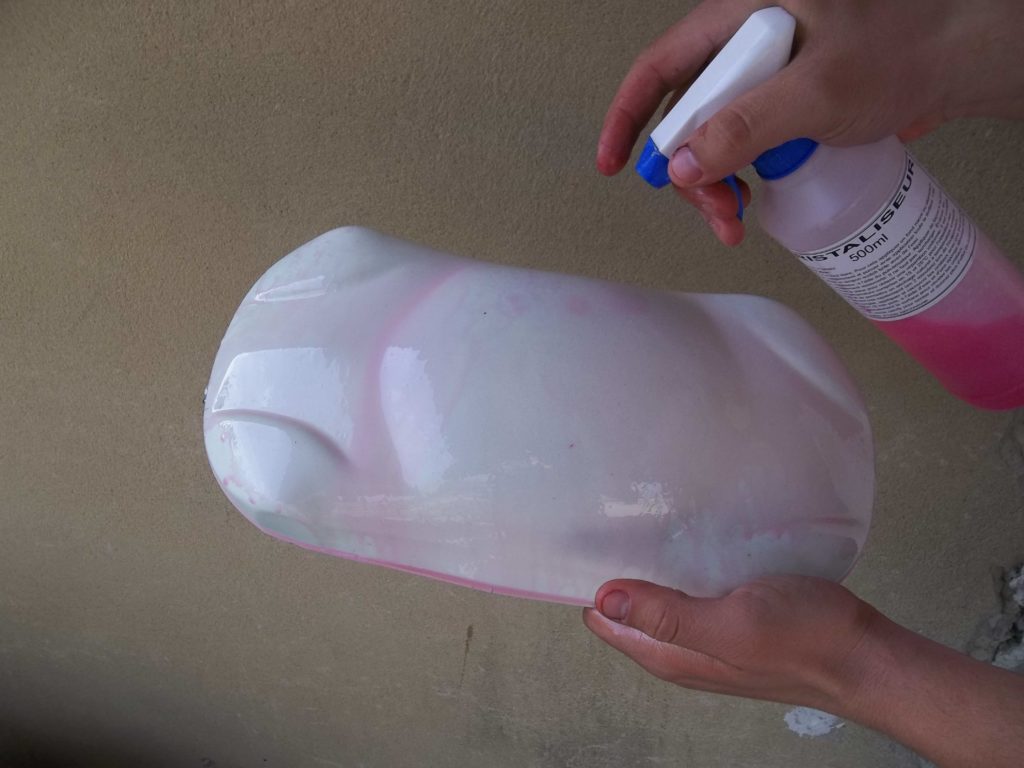 Application and drying
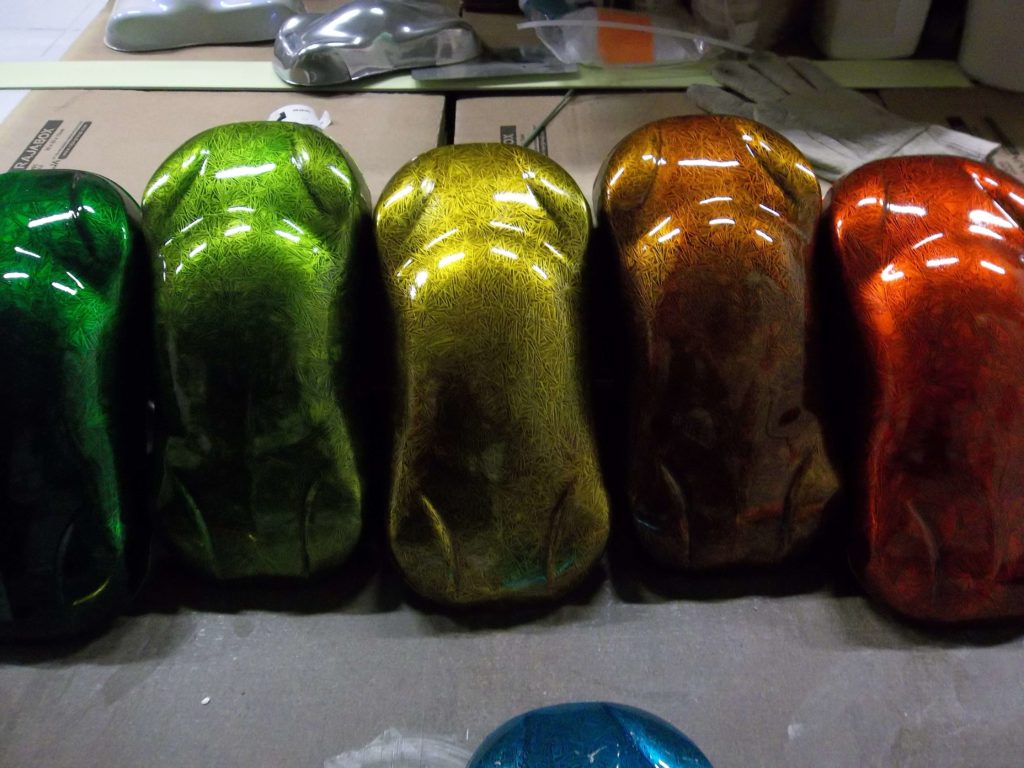
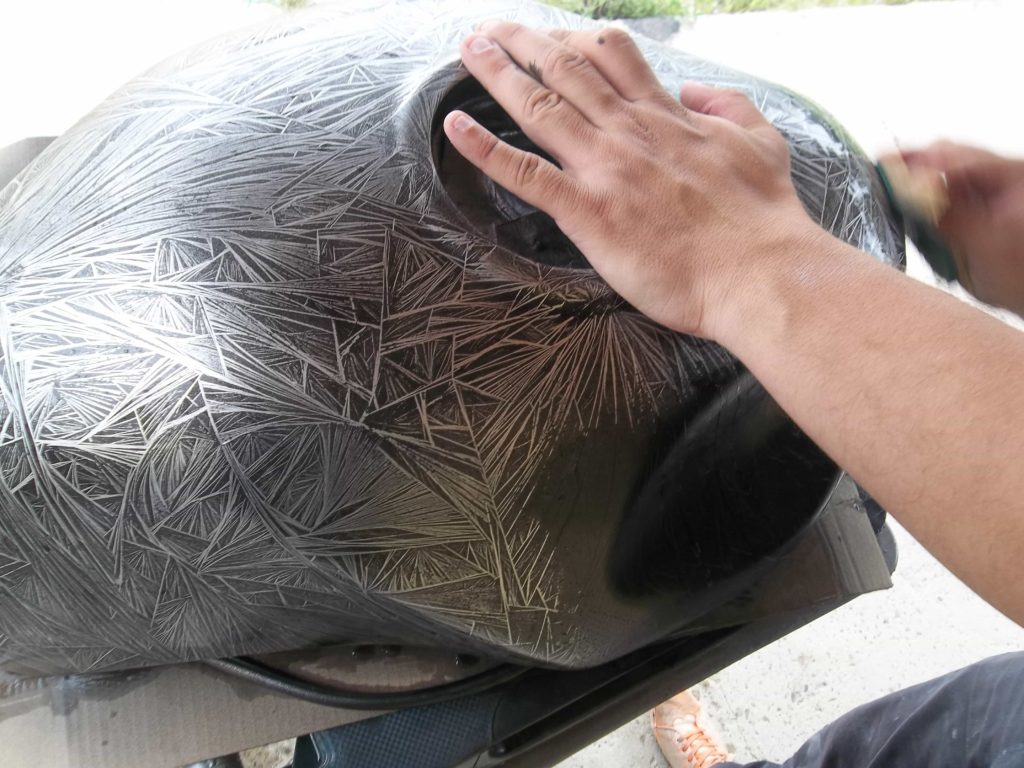 Shading
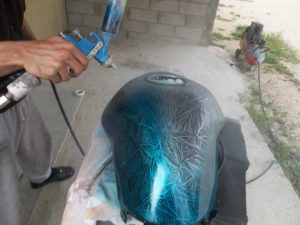 Coloring and clearcoat
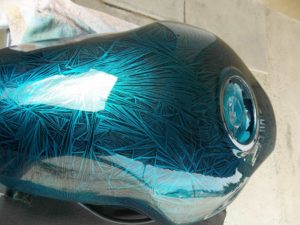

 There is a
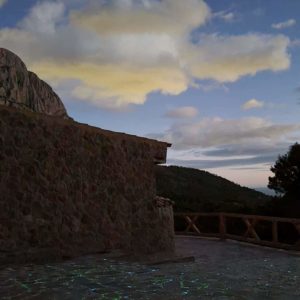
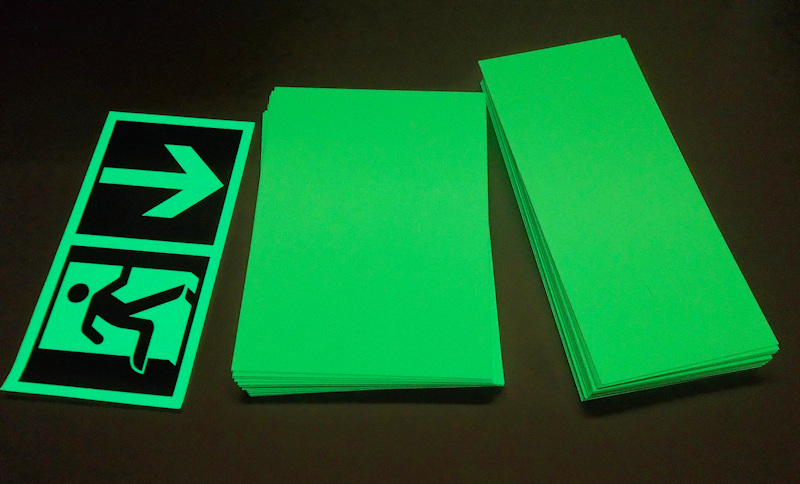 In establishments open to the public, such as gymnasiums, museums, hotels, ships but also in certain factories, it is required to install a Photoluminescent PVC evacuation plan in order to guide the occupants towards the exits in case of emergency and especially in the event of lighting cuts.
 The different mediums
 The costs
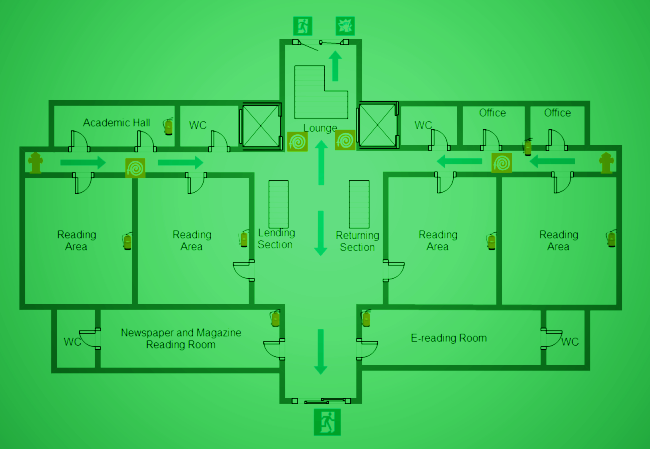 In addition to the price, which logically varies according to the size of the plan, there are also different costs for the material of the support :
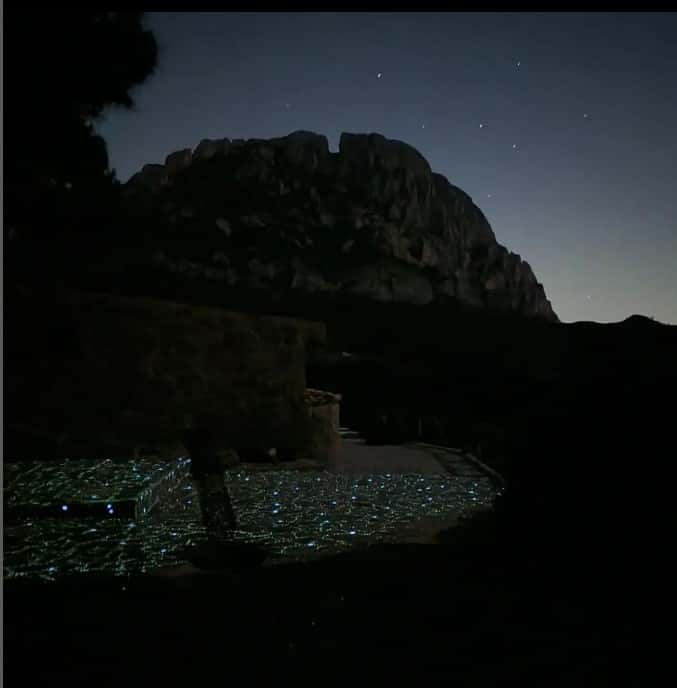 It’s very easy and the achievement is within everyone’s reach.
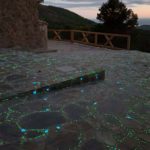 How to set up these phosphorescent stones
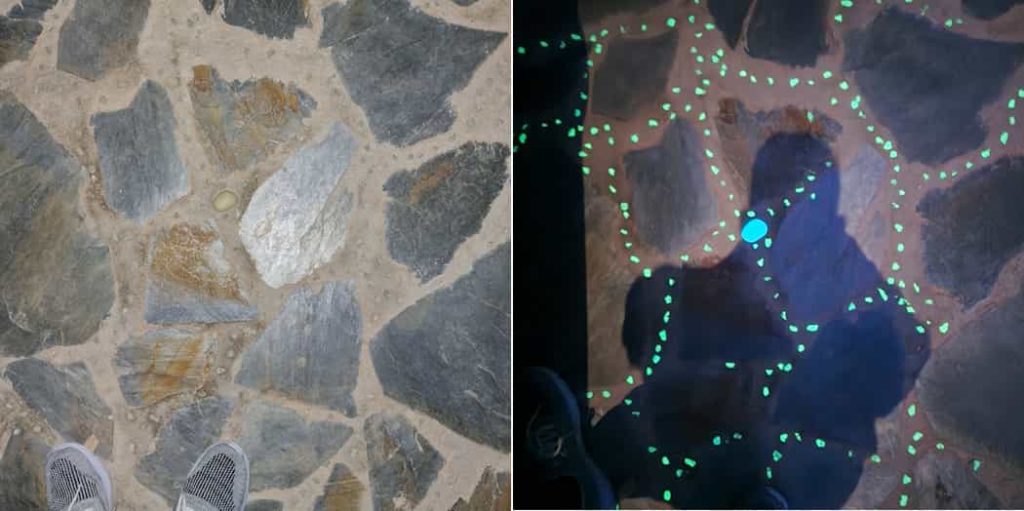 The different performance levels of luminescent gravels and pebbles
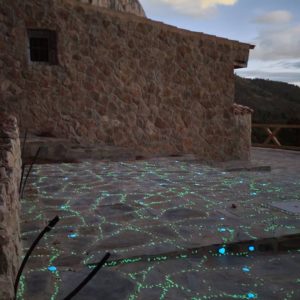 The diurnal or nocturnal aspect
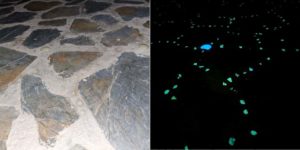

 1. Shocks and bumps
 2/ How to repair a scratch on your car
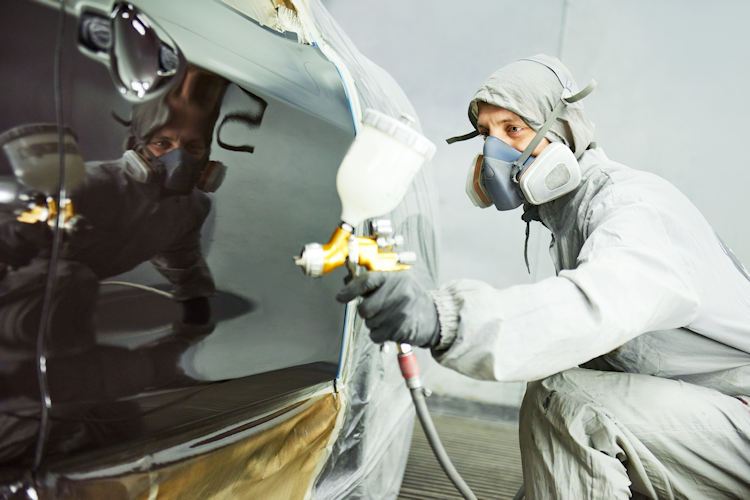
 4/ The painting
 A/ Bi-Coat 1C paint
 B/ 2C Direct Gloss Lacquer
 5/ Varnishing
 Mixtures
 Pot life
 Drying