METHOD FOR POLISHED-GLOSS FINISH (CORRECTION OF PAINT DEFECTS)

METHOD FOR POLISHED-GLOSS FINISH (CORRECTION OF PAINT DEFECTS)

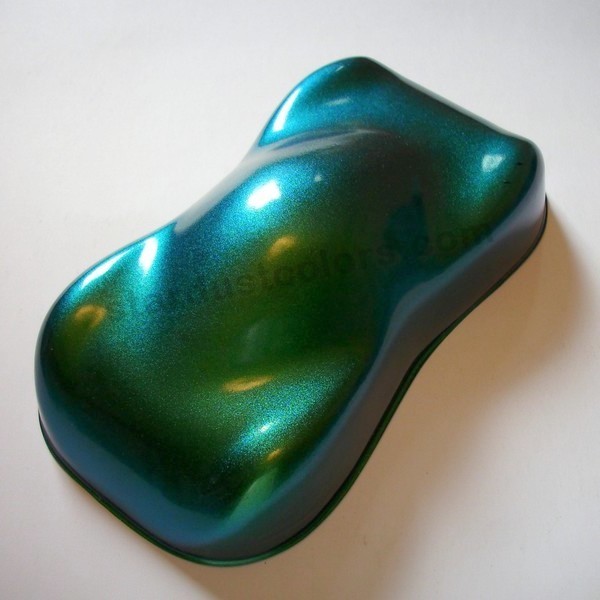
The polished-gloss technique was used originally in the premium automotive industry (LAMBORGHINI, FERRARI, PORSCHE…) to correct paint film defects. This technique is also used in luxury markets (luxury shop signs, yacht interior trim, making of string instruments, wood etc.). Paint application processes in factories are performed by robots. The result is a perfect finish, however there are still tiny surface defects that are visible to the naked eye (orange peel). The polished-gloss technique is not used in the automotive industry for series production, it is reserved for high-end cars and motorcycles. If one wishes to get a polished-gloss paint finish for a car, motorcycle or others, this method can make it possible.
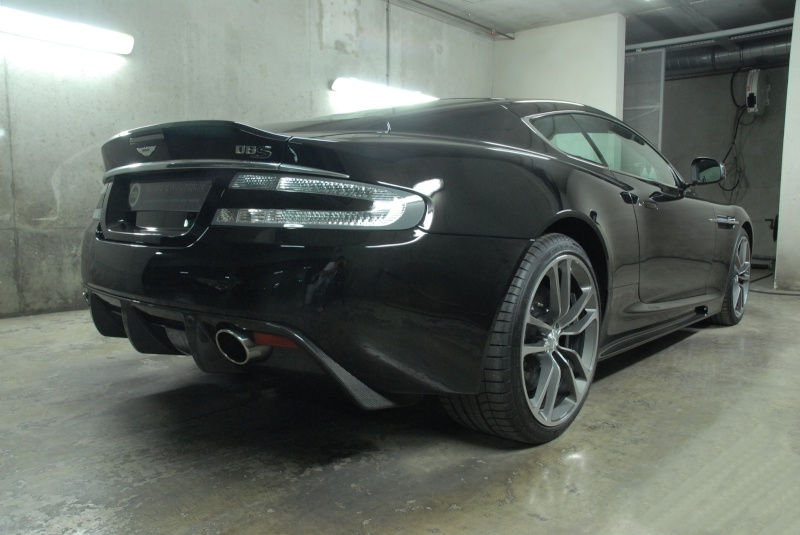
image1

METHOD

Materials needed: orbital sander, polisher, chamois or microfibre cloth, 2000 or 3000 sandpaper used with water, 1500 sandpaper used dry, natural sponge, sprayer, lustre cream, polishing cotton cloth, masking tape.

Sanding:

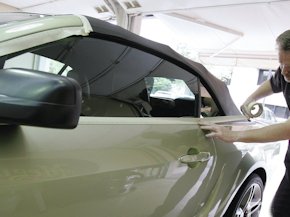
– Start by cleaning the surface to polish using a sprayer filled with clear water and a natural sponge. It’s very important to work on a surface free of dust; dry with a chamois or microfibre cloth. Protect areas that will not be polished with masking tape: seals, door handles, side sills or accessories. Protect also fragile areas subject to paint stripping, edges and sharp angles. Start with the orbital sander using 1500 sandpaper dry, and sand until obtaining a completely matte surface. Blow the surface regularly to avoid dust accumulation on the polishing area if you are equipped with a compressor or use a wipe pad.

– Use the sprayer to wet the mat surface and sand with 2000 sandpaper throughout the area, wiping regularly with a chamois to recover the white paste that forms when sanding, re-wet after wiping, never sand dry at this stage.

– Continue the process of correcting defects with 3000 sandpaper (same method than with 2000 sandpaper). Finally, dry with a slightly damp chamois which is more efficient to capture the clear coat dust residues.

Polishing:

– Apply moderately abrasive lustre cream over the area corrected beforehand, adjust the speed of the polisher to minimum speed (high speed can damage the paint). A good polishing is a low speed buffing without projection and without heating the substrate. Work slowly and steadily, then wipe with the polishing cotton cloth.
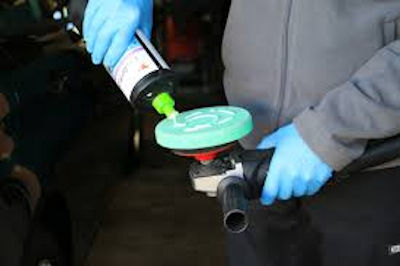
image2

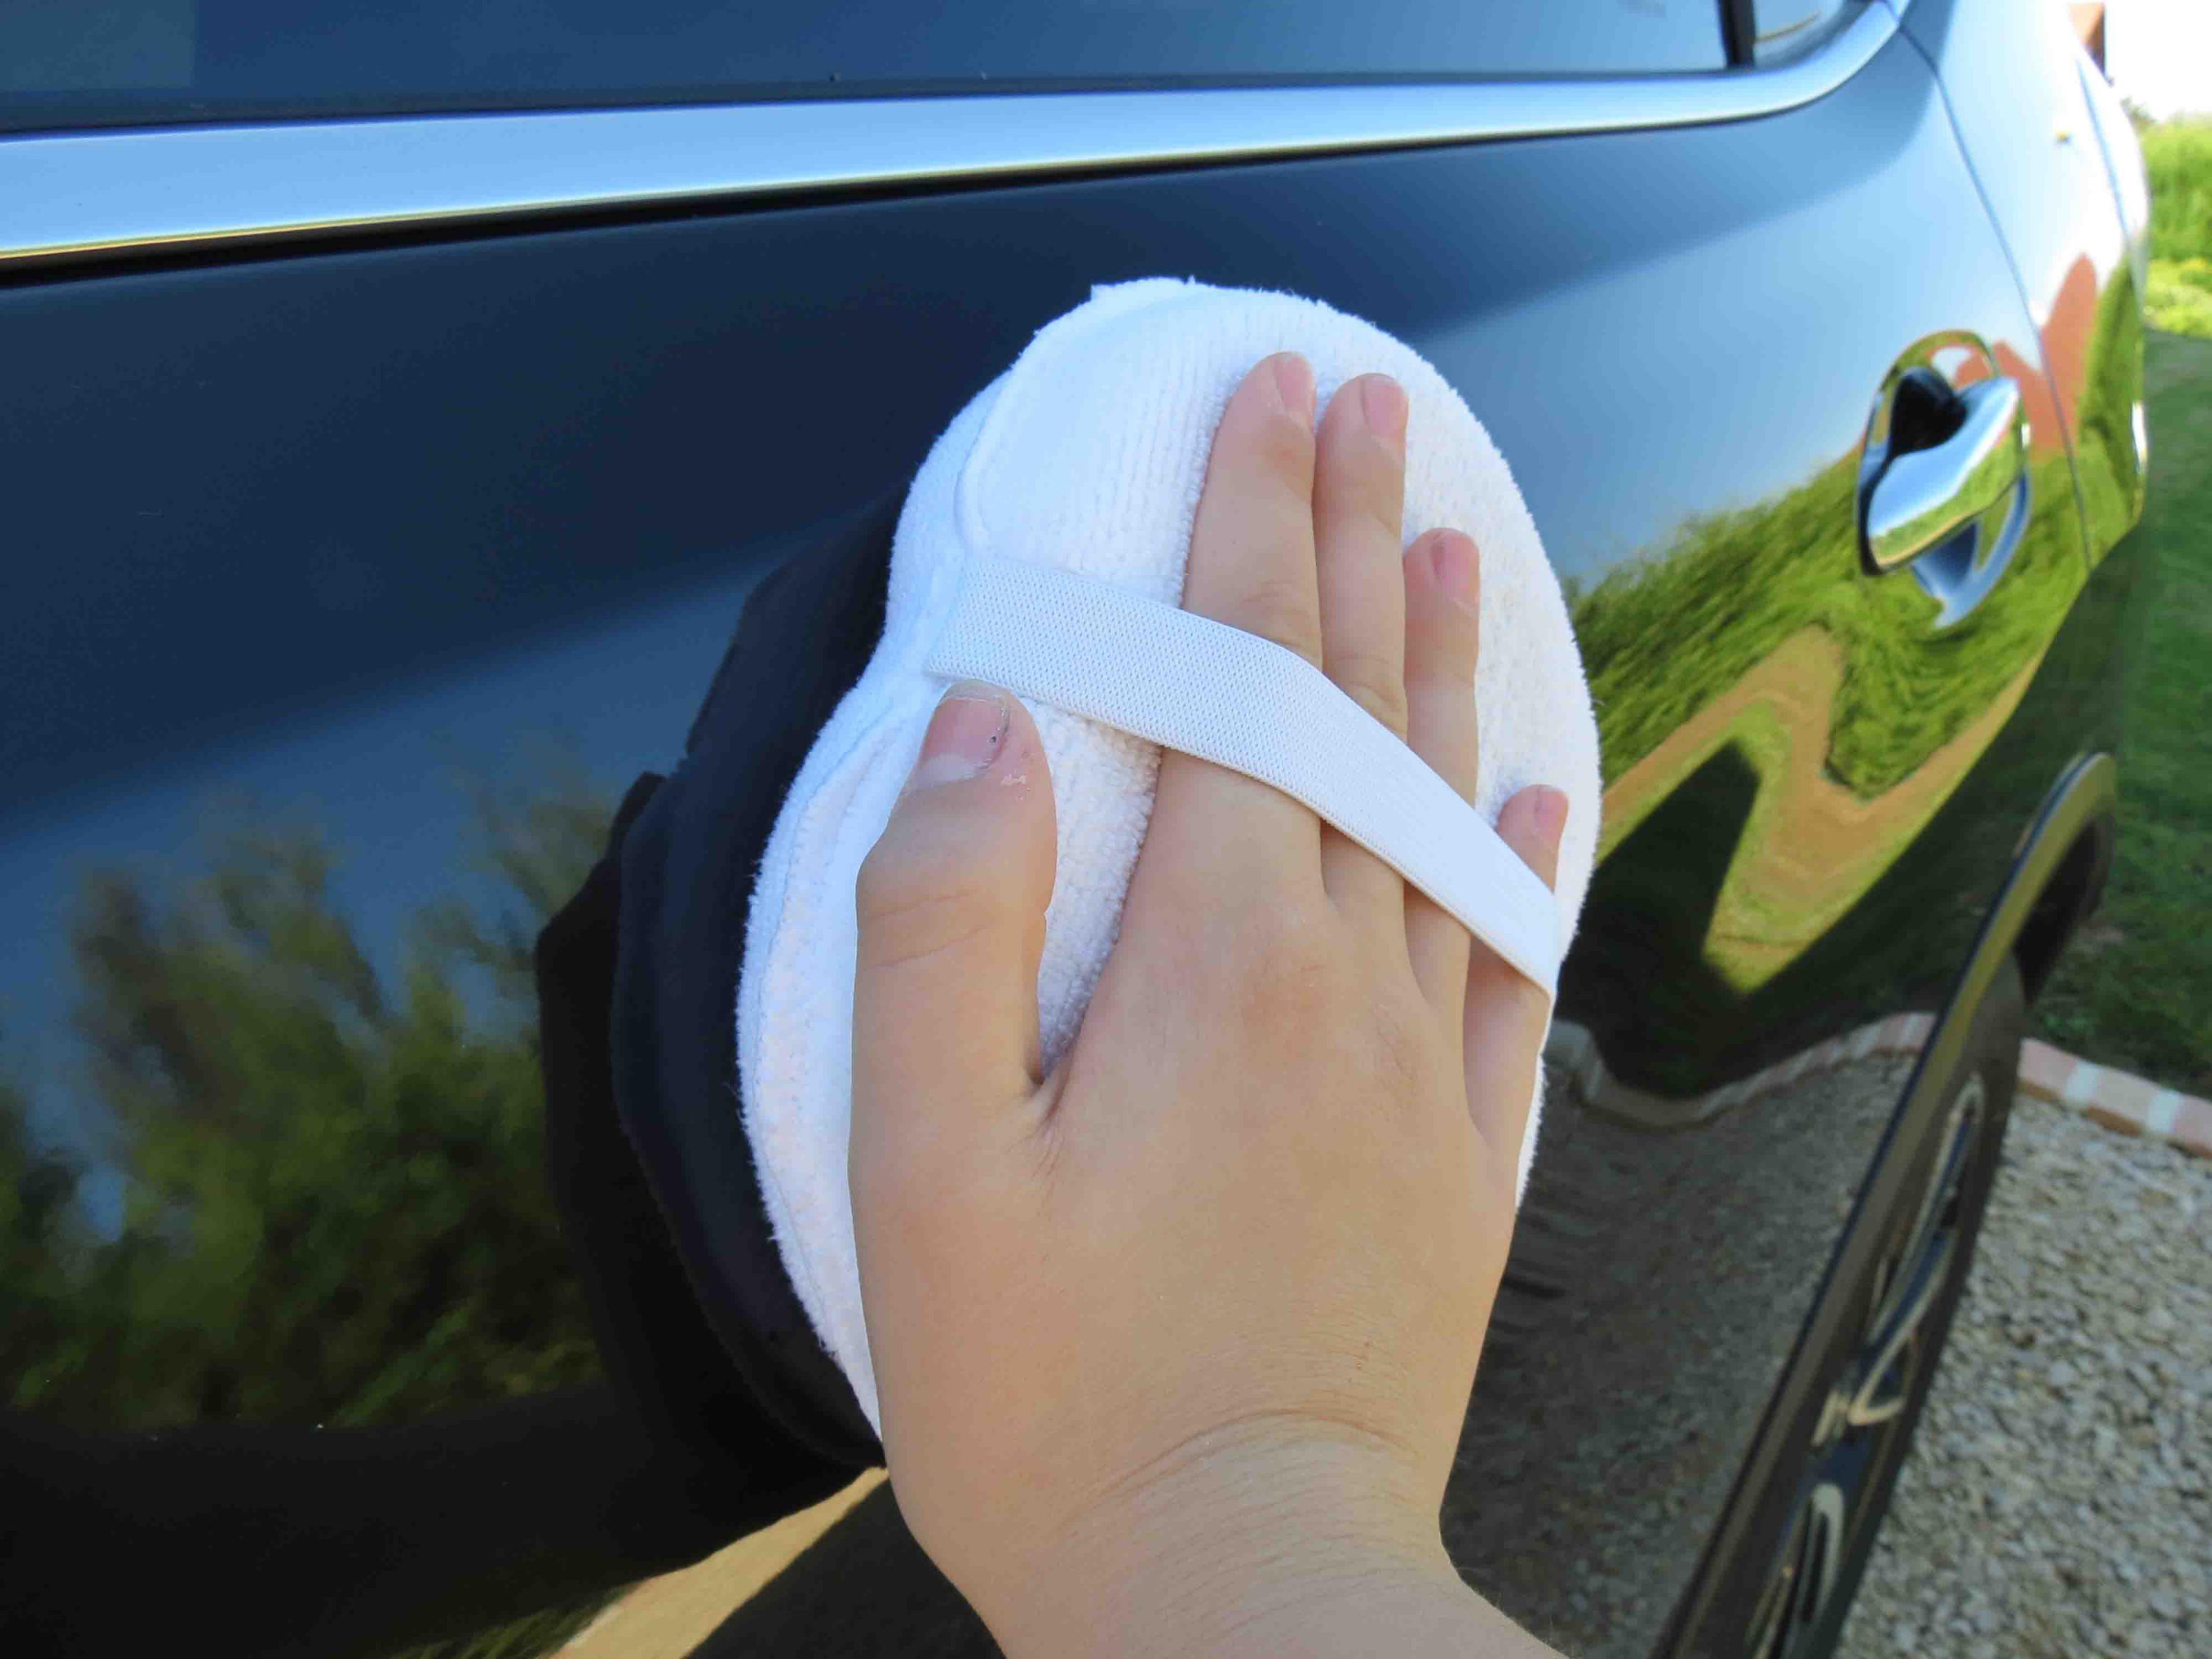
– Continue polishing with a slightly abrasive cream, apply the same method than previously with the mild abrasive polish, wipe with polishing cotton cloth, the final result begins to appear. If there are still scratches, repeat all steps from the 2000 sanding paper. Finally, use an anti-hologram finish lustre cream with polishing cotton cloth. Mirror effect guaranteed!!!
method-1

Note:

-the correction must be performed over a paint film that had been dry for a minimum 1 week for HS or UHS clear coats, for three weeks for MS topcoats and about 10 days for 2K finish-type polyurethane lacquers.

-the moderately abrasive polishing must performed over a small area of 30cm2 MAXIMUM, the cream may dry (do not polish in the sun). Larger areas can be polished (maximum 50cm2) with slightly abrasive cream, it is possible for example to polish a large area at once with an anti hologram polishing liquid: (hood, roof, etc.)
method-2

Special clearcoats, rare and innovative

Special clearcoats, rare and innovative

Stardust Colors, the French company well known for its effect paints,
is again in the news further to the introduction of a range of special effect topcoats,
promising innovations in car body, design, and industry areas.
Listed below are16 special clearcoats, rare and innovative:

Anti-scratch topcoat
High gloss clearcoat with increased resistance to scratching and abrasion

Topcoat for tarpaulins and plastics
Robust 2c clearcoat, glossy and especially ultra flexible (it can bend at an angle of 1800)

Soft touch topcoat
A clearcoat with amazing tactile properties to test it yourself to believe it: the surface is as soft as velvet and it creates a true peach skin effect, with a completely matt appearance.

clearcoats-effet-velour

Coloured topcoat for Celiron metals
Anti corrosion adhesion clearcoat, tinted while remaining perfectly translucent

clearcoats-rare

Crystal interference topcoat
Produces a glossy surface, hard and resistant, with stunning effect of iridescence, in many colours.

clearcoat-crystal

Anti-UV topcoat
A true UV light-blocking clearcoat without yellowing effect

Ceramic topcoat
The famous ultra hard clearcoat. Its secret? It holds micro glass beads in his core.

clearcoats-special

Coloured candy topcoat
Creates translucent colourings with vivid and bright colours

clearcoats-innovative

1c and 2c water-based gloss topcoats
Clearcoats with high hardness and gloss levels, comparable to the best car topcoats
Their advantage? They are water-based and contain almost no solvent

clearcoats-sans-solvants-brillant-et-translucide

Gum effect topcoat
Not to be confused with the soft effect. This tactile effect clearcoat offers a satin like appearance and gives the sensation to touch real rubber

clearcoats-effet-caoutchouc

Topcoat for leather
Clearcoat for decorators and bag, shoe designers. Protects the leather and gives shine

Intumescent topcoat
Clearcoat tested to withstand flames for 30min without igniting

Aerosol topcoat
Its not just a simple spray clearcoat! Its a professional two-component aerosol topcoat, divided into two compartments

Matt or satin clearcoat
2 matifying levels: Satin or ultra matt (0% brightness)

clearcoat-satin

Photoluminescent topcoat
A colourless, semi transparent clearcoat, which glows in the dark

clearcoats-phu2k clearcoats-of-night-phu2k

Invisible fluorescent topcoat for floors
Ultra hard clearcoat, which becomes luminous when exposed to black light

Silvering recipe for sale – The spraychrome technic

Silvering recipe for sale – The spraychrome technic

StardustColors is a recognized manufacturer of Spraychrome system, and Chemical concentrate products to achieve the famous hydro chrome effect.

This stunning technic is based on a quite simple chemical reaction.
Originally it was inspired from the mirror silvering industry, which since hundreds of years, use the reduction of Silver metal over glass, to create perfectly reflective mirrors.

Silvering – Chrome spray paint

Nowadays, there are quite a lot of companies using this process to imitate chrome plated surfaces : They basically use a chrome machine made of stainless tanks, hoses and sprayguns, to spray the waterbased solutions over a substrates (usually a glossy basecoat).
The thin silver film obtained (a few nanometers thick !) looks quite really like real hard chrome (normally obtained with chrome bath – the technic is very efficient, but unfortunately quite expensive and polluant / toxic).

So we can says that the technic is quite interesting, as it give a chrome effect, very easily, without any very toxic and dangerous process, and above all, at a very low cost (less than 40 euros per squaremeters)

More details : Chrome spray paint


How it works ?

Basically it is the reduction of silver nitrate (with a reductor), over a substrate activated with Tin chlorid.
The overall is coated with a blue violet varnish to counter the natural yellowing optical effect of the wet silver.

Chrome recipe :

What we offer is the chemical reaction recipe.
Our offer is reserved to our overseas applicators who own our spraychrome machines, and have difficulties to import our products, due to the Air freight hazards regulations.
This includes all the components to prepare the products, and the exact mixing process.
This is not simply a recipe, this is a result of years of hard work and hundreds of tests, in order to get the best silvering reaction.

2 differents formulas

– with toxic reductor (that is the most common recipe used by most of the famous spraychrome companies )
– without toxic reductor (that is the recipe we use, it is as eficient as the first one. its only disadvantage is the reaction slowness when temperature is under 10-15 °C)
Our activator, Silver and reductor recipe is for “concentrates” . The mixings instructions are simple.
We also can give information about wetting agent and how to tint the clearcoat in order to achieve a perfectly clear chrome.

Of course all these informations are confidential, and have a price.
The raw components of the recipes are quite cheap (except the silver nitrate), they can be found easily on the market.
The owner who has invested in such a recipe is able to work and save a lot of money, and as well, is able to make significant benefits by preparing and selling the products.

To get a price offer for one or both of the silvering recipe, contact us at info@stardustcolors.co.uk

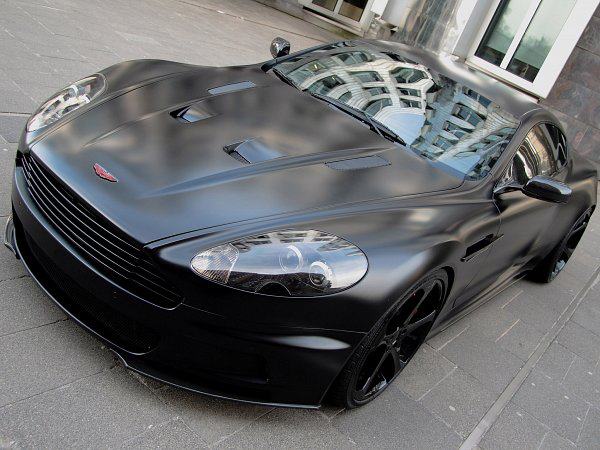
How to create a car body paint with matt or satin finish?

How to create a car body paint with matt or satin finish?

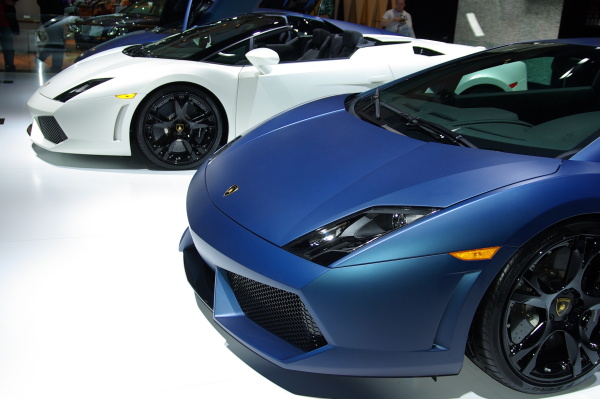
1/ What is the difference between a glossy, satin or matt finish?clearcoat-satin

Well, this is the degree of specular glossiness observed with a 600 angle expressed on a scale of 100%

The glossy topcoats have a wet and very smooth effect, so that they reflect the light.
The satin paints are semi-gloss or semi-matt
while the matt clearcoats must completely absorb the light.

Stardust Colors has designed an ultra matte topcoat, approaching a gloss level close to 0%

clearcoat


2/ Paint a car body with matt paint

There are two ways to achieve this:

clearcoat-matt


Use a paint with a matt finish:

It saves time and is convenient as it avoids the need for two paint passes (basic and topcoat)
The disadvantage is that the choice of colours is limited.
StardustColors offers a white and a black ultra matt product with peach skin effect.


satin

Or choose the option of matt topcoat:
The great advantage is that it can be applied over any colour, to give it a matt effect.

Among these matt clearcoats, are included satin lacquer (semi-matt) such as BS820, which are very easy to use, and give very elegant and original effects.

3/ Application instructions

Whether working with BS820 satin topcoat or MAT Extrem topcoat, it is important to respect the recommended dosages of mixtures:
BS820: 100 parts + 33 parts hardener / no thinning
MAT EXTREM: 100 parts + 20 parts hardener / thinning at 15%

One or more passes can be applied.
In all cases, it is only after total evaporation of the solvents that the matifying is obtained.

4/ Tips!

Avoid scratches on matt clearcoats, which are more sensitive to scratches.
Except for the Mat Extrem topcoat which is particularly resistant.
A good reference for quality: It is used to paint the handles of Tefal pans.

Over pearl or metallic car body paints, one should only use glossy or satin topcoats.
Do not use Mat Extrem clearcoat.

Is there a phosphorescent paint for textiles?

Is there a phosphorescent paint for textiles?

It is possible to create for example a custom T-shirt with a phosphorescent pattern which appears only in darkness!
Provided to choose the right product:

impression-sur-t-shirt-en-phospho-uk


Among our different ranges of phosphorescent paints or inks,

some are ideal because they are indeed made with water-based resins used in printing of textiles;
these are our water-based paints
– Aero1K
– Moonglo

encre-de-serigraphie-photoluminescente-uk


The Aero1K is a high quality water-based paint, very flexible, waterproof, with a low viscosity. It is very liquid and should be sprayed.

The Moonglo paint is an ink for textile screen printing, for printing on fabric by hand. It is thick and is ideal for
spreading over the screen with a squeegee, then pushed through the mesh of the screen over which you have set up first the stencilling project.

serigraphie-a-l-main-uk


paint-for-textiles


Aerosols are also suitable
as they create a film with good flexibility, and provide good durability during machine wash

Moreover, we can manufacture ultra flexible (at 1800) and ultra resistant (Cel-Glow two-component paint) paints
This paint is produced only on special order with a minimum of 1.3kg

Both inks/paints are colourless. They give a phosphorescent effect only over a light background. Over a red or black background for example, the effect will be close to zero.
We propose 8 various phosphorescent colours on the webshop phosphorescent.fr

encre-lumiescente-pour-t-shirt-uk


Phosphorescent paints require a certain number of passes or a certain thickness to give good gloss; indeed, the thicker the dry film is, the more the phosphorescent paint will glow brightly and for a long time.
Note: if the film is too thick, it has a stiffening effect.

Are the colours resistant to the washing machine?

Everything depends on the number of cycles, the washing temperature and the detergents used.
Here is what we can estimate:
Moonglo: 10/20 cycles with baking
Aero1k: 25 cycles
Aerosol: 25 cycles
Cel-Glow: 100 cycles

t-shirt-phosphorescent-uk


Find more photoluminescent products and more information on our website: https://www.phosphorescentpaint.co.uk/

How to topcoat or paint chrome or metal

How to topcoat or paint chrome or metal

Discover our special clearcoat for metals !

This topcoat serves as a adhesion primer and corrosion protection.
Its the only clearcoat that can be applied directly over all metals (silver, zinc, aluminum, steel, galvanized..)
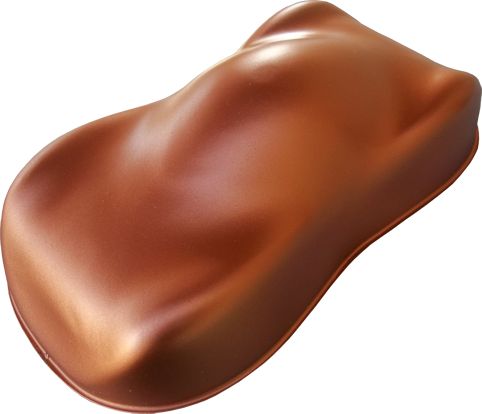
This clearcoat allows to achieve very interesting effects for colouring metals, still keeping the aspect and the grain of the metal, but adding gloss and a colourful depth.

chrome paint

The Celiron topcoat (that’s his name) comes in 14 translucent colours, and also in others
*One can even apply topcoat over chrome and give it colour: To achieve this, read our paragraph below

—————————————————————————

Painting on metal when its bare, yes, it may seem easy!
but the question we should ask is: Will the paint adhere?

The answer is no, because metals are not a substrate that allows the penetration of paints or clearcoats; there is no adherence.
In addition, the ferrous metals inevitably become rusty by oxidation.

For these two reasons, it is necessary to use an anti-rust adhesion primer.
These products contain silanes or phosphating agents (these are known as very effective “Wash Primer”) that interact with the metal surface,
by chemically transforming it (interatomic bonds), and create the adhesion strength.

Such problems do not occur over a painted metal : in this case, you only have to slightly deglaze then paint directly!

Basecoat all support

Some chrome paints are specially made to cover directly the metals and play their anti corrosion role.

Identify the type of metal!
It is very difficult to create adherence on-ferrous metals:
alloys, zinc, aluminum, and especially chromium

How to paint over chrome?

This question is regularly put to us.
“Hard chrome” is an extremely tough and impenetrable surface. Needless to say it is very difficult to guarantee an adhesion on this type of surface.
However, Stardust Colors proposes a solution which consists of two processing steps:
– use Derinoxalu, an acidic product that will prepare the substrate, by “opening” it (apply, let stand, rinse and dry)
– apply a high performance primer such as our 714 or 294 zinc-chrome-alu primer
These two special products are available in various packagings here.

https://www.stardustcolors.co.uk/primer-for-car/1068-pickling-for-non-ferrous-metal-500ml.html

https://www.stardustcolors.co.uk/primer-for-car/120-primer-for-aluminium.html

red chrome rose chrome blue chrome chrome paint with blue candy green chrome

Fluorescent paint for bodywork

Fluorescent paint for bodywork

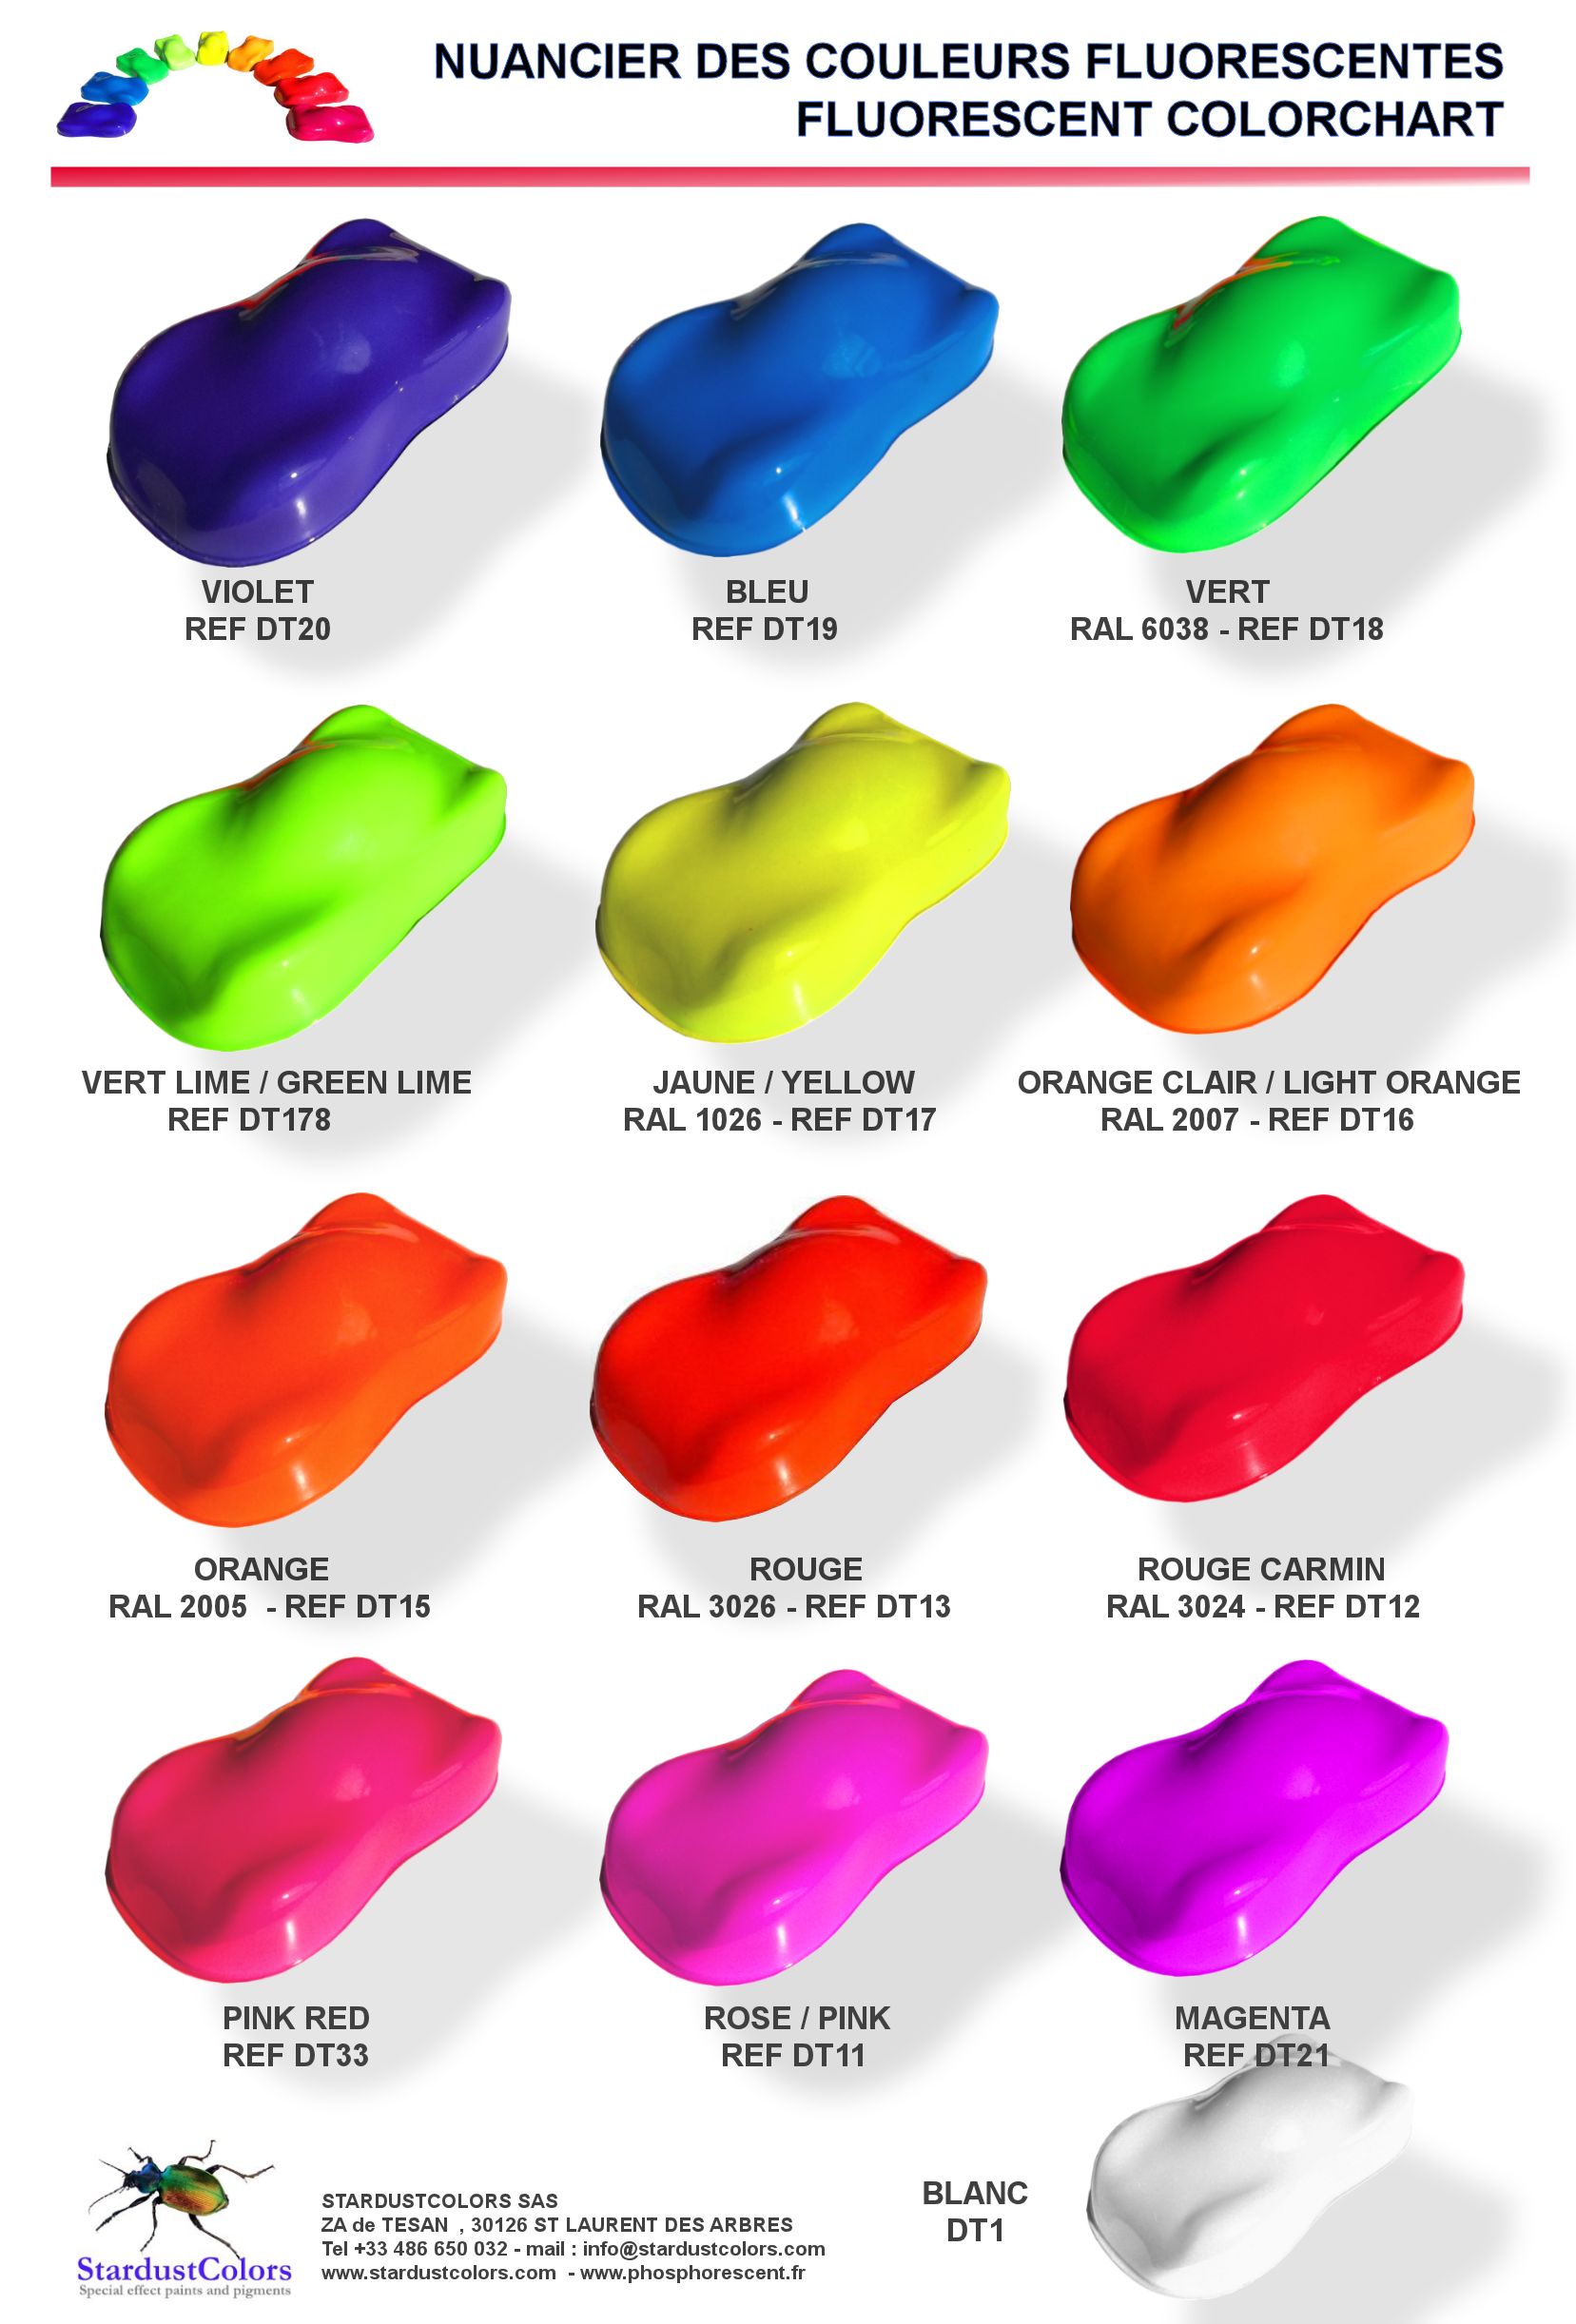
StardustColors is a company based in Saint Laurent des Arbres (30126) and produces a range of 13 fluorescent colours,
including for example RAL colours such as GREEN 6038, red 3024 or 3026.

Fluorescent paint for car and bike

The paints do not go unnoticed!

These paints are intended for auto-moto bodywork. They are solvent-based (mono component base to topcoat).
Their fluid texture allows easy application. They are applied only over a white base, as they are slightly transparent and have a low opacifying power.

During the application (use only a spray gun), colour appears as the layers are applied: the colour is very intense and flashy, like no other paint!
A clear coat for bodywork or the StardustColors anti-UV topcoat can then be applied.

Durability of colours:

FLUORESCENT COLORCHART 2014
UV rays burn fluorescent surfaces: if exposed for too long to the sun, fluorescent colours turn white.
It is inevitable, whatever the topcoat used.
Of course, the paint will not fade while you are driving your fluorescent-painted bike!

What is the best way to protect the colours and extend their lifetime?
– Park your vehicle protected from direct sunlight. Avoid unnecessary parked car in the sun: this is the first thing to do.
– Apply a large thickness of anti-UV clear coat
– And above all, apply a maximum thickness of fluorescent paint coats: the more layers, the brighter the colour and for longer.

fluorescents paints

How to create a phosphorescent table

How to create a phosphorescent table

Do you want to make a table with phosphorescent embedded veins?

This is a simple operation and can easily be carried out on a variety of substrates:

1/ Preparation:
Select a healthy, clean, dusted and sanded substrate.
Sanding is the most important element, regardless of the material being worked on, to ensure good adhesion of the resins.

Table phosphorescente (5)2/ Purchasing photoluminescent pigments.

Table phosphorescente (2)These powders can glow in the dark.
They are found in various grades and colours: All colours don’t glow with the same intensity! We must therefore give priority to the most powerful colours (green or green/blue)

Pay attention to quality! Avoid purchasing cheap phosphorescent pigments as they are less brighter and their glow won’t last!
You can find the best photoluminescent pigments at phosphorescent.Fr (some of their pigments can glow more than 3 days!!!)

3/ Selecting a binder
Always use a transparent material capable of letting in and out the light!
You can choose a silicon, a resin, a binder or a topcoat…
A solvent-based or water-based version can also be used.Table phosphorescente (4)
(The company Arco Iris offers photoluminescent waterproof pigments compatible with water-based resins!)
It’s important to select a thick, viscous and fast drying resin!

4/ The mixture
It’s really easy to mix: as in baking, add the powder in the resin, then stir until to obtain a perfect dispersion.
Once mixed, the phosphorescent pigments are protected and can operate for decades.

5/ The phosphorescent table
Here is the final step, which mainly consists in filling the veins with your phosphorescent resin, by pouring then scraping the material with a squeegee.

Table phosphorescente (7)

Once the table has been exposed to sunlight to fully absorb the light energy, the photoluminescence can be observed during a full night!!!

Table phosphorescente (3)  Table phosphorescente (9)  Table phosphorescente (6)  Table phosphorescente (1)

The magical colour effects of the insect world

The magical colour effects of the insect world

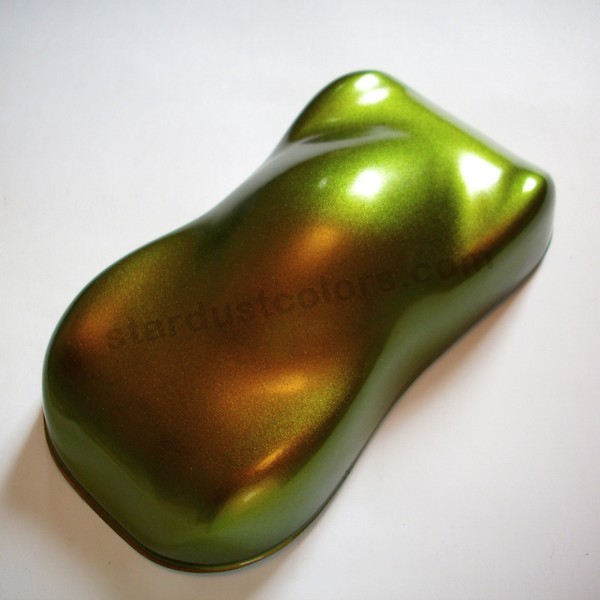
Scarab beetle iridescent colours

Scarab iridescence is due to the fact that its shell is composed of several layers of chitin (main component of the shell) in helical structure. Each layer gives a specific color depending on the distance travelled by light. The copper, gold or silver colour of  beetles depends on the number of layers and on the distance of the reflected light between the various layers. Their shell reflects light, providing beautiful iridescent, glossy and metallic colours.

Fireflies and bioluminescent deep sea fish

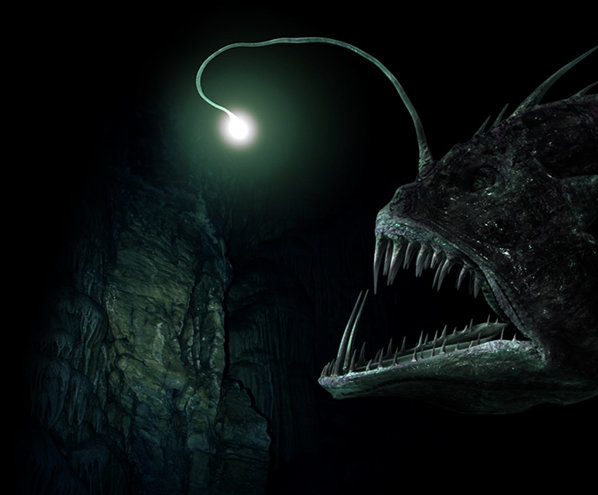
The light produced by these animals is called bioluminescence. It’s the result of the biochemical reaction between luciferin and luciferase, which generates a photon. For deep sea fishes, this light allows them to communicate, enable mates to come close, attract their preys or to light the ocean for hunting. Fireflies use that light to communicate with potential mates. Their organism produces a glow located at the abdomen level and that flashes on and off.

 Fluorescent scorpion

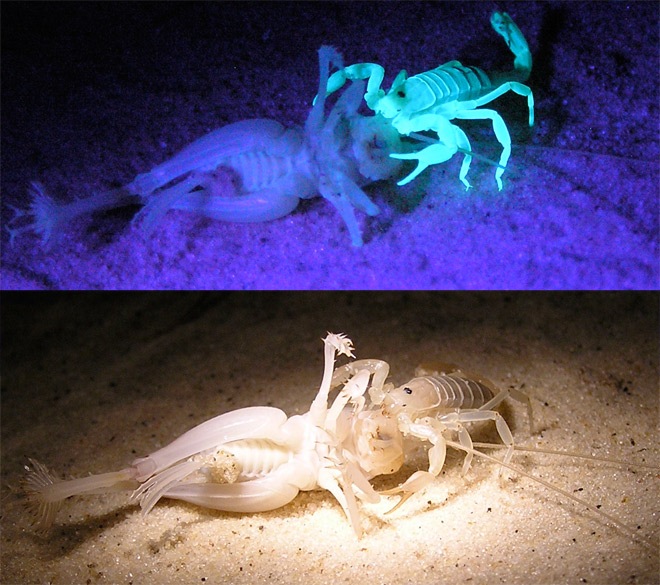
Scorpions have the particularity of being fluorescent under black light. Fluorescence occurs when some materials or surfaces are hit by light and they re-emit this energy as visible light. Scorpion fluorescence is due to the presence of chemicals contained in the cuticle of their exoskeleton. Thanks to these fluorescent substances in its durable but flexible carapace, the scorpion can emit a green glow when it’s submitted to a special light called “black light”. This property is called fluorescence.

 Duck bright coloured plumage

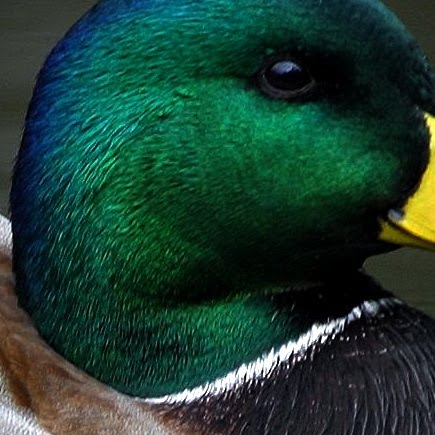
The feathers have two types of pigments, melanins (black) and carotenoids (yellow to red). Colours appear when the light hits the duck feather and comes into contact with particles of black melanin, which reflect only the blue component of light (black melanin absorbs the rest preventing reflection). At a certain angle and depending on the light meeting with yellow pigments that can distinguish a wide variety of colurs, feathers will be blue, green or black.

How to paint a car ?

How to paint a car ?

car paint


The painter will need first to be equipped with a spray gun and a compressor.

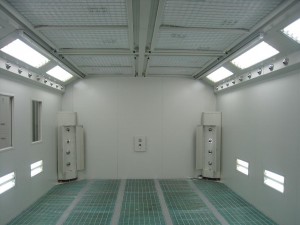
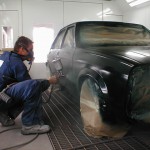
To achieve quality work, we will try to rent a paint booth from the body work painter down the street, if he agrees (count around 100 euros for the morning). If you wish to apply car paint without a spray booth, bear in mind to wet the floor, walls and around the area to capture a maximum of dust.

car paint                            car paint

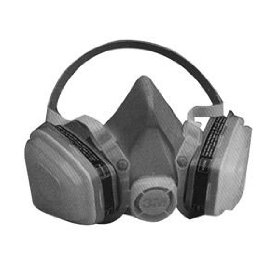
To prevent any paint deposition and vapour emissions from aerosols, keep a minimum flow of air. When using automotive paint, comply with all safety procedures and wear a respiratory mask with a type A filter, gloves and protective clothing.


Apply car paint


Preparation

car paint


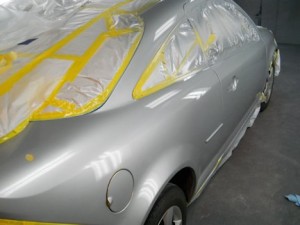
Sand lightly the car painting with abrasive paper type 800. If the old paint is sound, there is indeed no need to remove the paint from the car, and no priming is necessary. Only plastic or bare-metal parts should receive an adhesion primer. We will then dust the complete body work and degrease it from any potential invisible contaminants such as grease stains, silicones, fingerprints, etc. First protect and mask/cover all the parts that need no painting: windows, rubber joints, wheels … The car is ready to be painted!


car paintPainting

There are usually no compatibility problems with automotive paints, whether they are water or solvent-based, polyurethane or acrylic paints. These are usually single-component paints – ie without hardener – other than the top coat, which is always accompanied by a hardener. Painting is done with a spray gun, respecting each step in the correct order, strictly observing proportions and mixing instructions, proper temperature and drying time. The so-called “1K” automotive paints are applied in thin coats.

The “wet on wet” painting technique will prevent any “adhesion issue”, and paint coatings are followed immediately by clear coats, especially when it comes to solvent-based paints as they dry faster.


car paintTopcoating

The final step is used to protect but also to enhance the overall appearance of the body work. Topcoating is the most difficult step:

A successful clear coating should present a smooth, lacquered and glossy appearance. After having prepared the top coat-hardener mixture, this latter must be applied in the following half hour. An automotive clear coat is usually applied in 2 wet and successive passes. The rule is simple: If the coats are too dry, you will obtain less gloss, whereas if the passes are too thick, there is risk of sagging.

Good luck! Note: In case of drips, you can repair without difficulty the damages by waiting 24h, then sand the default. Then if you do not want to clear coat again the entire piece, you can restore the gloss by finishing with a 2000 or 3000 grit paper and then polish.