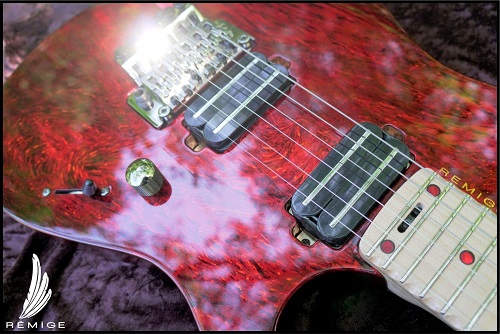
“Magma” guitar made with Marblizer and Candy Red paint
Here is a paint job done by the artisan luthier Remige Lutherie.


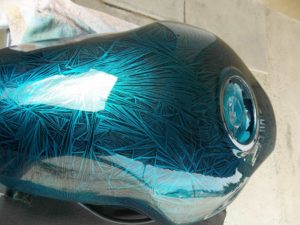
The Special effect chosen is the marbled effect “Marblizer” which is a relatively simple paint to apply and which gives an impressive visual effect. Its optical effect of depth is amplified when applying a colored varnish “Candy” to its surface
We invite you to discover all the stages of the work carried out with brillo by Remige Design in its video below.
Like every week, we have the pleasure of presenting to you, through an interview, a talented applicator who uses a special effect paint on a particular support.
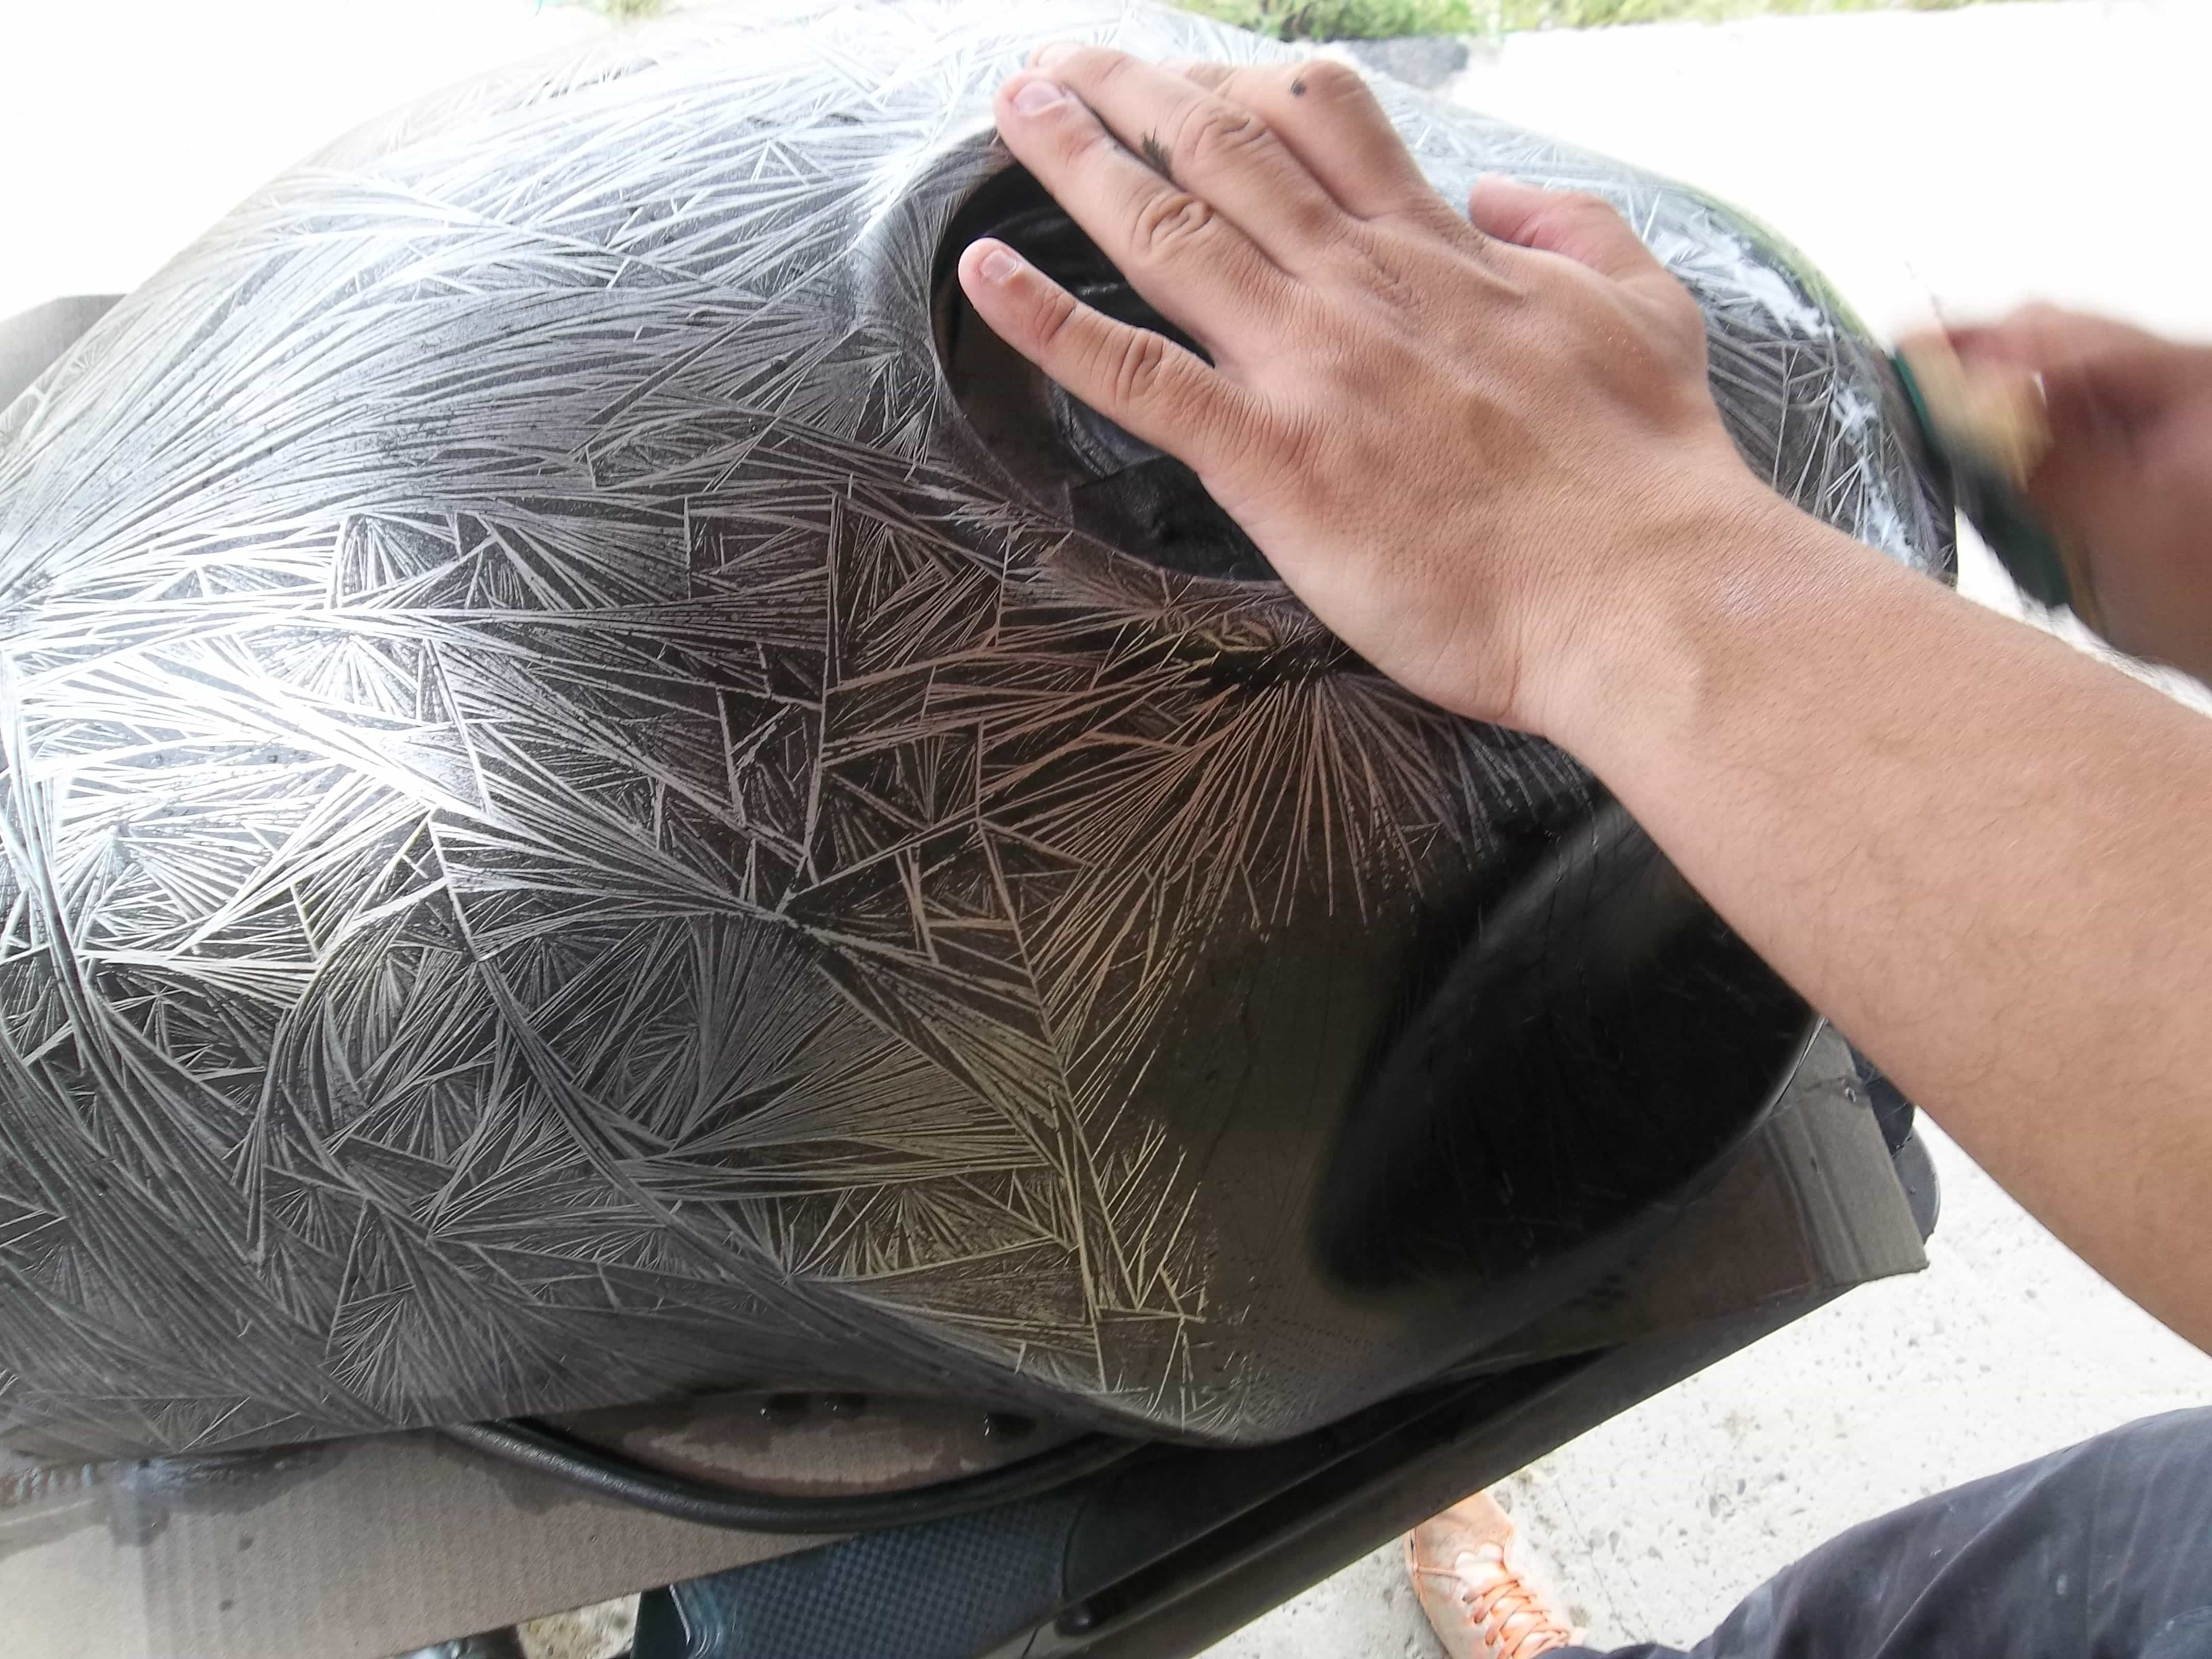
Applying the Marblizer
It is a manual application which is carried out with a sheet of cellophane which is dropped on the surface freshly covered with a thick layer of products. The plastic sheet can be removed and reapplied several times within the 30 second time interval after applying the marble effect, in order to modify and cross the patterns, or to remove material.
The product has a silver appearance and gives maximum contrast with the black background: the silver particles reflect the light, while the black background catches the light.
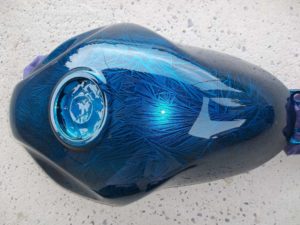
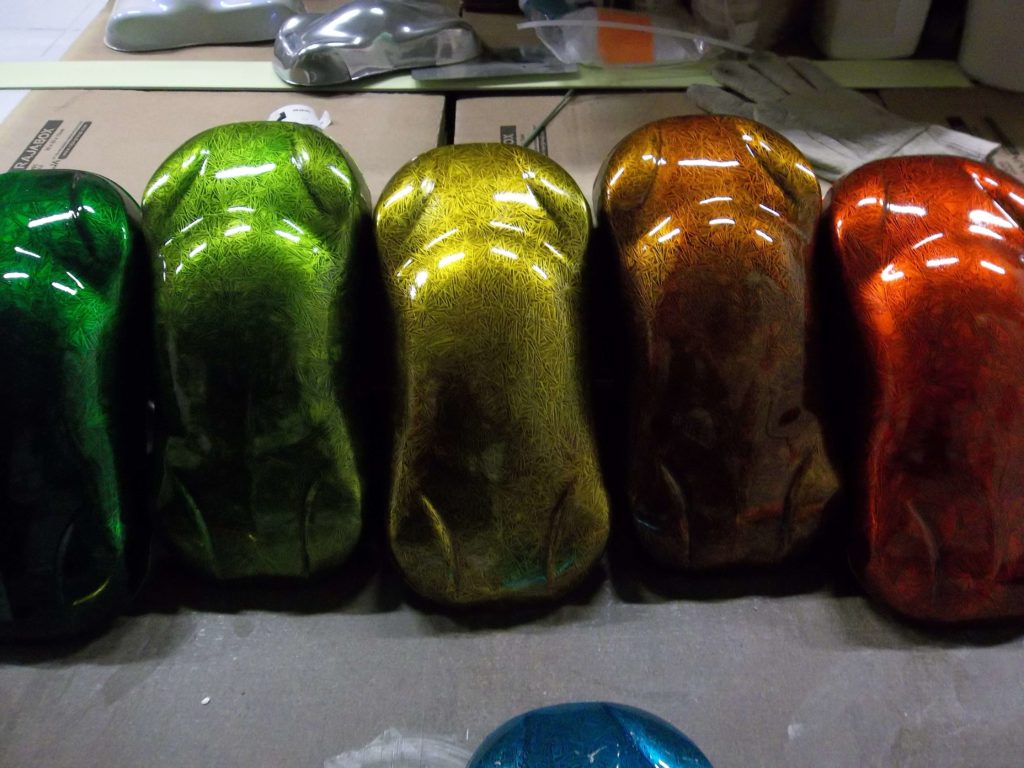
Applying Candy varnish
With a choice of twenty Candy colors available in the range of Candy Stardust paints, it is possible to color the Marblizer effect in any shade. In general, 3 coats are necessary to obtain intense color and a significant depth effect. If more layers are applied, the damage will continue to darken until it reaches a transparent black color.
Interview and presentation with Remige Lutherie
How many years have you been working as a luthier professionally? What is the name of your brand?
I have been operating since 2016 under the name Rémige Design/Lutherie.
Do you make instruments entirely? from A to Z ?
Yes it’s even my main activity, I work with clients on demand, no project is really alike!
What type of string instruments do you make?
I make electric and acoustic guitars and electric and acoustic basses.
About your customization work on a Guitar with Marblizer effects? What difficulties have you encountered? and what are some tips and advice that you can share with those who would like to try the “Marblizer candy” technique on their guitar?
I first had to discover the product that I didn’t know at all, I had to understand how to use it and what it allowed to do, it dries very quickly it’s not easy to do exactly the desired patterns before the latter freezes, it is also necessary to open the flow of the gun to avoid having only dry extracts which dry even faster.
How did you achieve this special finish on this Morphée Guitar?
Here it is a poplar burl table (a kind of tumor that grows on a tree) tinted with colored inks then varnished, the pattern of the wood being already very spectacular at the start, it takes little to create an exceptional finish
How many instruments leave your workshop each month?
I would rather say each year, an instrument takes on average 3 months to manufacture, it’s around 2/3 instruments per year, obviously these are unique and exceptional works.
Can we have an idea of price for a personalized instrument?
It’s very variable, there isn’t really an upper limit, the higher the range the materials and the violin making the more the price goes up, we can go from around 2000 euros for a very simple instrument with quality equipment, to 6000/7000 € for an instrument like the AFD which is made of exceptional woods and whose violin making is very complex. Inflation doesn’t help matters by pushing up absolutely all prices…
How do you make yourself known to your customers? Where can we see your physical or online store?
I started by making videos on Youtube, after a while and working hard with drastic quality requirements, people who appreciated my work helped me to make myself known, I then settled on Instagram which is ideal for the visually spectacular aspect of my activity; I am now also trying to establish myself on TikTok and evolve with different media, I always demand an atmosphere of sharing and kindness, my workshop is located in Olargues in Herault (34) and my website remigedesign.fr is for the moment only a means of contacting me because I have no commercial activity but only artisanal.
Instagram : remigelutherie
TikTok : RemigeDee
 The Crystalizer is a completely exotic product among all existing products in the world of decorative paint or bodywork. It allows you to create a surface with patterns of crystals, and when combined with the
 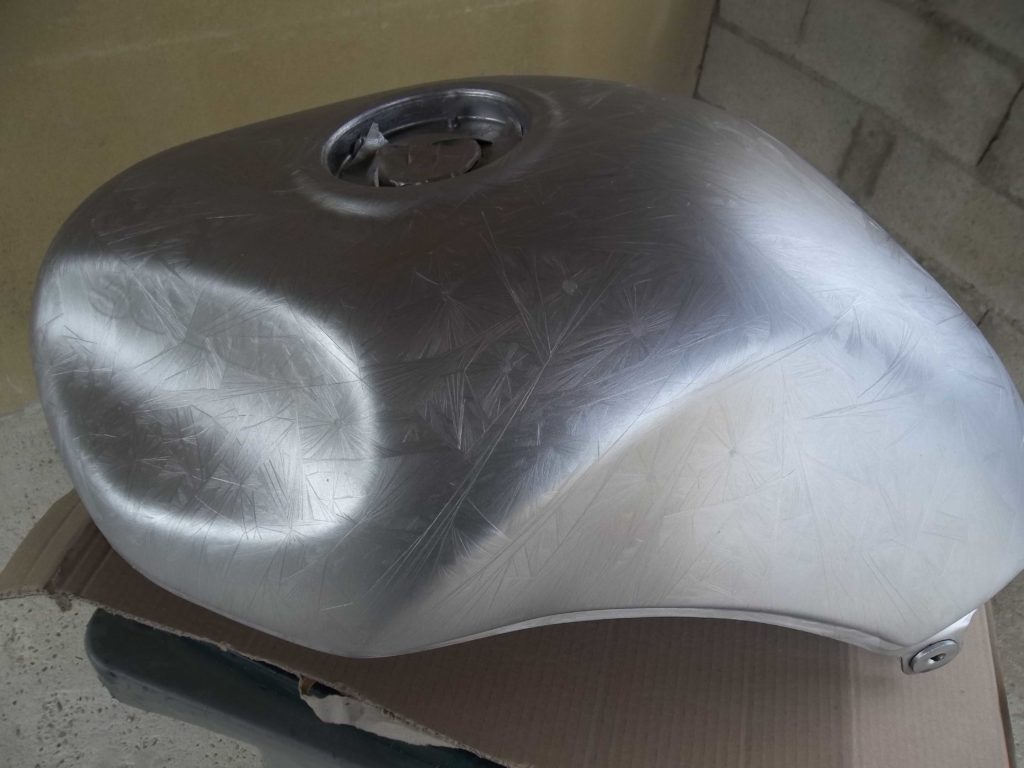 Setup for a Crystalizer effect succeeds
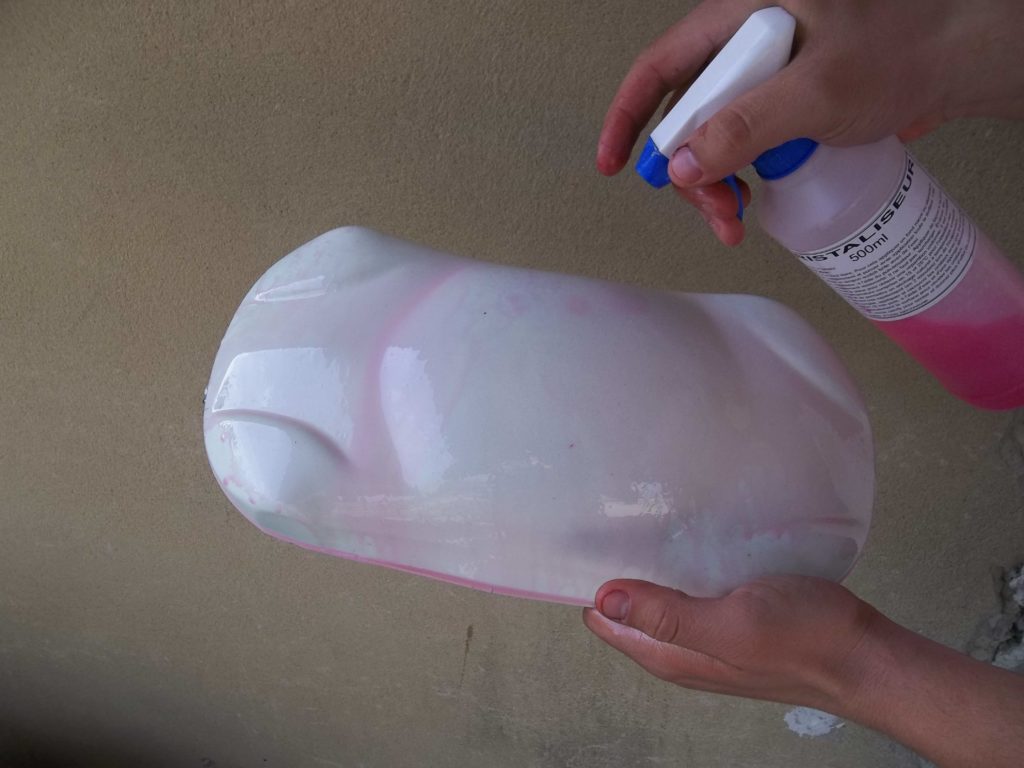 Application and drying
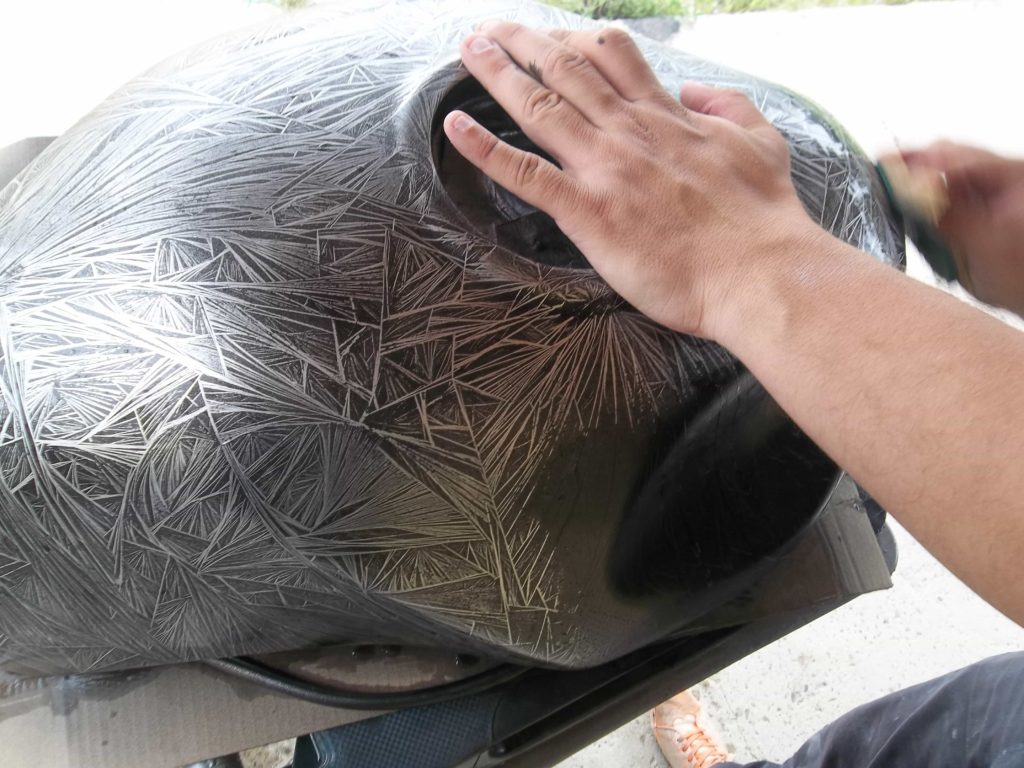 Shading
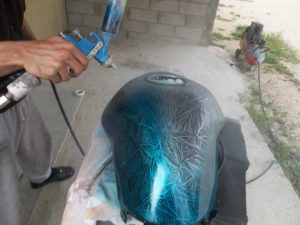 Coloring and clearcoat