How to create a brushed metal effect in paint?
This technique is simple and accessible to everyone.
The following steps should be followed:
When I want to achieve a brushed metallic look, I like to start by working on the background:
On any surface that has been sanded and degreased, I apply a black primer.
This first step will ensure that subsequent coats adhere properly and is ideal for metallic paints.
Once your primer is dry (24 hours), I sand it with P500 dry sandpaper.
At this point, you are free to choose any metallic colour you like, depending on your taste and the colours available!
Anything is possible. For example, you can simulate brushed aluminium using the BC60 Micro Aluminium base, or brushed brass using the BC53 base.
I recommend choosing metallic colours with a fine grain, which will give a realistic metallic appearance.
Then I apply the dye and leave it to dry for at least 30 minutes.
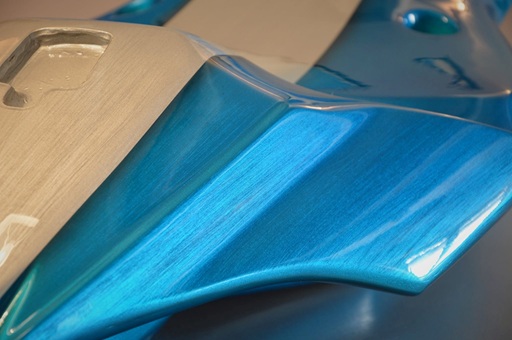
It’s time to create your brushed metal paint effect.
Arm yourself with a medium-grit abrasive fibre.
Personally, I apply this fibre using only the weight of my hand, and by choosing the direction of my brushing, I create the brushing pattern.
Be sure to stick to your chosen brushing direction, with each pass going from edge to edge without stopping ‘in the middle of the piece’.
Do not press too hard, otherwise you risk removing too much metallic colour.
The idea is not to reveal the primer.
You have created ‘streaks’ in your metallic colour. Well done, you have achieved a brushed metal effect.
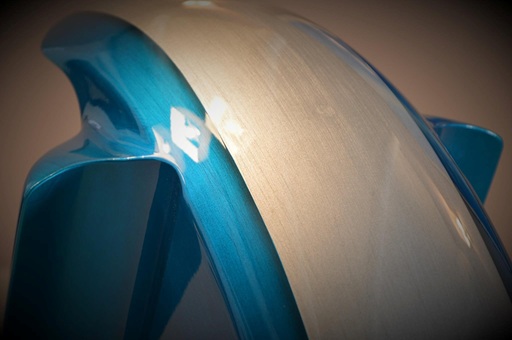
Still to be varnished with 2 options:
- Glossy option: classic and durable.
- Satin option: for an even more authentic ‘raw metal’ look.