


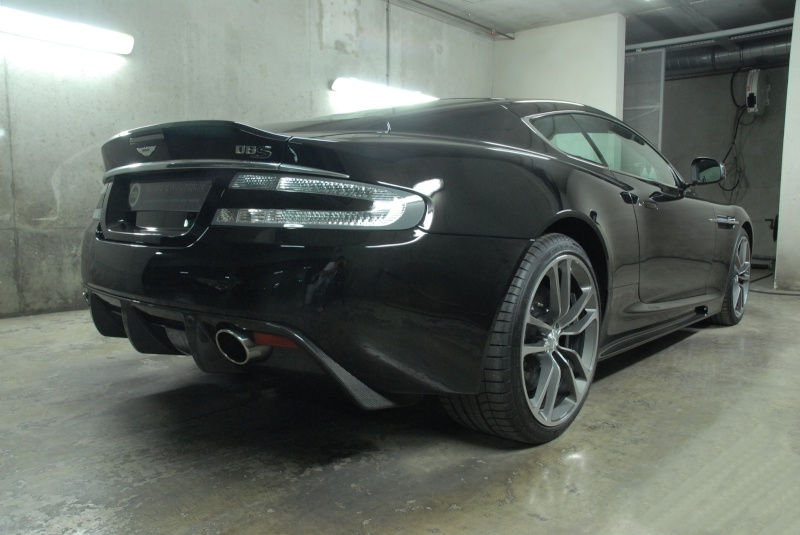
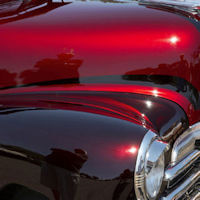
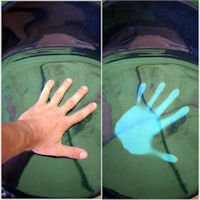
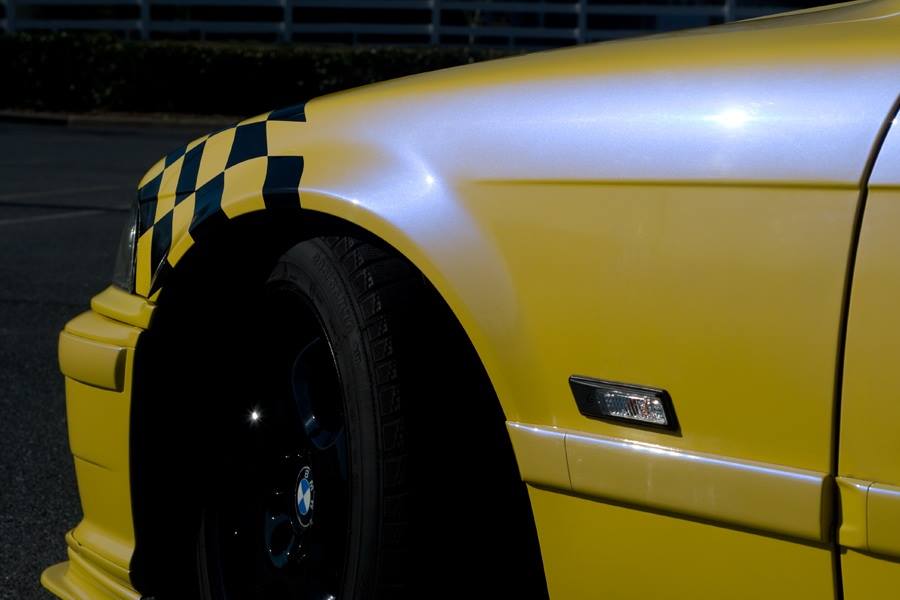
The polished-gloss technique was used originally in the premium automotive industry (LAMBORGHINI, FERRARI, PORSCHE…) to correct paint film defects. This technique is also used in luxury markets (luxury shop signs, yacht interior trim, making of string instruments, wood etc.). Paint application processes in factories are performed by robots. The result is a perfect finish, however there are still tiny surface defects that are visible to the naked eye (orange peel). The polished-gloss technique is not used in the automotive industry for series production, it is reserved for high-end cars and motorcycles. If one wishes to get a polished-gloss paint finish for a car, motorcycle or others, this method can make it possible.
METHOD
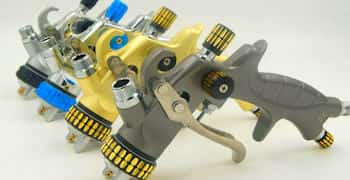
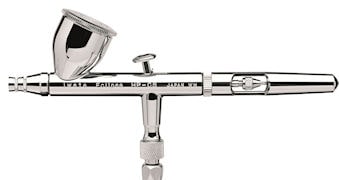
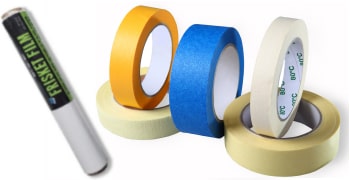
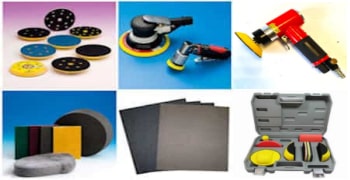
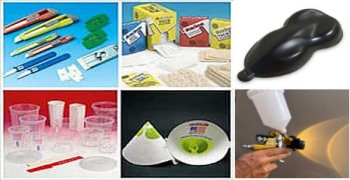
Materials needed: orbital sander, polisher, chamois or microfibre cloth, 2000 or 3000 sandpaper used with water, 1500 sandpaper used dry, natural sponge, sprayer, lustre cream, polishing cotton cloth, masking tape.
Sanding:
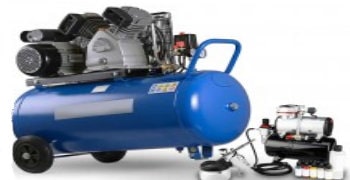
– Start by cleaning the surface to polish using a sprayer filled with clear water and a natural sponge. It’s very important to work on a surface free of dust; dry with a chamois or microfibre cloth. Protect areas that will not be polished with masking tape: seals, door handles, side sills or accessories. Protect also fragile areas subject to paint stripping, edges and sharp angles. Start with the orbital sander using 1500 sandpaper dry, and sand until obtaining a completely matte surface. Blow the surface regularly to avoid dust accumulation on the polishing area if you are equipped with a compressor or use a wipe pad.
– Use the sprayer to wet the mat surface and sand with 2000 sandpaper throughout the area, wiping regularly with a chamois to recover the white paste that forms when sanding, re-wet after wiping, never sand dry at this stage.
– Continue the process of correcting defects with 3000 sandpaper (same method than with 2000 sandpaper). Finally, dry with a slightly damp chamois which is more efficient to capture the clear coat dust residues.
Polishing:
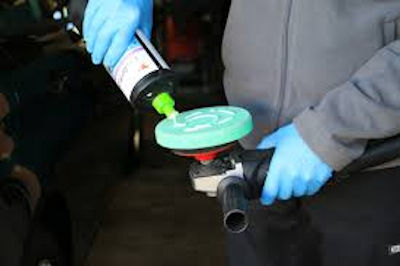
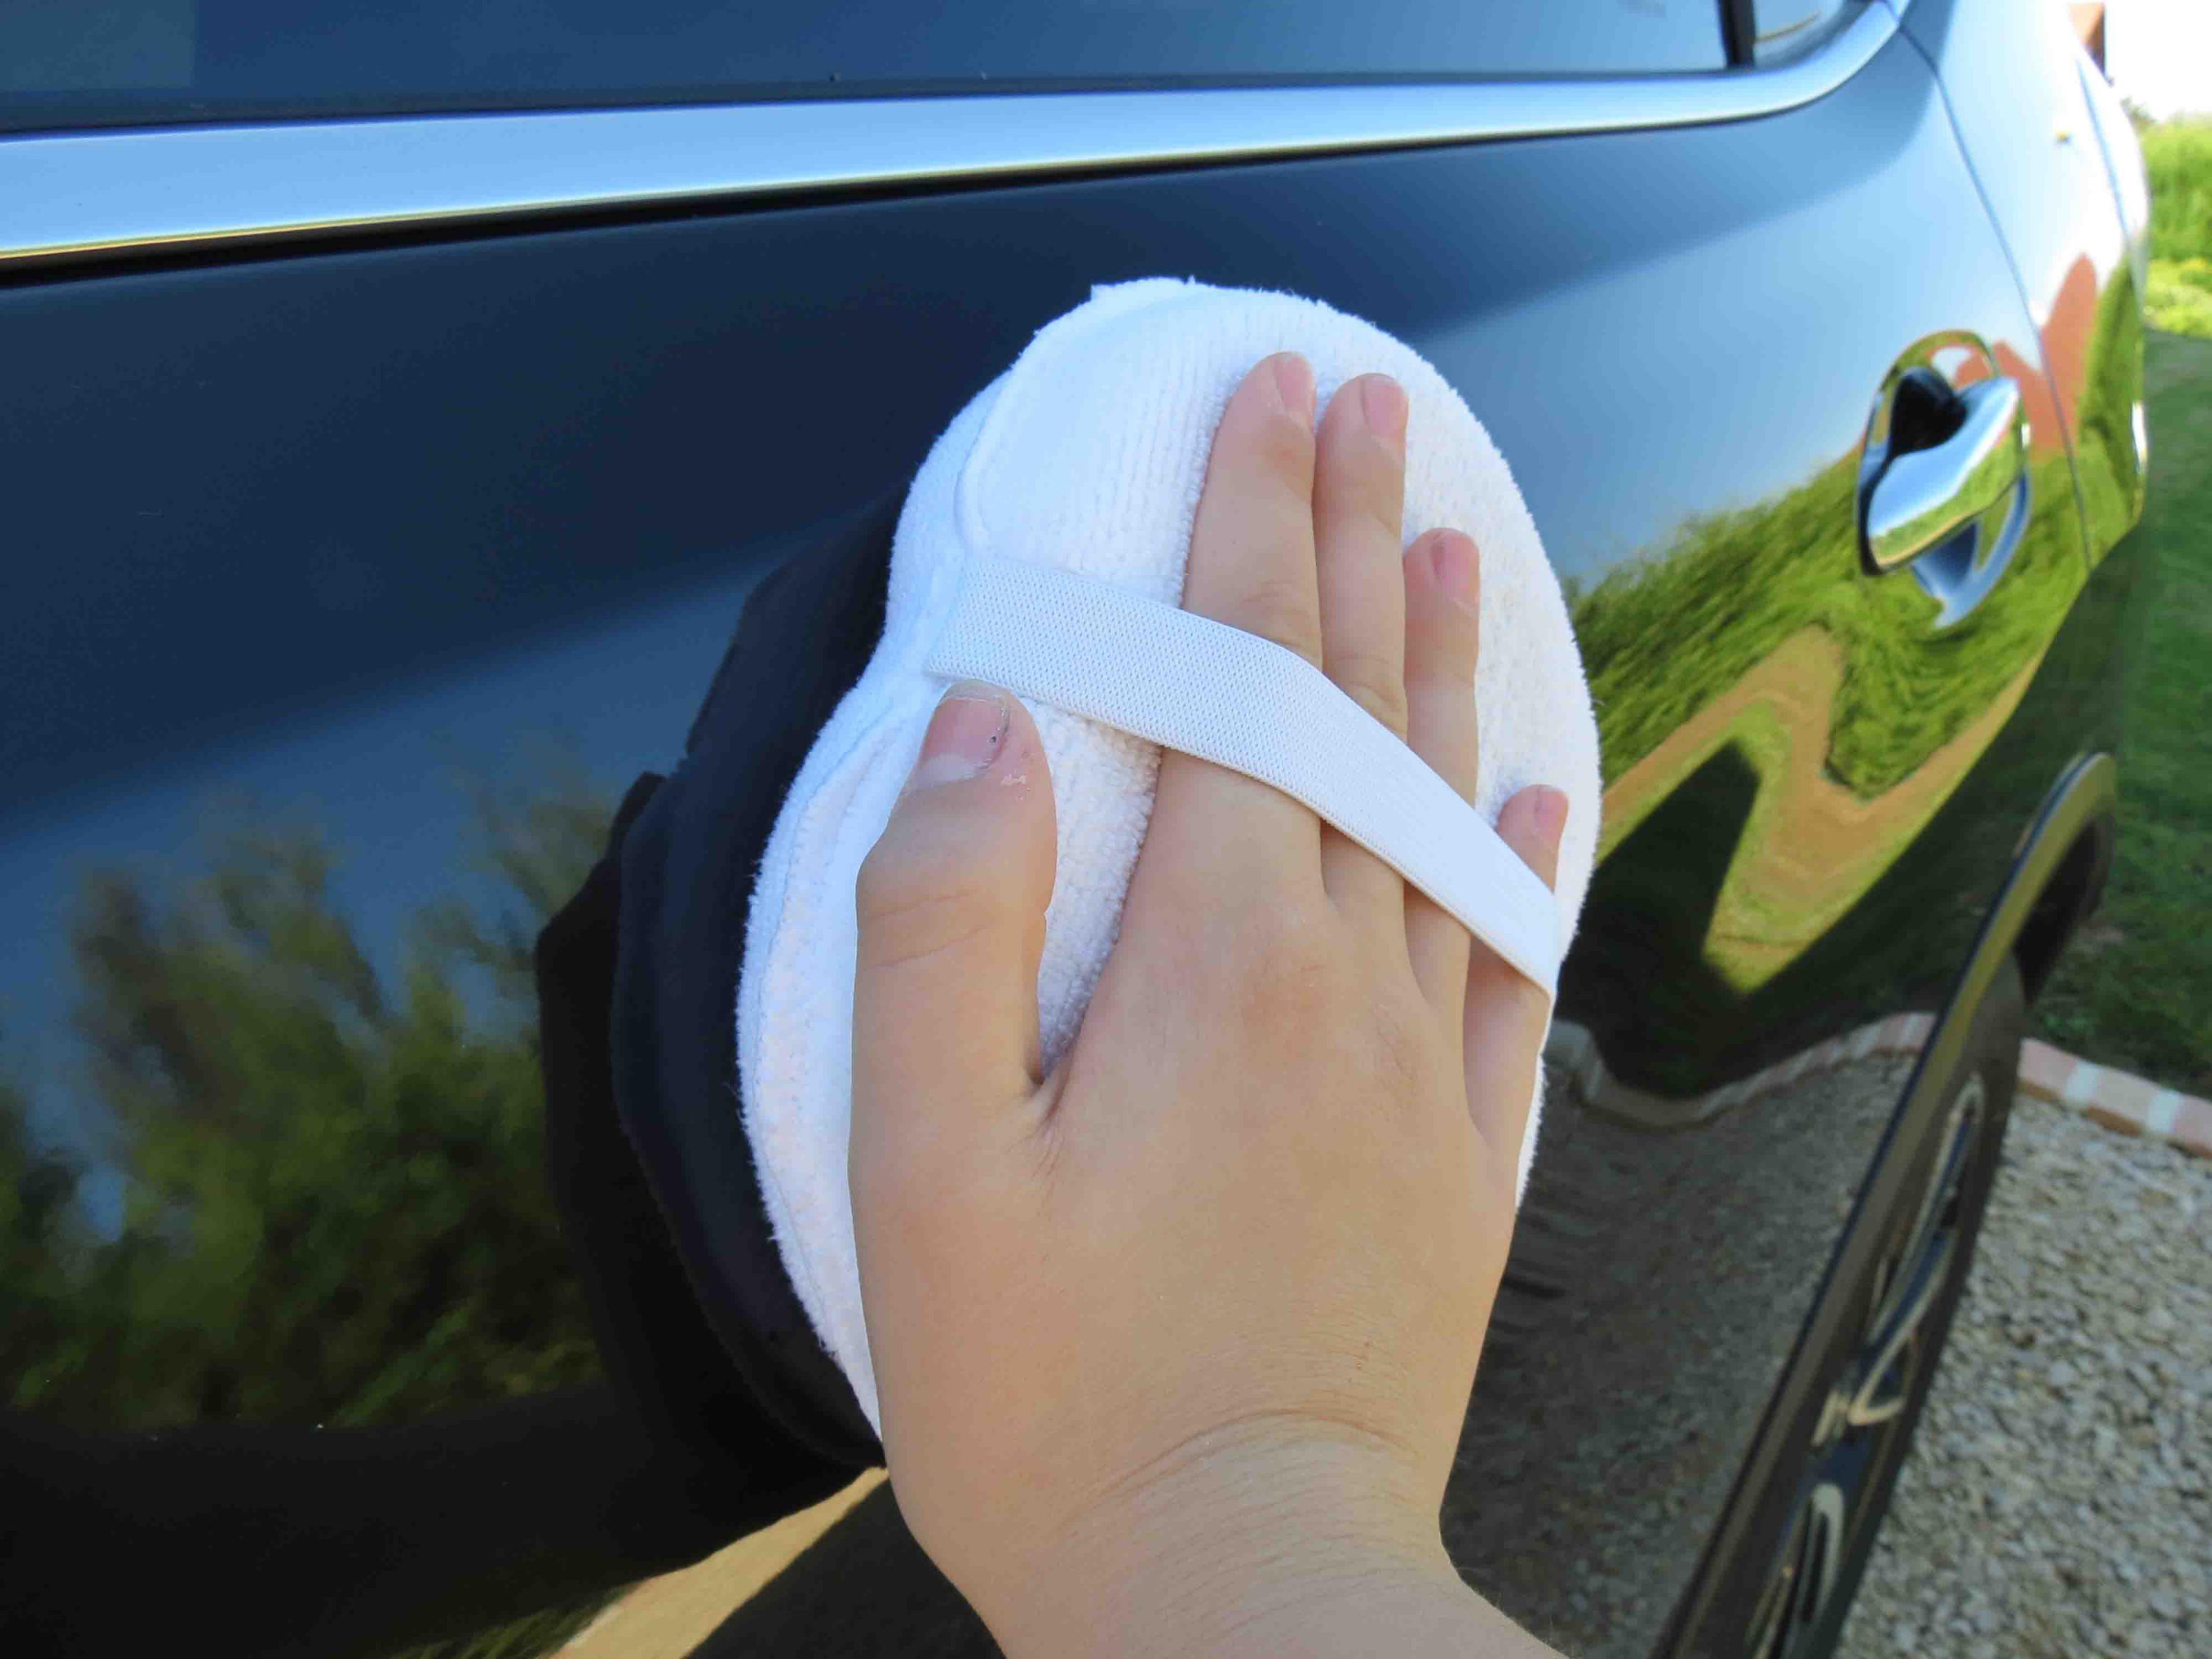
– Apply moderately abrasive lustre cream over the area corrected beforehand, adjust the speed of the polisher to minimum speed (high speed can damage the paint). A good polishing is a low speed buffing without projection and without heating the substrate. Work slowly and steadily, then wipe with the polishing cotton cloth.
– Continue polishing with a slightly abrasive cream, apply the same method than previously with the mild abrasive polish, wipe with polishing cotton cloth, the final result begins to appear. If there are still scratches, repeat all steps from the 2000 sanding paper. Finally, use an anti-hologram finish lustre cream with polishing cotton cloth. Mirror effect guaranteed!!!
Note:
-the correction must be performed over a paint film that had been dry for a minimum 1 week for HS or UHS clear coats, for three weeks for MS topcoats and about 10 days for 2K finish-type polyurethane lacquers.
-the moderately abrasive polishing must performed over a small area of 30cm2 MAXIMUM, the cream may dry (do not polish in the sun). Larger areas can be polished (maximum 50cm2) with slightly abrasive cream, it is possible for example to polish a large area at once with an anti hologram polishing liquid: (hood, roof, etc.)


Leave a Reply